Penelope Flora is 3 years old!

Penny turned 3 years a couple weeks ago, and I realized I never posted any photos from her party here! She requested a rainbow and kitty cat party. Actually, she’s been telling me that that’s the kind of birthday that she wanted for months. And she never waivered. 

Zach made her pretty rainbow cake, and I made the kitty cookies. I found a contact paper rainbow craft on Pinterest for the girls to do, and for extra decorations, I hung up a bunch of the rainbow paintings and drawings that Penny has done over the past few months. I’ll link as many of the other supplies as I can!

Penny’s rainbow dress: Old Navy

Penny’s cat ears: Target

Penny’s sunglasses: Gymboree

cat plates, rainbow cups, 3 and cat candles: Meri Meri

rainbow napkins, rainbow wrapping paper, pom Pom garland, rainbow balloon, 3 balloon (dollar section) - all from Target  

letterboard: oak & made

cat cookie cut outs: Amazon 

Handmade Wardrobe // matching bees, and sewing for kids

My tank: Megan Nielsen Patterns Eucalypt tank in crepe de chine from Fabric.com

my jeans: Megan Nielsen Dawn jeans in denim from Style Maker Fabrics

Penny’s top: mashed up/self drafted top in cotton from Fabric.com

———————————————————————

No new makes again! We’ve been re-wearing a lot of handmade items already in our closets. especially Penny. She actually originally wore this top over a year and half ago for our family photos, and it still fits!

Its funny, when she was really little, I barely made any clothes for her at all. I didn’t see the point in spending so much time and effort on garments that she would just grow out of in a couple months. Kids grow so fast! But then some where along the way, I realized that making clothes for her meant I could control how they were made. Meaning, I could make them grow with her. I can add a really wide hem that can be let down later as she grows taller. I can use larger seam allowances that can be let out as she gets older. I can purposefully make a garment just a tad big to start with. Not too big, just enough that it still fits, but also will fit her for awhile.

I can’t stop making clothes for her now!

Handmade Wardorbe // Rowan and Wattle

top: Megan Nielsen Patterns Rowan bodysuit in a green rib knit from Blackbird fabrics

skirt: Megan Nielsen Patterns Wattle skirt in a cotton from Shop Well Fibre

slides: Old Navy

Penny’s dress: self-drafted

——————————————————————————————

The last time we matched while wearing this skirt, its was January and we were in sweatshirts and lots of layers. Happy to finally wear it in warmer weather!

This Rowan bodysuit is my favorite one yet. I added in shoulder ruffles again like I have before (This time I documented the process, so there will be a tutorial on Design Diary sometime soon!). And the green pairs perfectly with this floral Wattle skirt. I didn’t have enough of the ribbed fabric left to make anything for P, so I grabbed this other green knit form Nelly Lou stash and whipped up our go-to gathered dress. Not a perfect match, but she still thought we were in matching outfits, so it was a win! She actually loves matching me, and I hope it never ends. I mean, I know it will, but I seriously live for this.

Handmade // tie top Cottesloe

pattern: Megan Nielsen Patterns Cottesloe swimsuit

fabric: ‘watercolor mostera leaf’ by Little Arrow Design, purchased from Spoonflower

bag: Target

——————————————————————————

Gaaaaaaah, I love this swimsuit so much! I originally made another Cottesloe swimsuit out of this fabric - view D bikini with underbust band and waistband (you can see photos at the very end of the post). While I do love the look of that one, I purposefully bought extra yardage of this fabric because it’s gorgeous and I knew I would want to make different two piece versions to mix and match together. So this longline, tie strap top was born! Seriously, I couldn’t love it more. I’m definitely more comfortable in longline tops. Not necessarily a full tankini, but more coverage than a typical bra-style top. All I did for the longline modification was literally extend the lines of the side seams straight down. Nothing fancy. Easy-peasy. I lined the front only, and adding sewn-in bust pads (tutorial can be found on Design Diary).

And those tie details? Don’t worry - there will be a tutorial for Design Diary in the future! I didn’t make it this go-around, since I was just testing it out. But now that I know how cute it turns out, I’ll  be doing it again (maybe on a one piece?) and documenting it for a tutorial. So keep a look out in the next month or two for that!

I also made a second pair of high waisted bottoms, this time without the waistband. But I still wanted the extra height that the waistband provided, so I again simply extended the side seams upwards about 3/4”. Again, super simple.

Now, in this swim print, I have 5 pieces - a longline tie strap top, a regular style top with underbust band, high waisted bottoms, high waisted bottoms with waistband, and also regular low-rise bikini bottoms! So many mix and match options!

Mommy and Me // matching dots

my dress: Megan Nielsen Darling Ranges dress, lengthened to maxi length

my shoes, Penny’s shoes, Penny’s dress : Old Navy

Both our jackets: H&M (mine is old, here is Penny’s)

Penny’s fanny pack: Target (girls, not toddler. I had to alter the waist strap. And I cut off the glittery bunny ears)

So this is not a new handmade mommy an me post. In fact, almost everything is RTW, except for my Darling Ranges maxi dress which I made years ago. You can see my past posts about it here and here. But Our matching polka dots were way too good to not share them here, too!

Handmade Wardrobe // flower child

dress: Megan Nielsen Patterns Floreat dress

penny’s cropped tee: self drafted  

fabric: double brushed jersey knit from Girl Charlee

my belt bag: Target

my shoes: sooooo old

penny’s pants: Target

penny’s sunnies: Amazon

————————————————————

I originally had this post scheduled for later in the week, but I was so excited about this set that I rearranged posts and moved this up to Monday haha.

I’ve been holding onto this fabric for awhile (it’s no longer available, unfortunately), but I honestly knew I wanted to make a knit Floreat dress with it from the second it arrived in the mail. This is the 5th Floreat version I’ve made, and as usual, I’ve had to make zero mods to the pattern. The loose fitting shape is forgiving, and it makes it quite an easy sew. Yes, even with the angled hem! Once you get the hang of it (I mean I have made 5 now haha), it’s a breeze. I did also make the matching tie belt for it, but last minute decided to wear my new belt bag with it instead (which I’m obsessed with!). 

My original vision was to make a cute gathered dress for P, too. Or at least a peplum tee. But I had so little fabric left, the most I could squeeze out was this little cropped tee. That little belly sticking out a bit kiiiiills me. 

Review // Madam Sew ultimate presser foot kit

Recently, Madam Sew sent me one of their Ultimate Presser foot sets to try out. I was pretty excited because I only have and use two feet - my regular foot and my zipper foot. So this was pretty cool for me!

The presser foot set comes with 32 presser feet, a snap on adapter, an instruction manual, and a DVD with instructional videos. there is also an app you can download to see all the video tutorials and instructions, as well.  Both the written instructions and video tutorials were very helpful, especially with some of the feet/techniques I’ve never used before!

Most of the feet are snap-on, but work with both snap-on and screw-on sewing machines, because it comes with the bonus snap-on adapter for screw-on machines! *One thing to note, though - if you work on a Bernina, you will need an additional adapter (sold separately) because Bernina uses their own presser foot system. But its worth it, and totally simple, because once its on, you can use both screw-on feet and then also uses the snap-on adaper, too!

There are some feet that I’m personally excited to play around with. Including an adjustable bias binding foot, rolled hem/narrow hem foot, invisible zipper foot (no longer need to use my regular zipper foot!), piping foot, and a lot more! I’ve also been using the zig zag foot a lot recently. It has a big, clear open area in the center so you can see where you are stitching better! And if you work with sticky fabrics like leather, suede, plastic, etc - there are also a few different feet (roller foot and non-stick foot) to make sewing those fabrics easier.

In today’s post, I’m going to show a small sampling of 4 of the presser feet I played around with. And you can also head to my Instagram (@hollydollydarling), where I’m sharing videos of all of these samples in my stories! The story videos will be up for 24 hours, but I will save them in my highlights in my profile afterwards.

GATHERING FOOT

This foot is fun! I create gathers a lot for peplums, dresses, ruffles, etc. So this is the first one i jumped to try. Using this foot, it automatically creates gathers as you sew, no need to pull on threads and finger-gather. They are fixed-gathers though, so you can not adjust them after the fact. So you should play around on scraps before a project to find the settings for your perfect gather. By adjusting the stitch length and tension on your machine, you can create loose/farther spaced gathers, really full gather,s or anything in between. The dvd included with the presser foot kit (or the instructions in the app) is very helpful in explaining how to get the gathers you need.

The foot also has a little slot on it which allows you to gather one fabric AND attach it to another fabric at the same time!

see below for my results.

EDGE JOINING/STITCH IN THE DITCH FOOT

The main purpose of this foot is for joining the edges of two pieces of fabric together. I didn’t test that out. I was more excited about using this for stitching in the ditch - something I do a lot! The foot has a thin guide bar right in the center, which is lined up perfectly with the needle. As you sew, the bar glides right along in the ditch/seam, with the needle following behind - keeping your stitch-in-the-ditch stitching perfectly straight with barely any effort.

See below for my results.

STITCH GUIDE FOOT

This is a pretty simple foot, but a very useful one that I know I’ll find myself using quite often. Especially on jeans and pants that have a lot of topstitching! Topstitching is my nemesis. I’m not the most patient person, and my topstitching often ends up uneven and wavy. This foot has a small perpendicular bar that extends out, with markings ever 2mm. You can use these guides to sew parallel topstitching lines and keep them even and straight. And because there are so many lines, you can do it at any width you need, up to an inch.

Look how straight my 4 lines of topstitching lines are below.

OVERCAST FOOT

This foot requires a machine that has an overcast stitch setting (there are different kinds of overcast stitching, so your machine may have a few options). An overcast stitchh is done along the edge of fabric, to finish the raw edge , in a manner that looks similar to a serger/overlock finish. And this foot helps aid your machine when using that stitch! It has a guide bar to help keep the edge of your fabric lined up, as well as a center piece that helps create overlock stitching without rolling.

I’ve actually never used this stitch before, since I have a serger. But I thought it would e fun to show for those of you that don’t!

That’s all I am showing you for now! Don’t forget to check out videos of these samples in action on my Instagram stories and highlights (@hollydollydalring), and check out the full kit at Madam Sew here.

Handmade Wardrobe // palm leaf Cottesloe

swimsuit: Megan Nielsen Cottesloe swimsuit in an (old) swim fabric from Blackbird Fabrics

cover-up: hand drafted kimono in a rust gauze also from Blackbird Fabrics

Penny’s suit: Kortni Jeane

————————————————————-

Here is Cottesloe number 2! This is view B, which is your basic, no frills, one piece. Perfect coverage from top to bottom. Back has a bit of a scoop back, but not anywhere near as low as view A. Sorry I don’t have any photos of the back - I got sunburn reeeeeal bad a couple days before and my back was bright red with some not so cute tanlines, doh. This suit is fully lined with bust pads. which is nice, but as I mentioned in my other Cottelsoe post, I think I personally prefer a shelf bra. And also just like my other suit, I added 3/4” to the length for my long torso. That’s it! No other mods. Nothing fancy. The perfect basic suits for swimming laps, running after a toddler, or just for someone who likes some coverage.

And P.S - the sewalong is currently in progress over on Design Diary. So if you’re making any version of the Cottesloe suit and need some help with construction, head on over there!

Snapshots // magic kingdom and animal kingdom, 2019

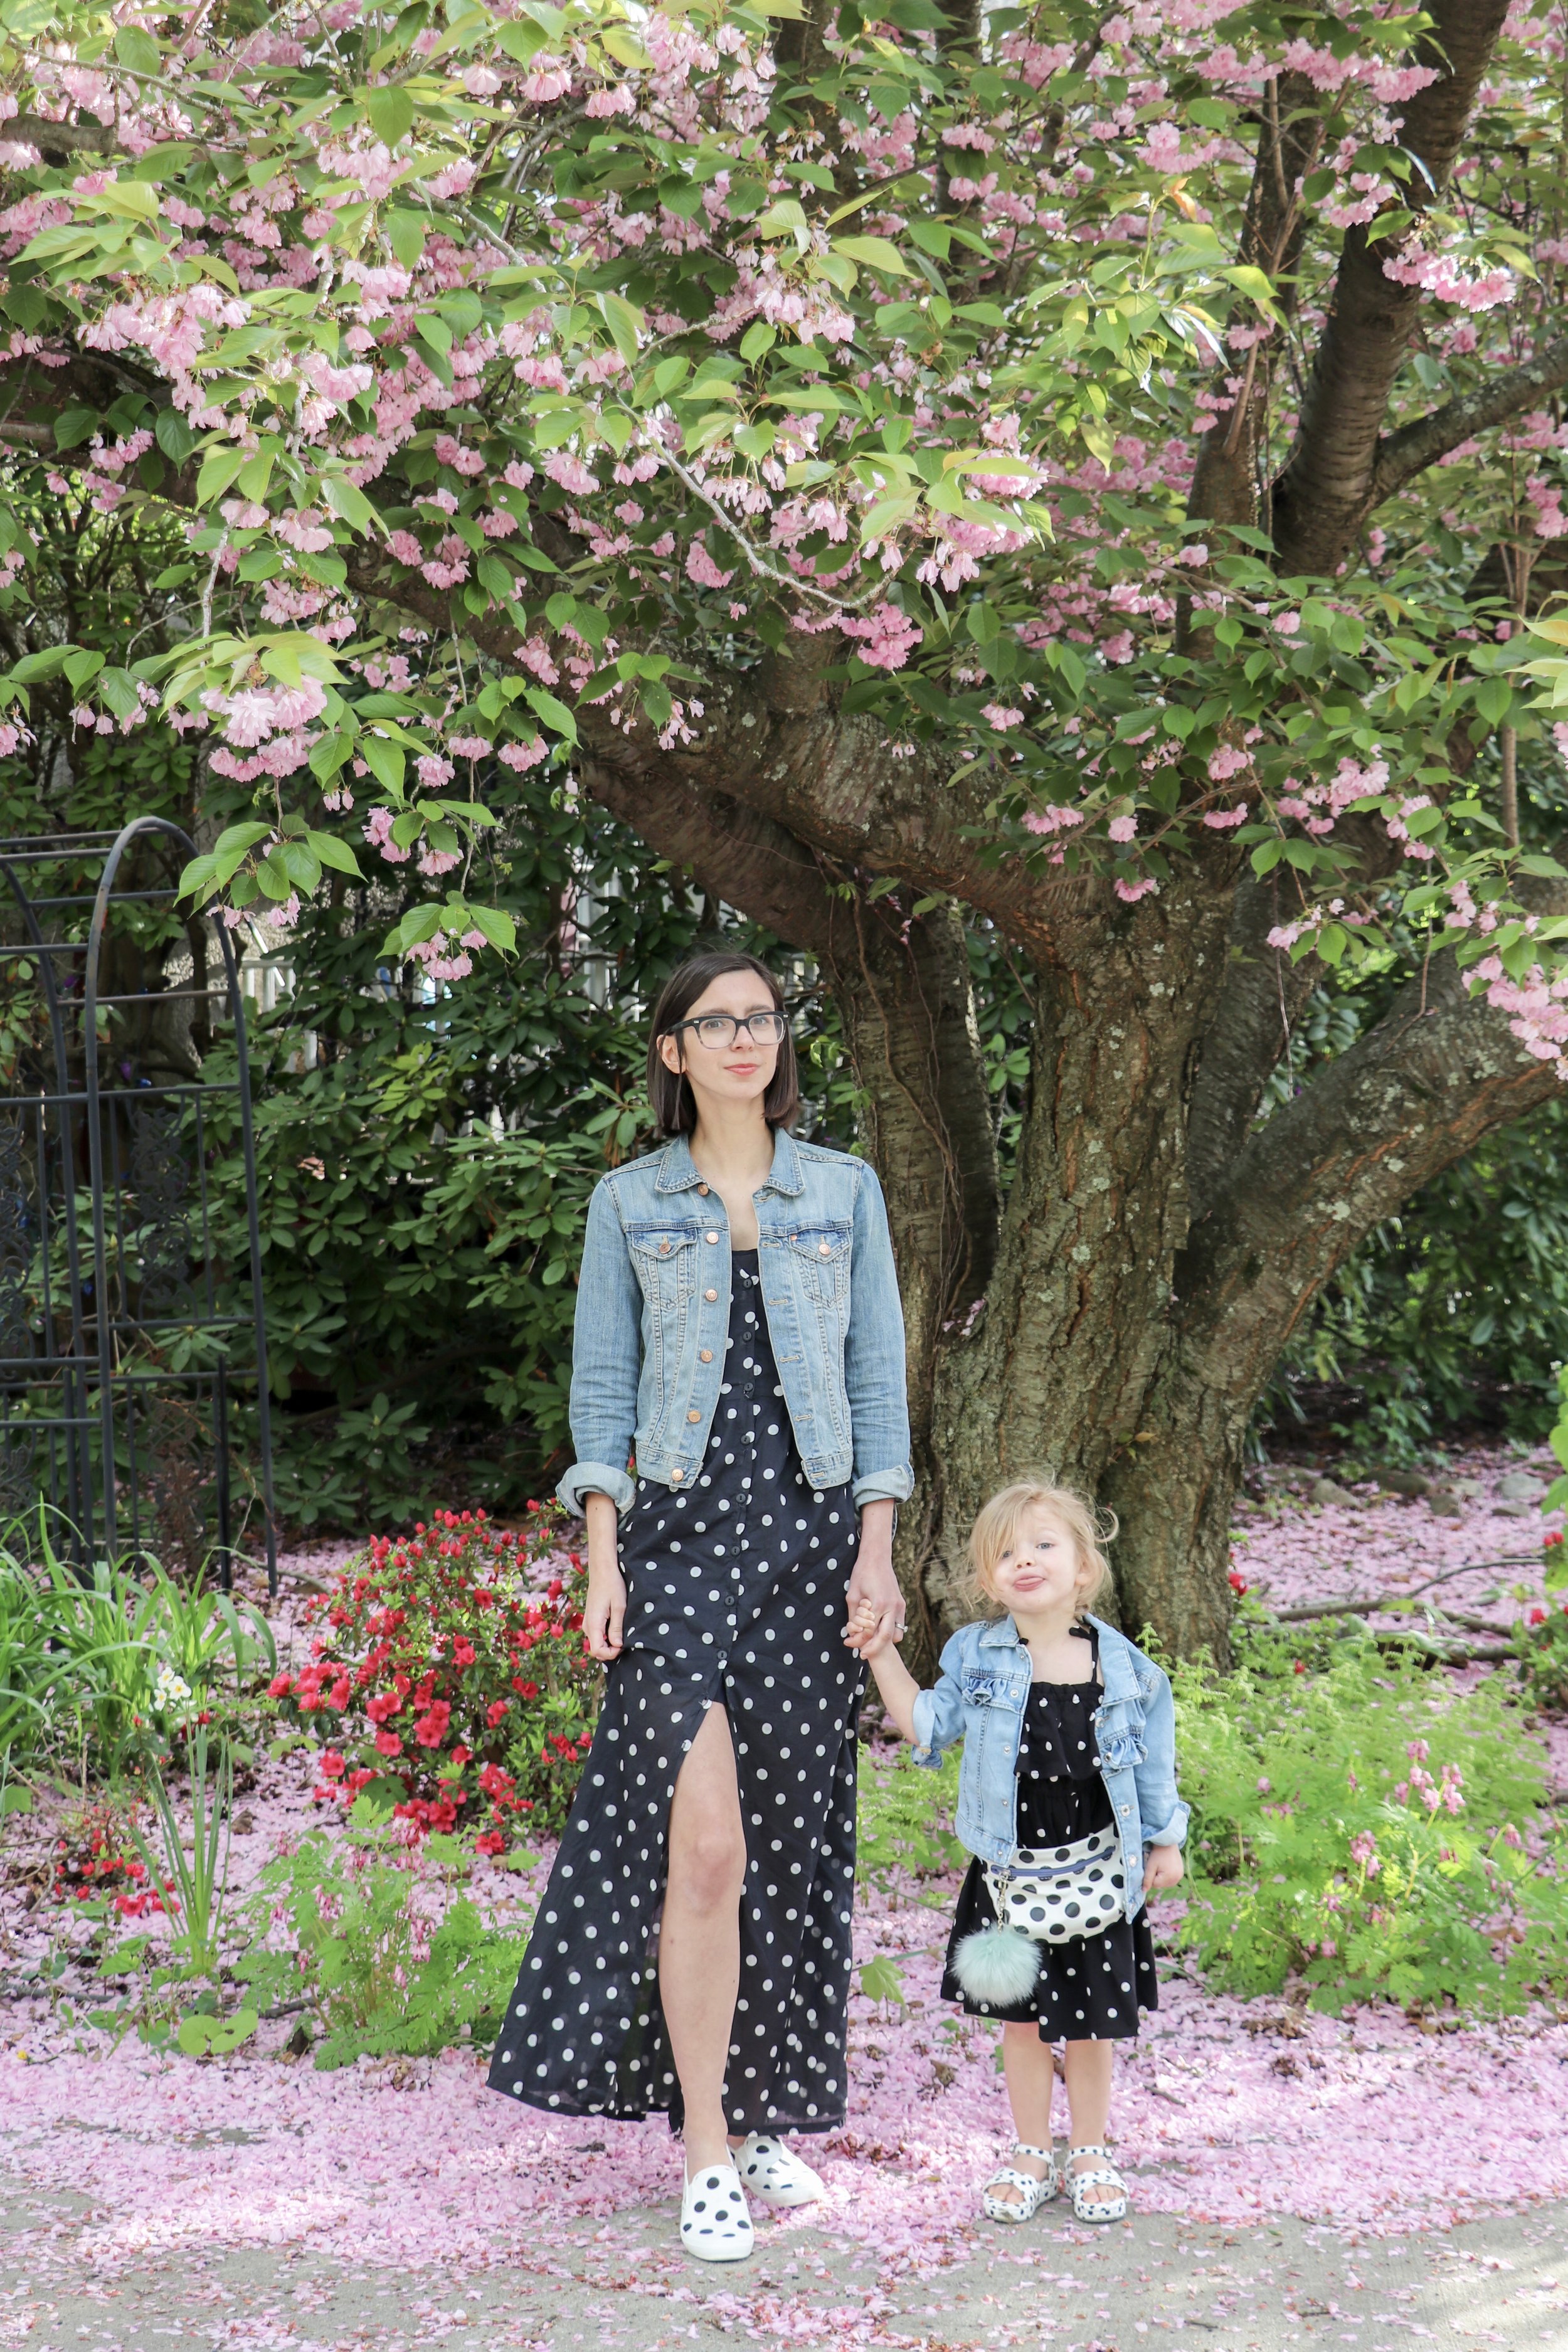
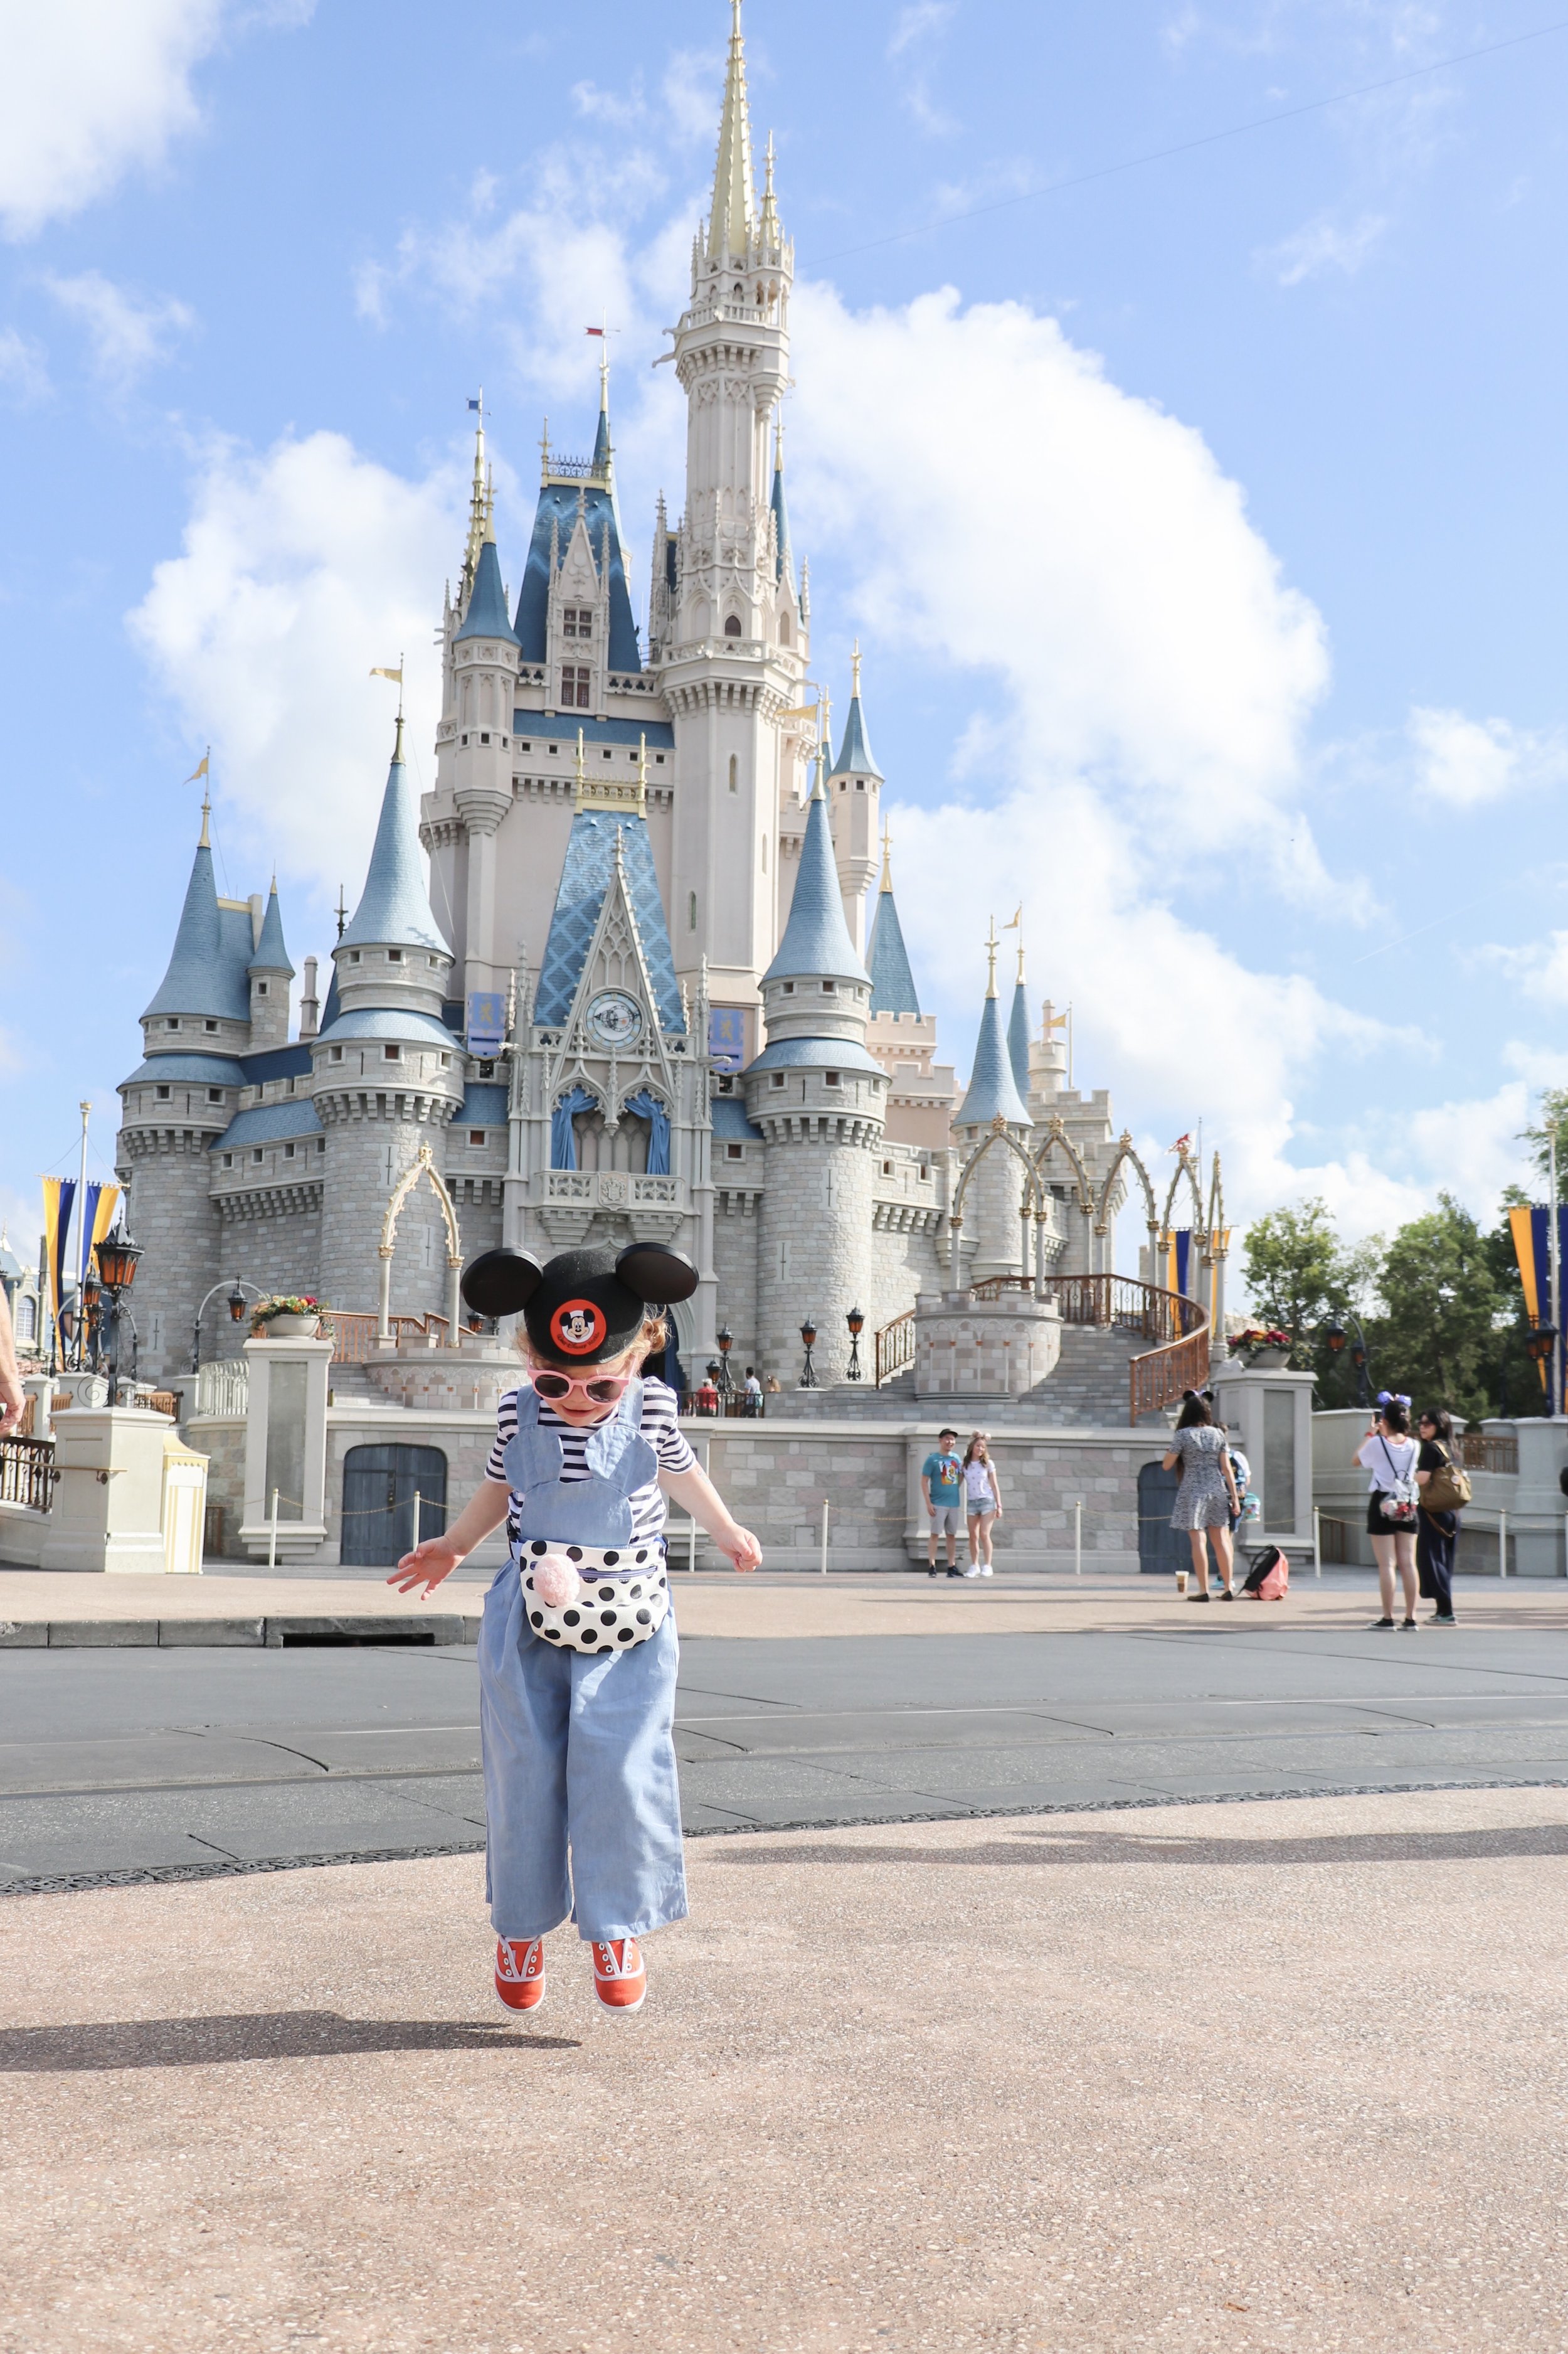
Magic Kingdom outfits:

my top: thrifted Madewell

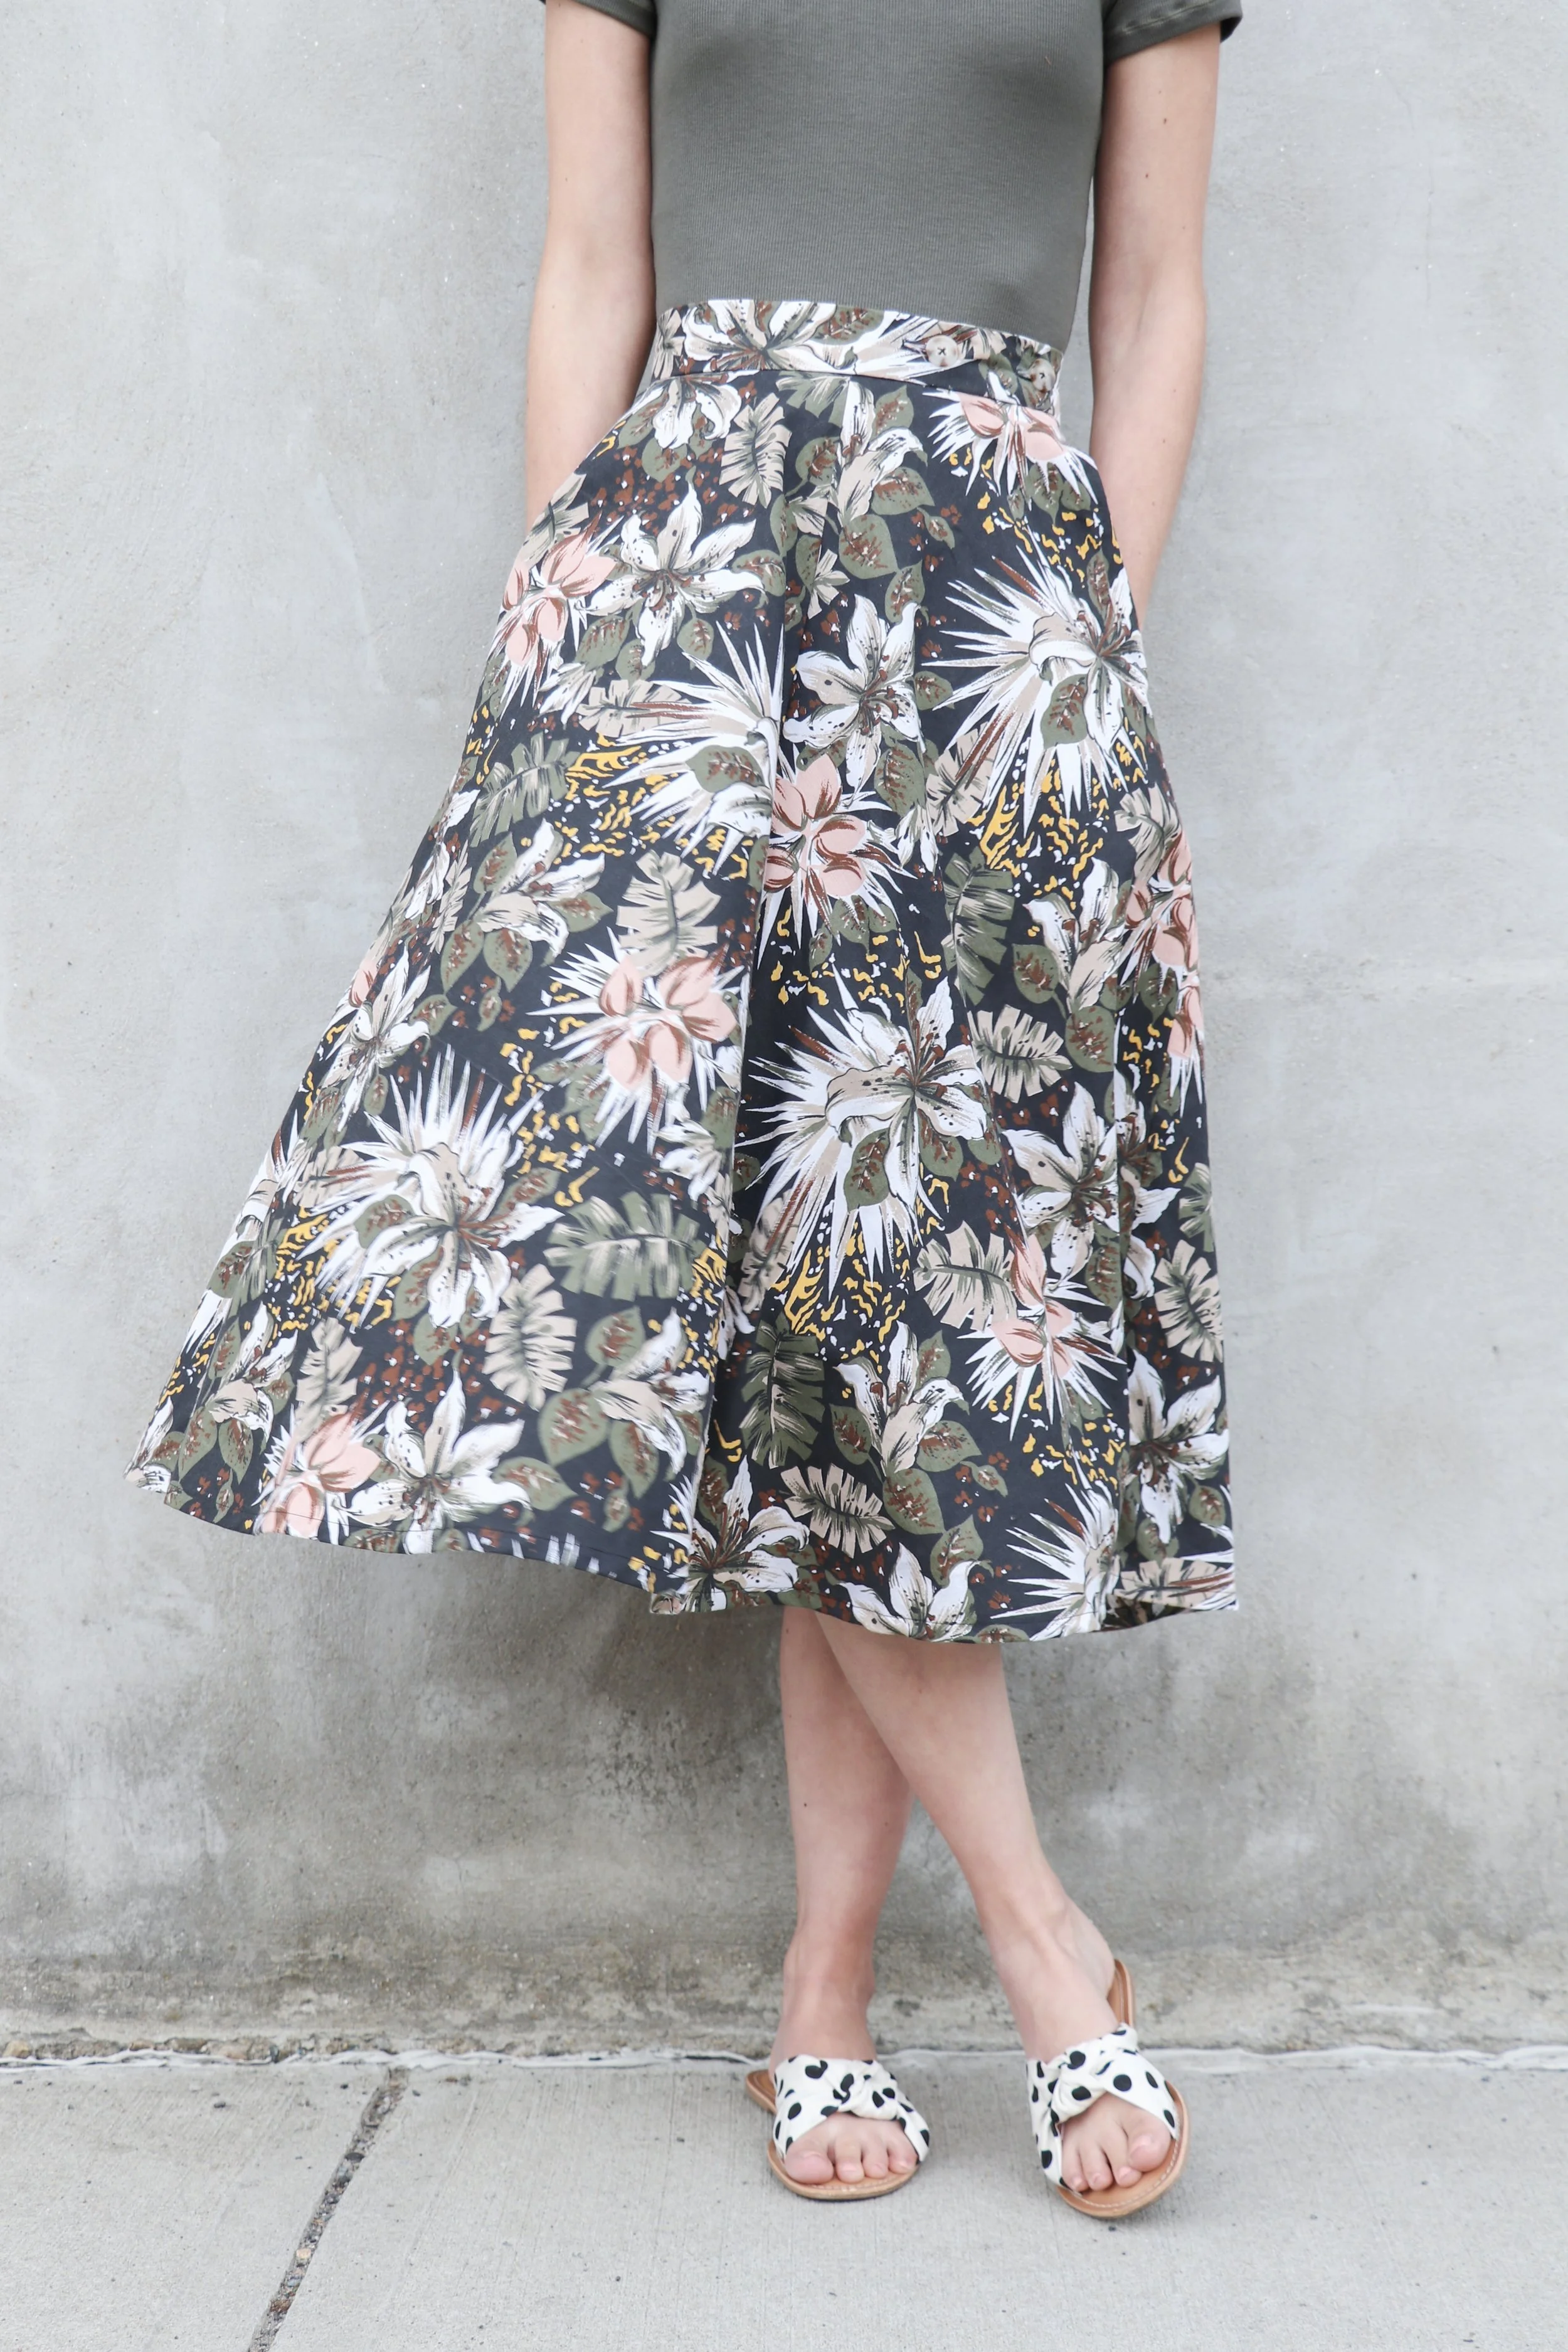
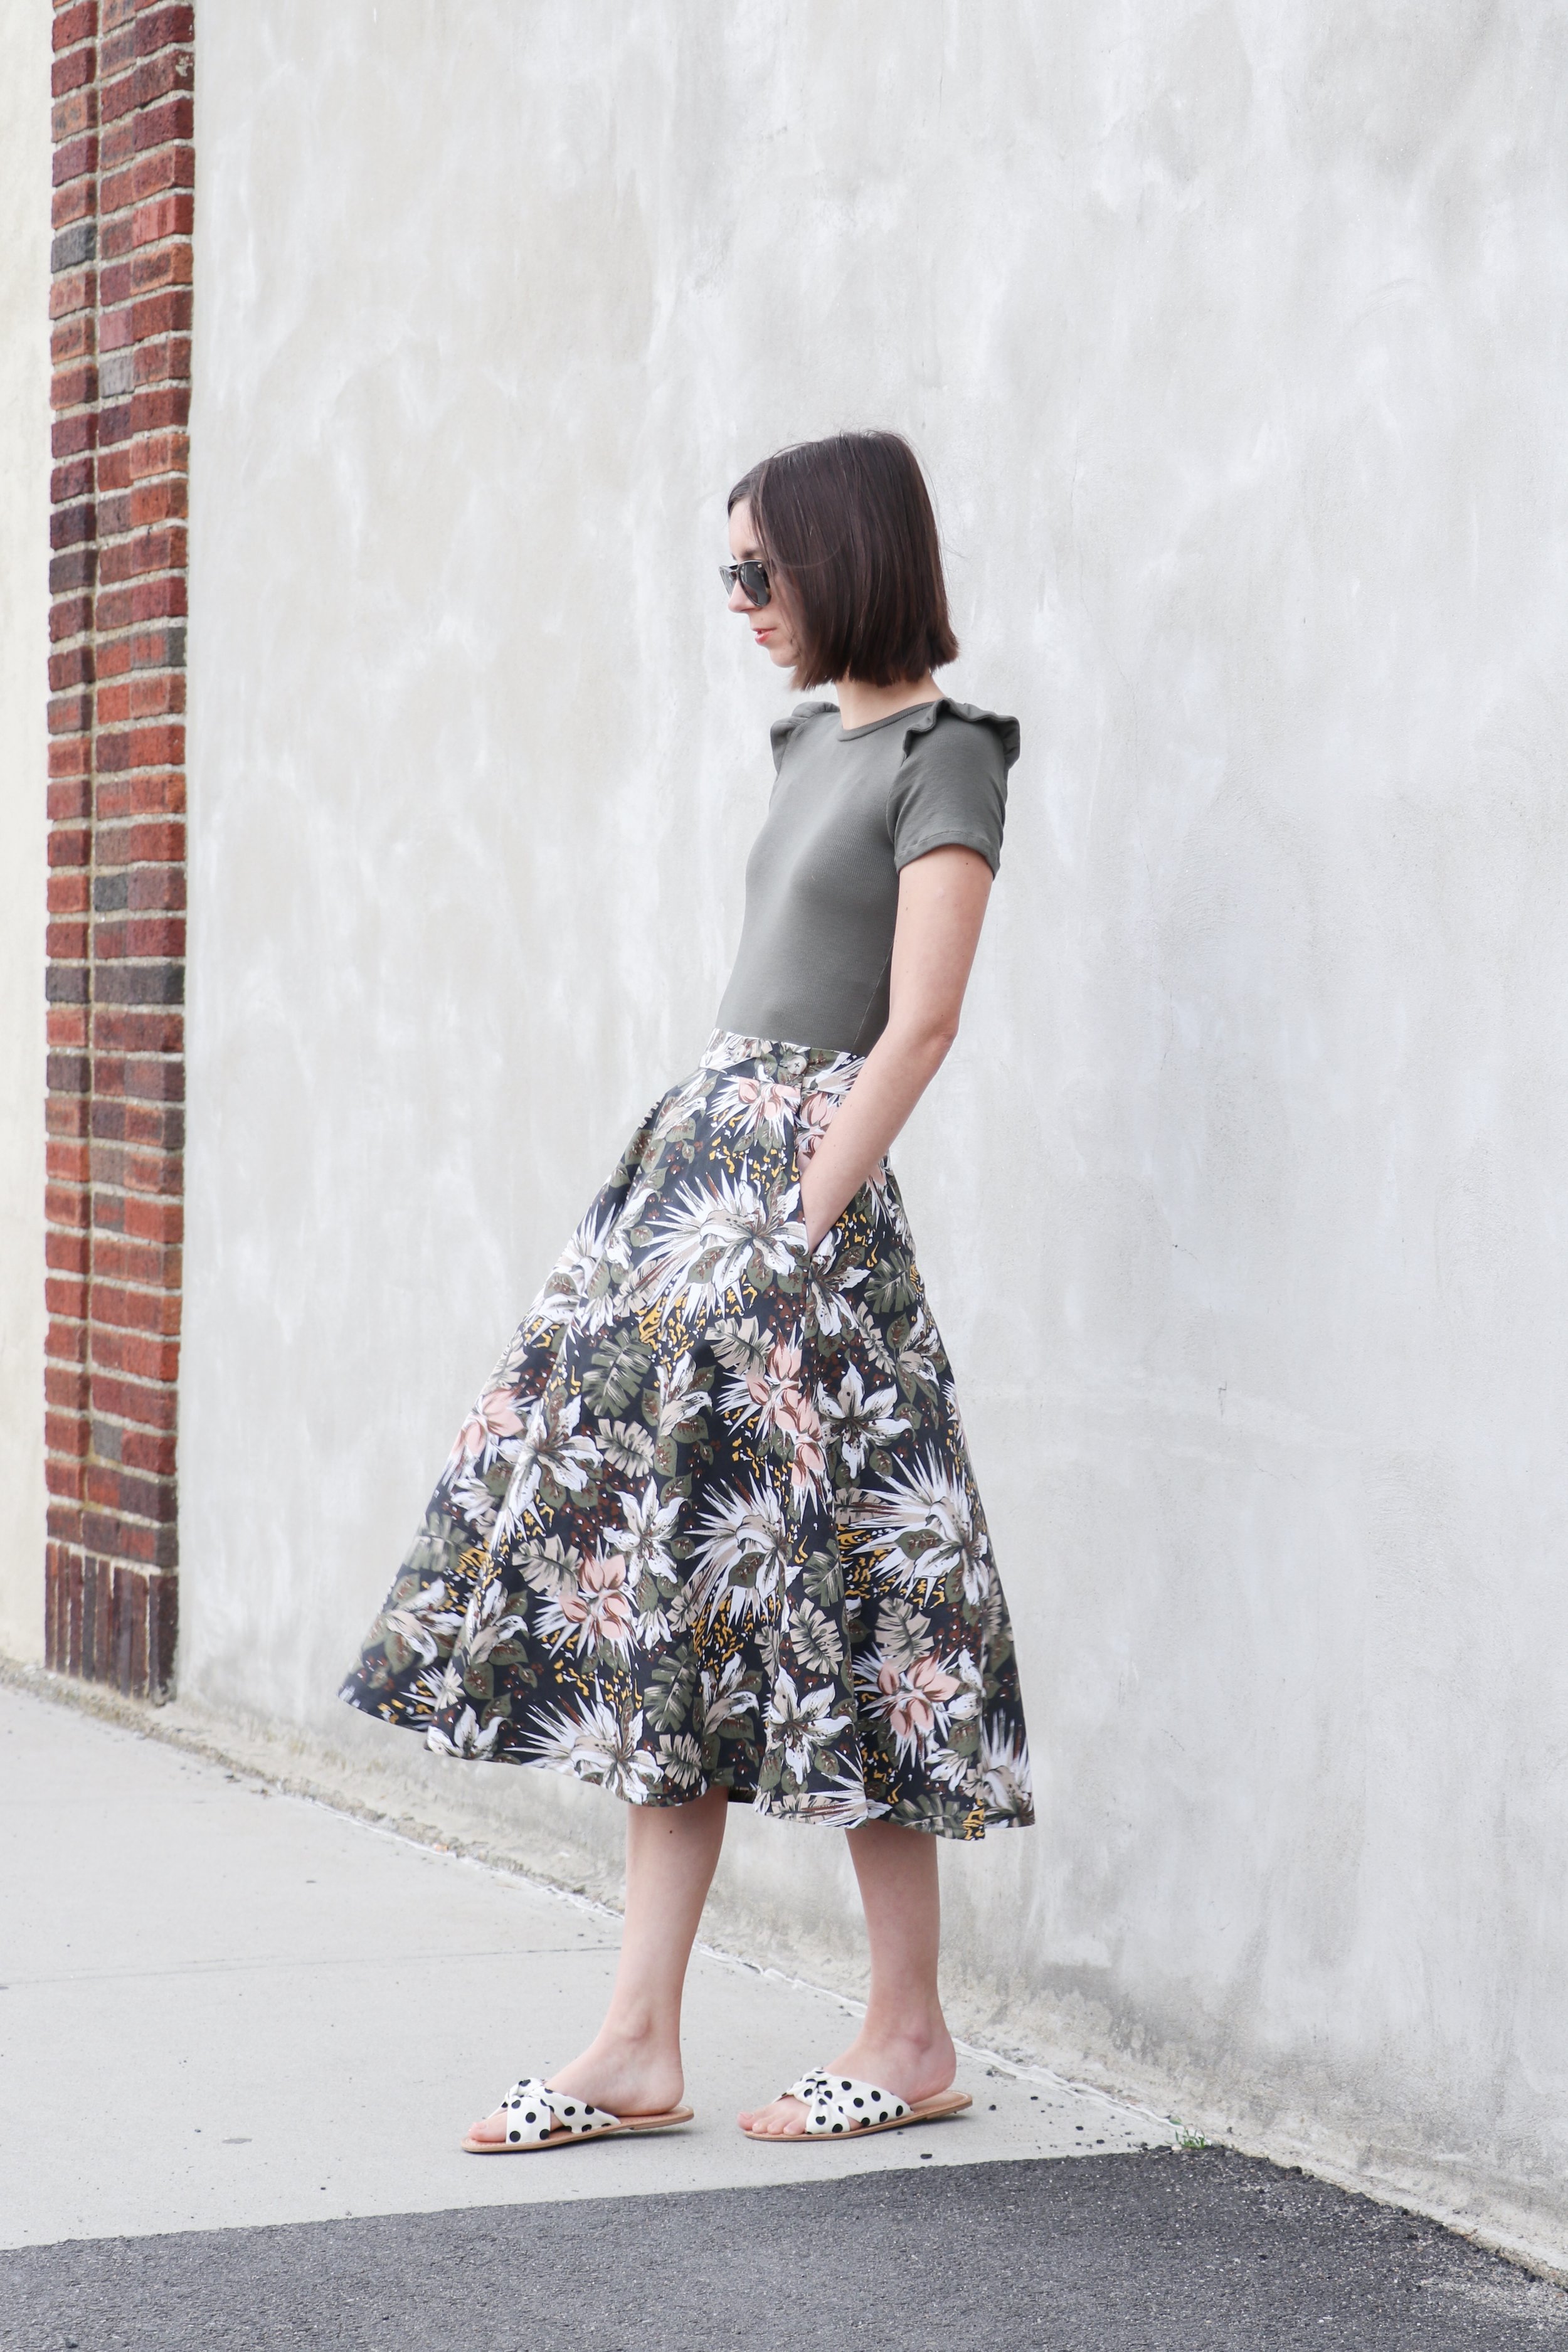
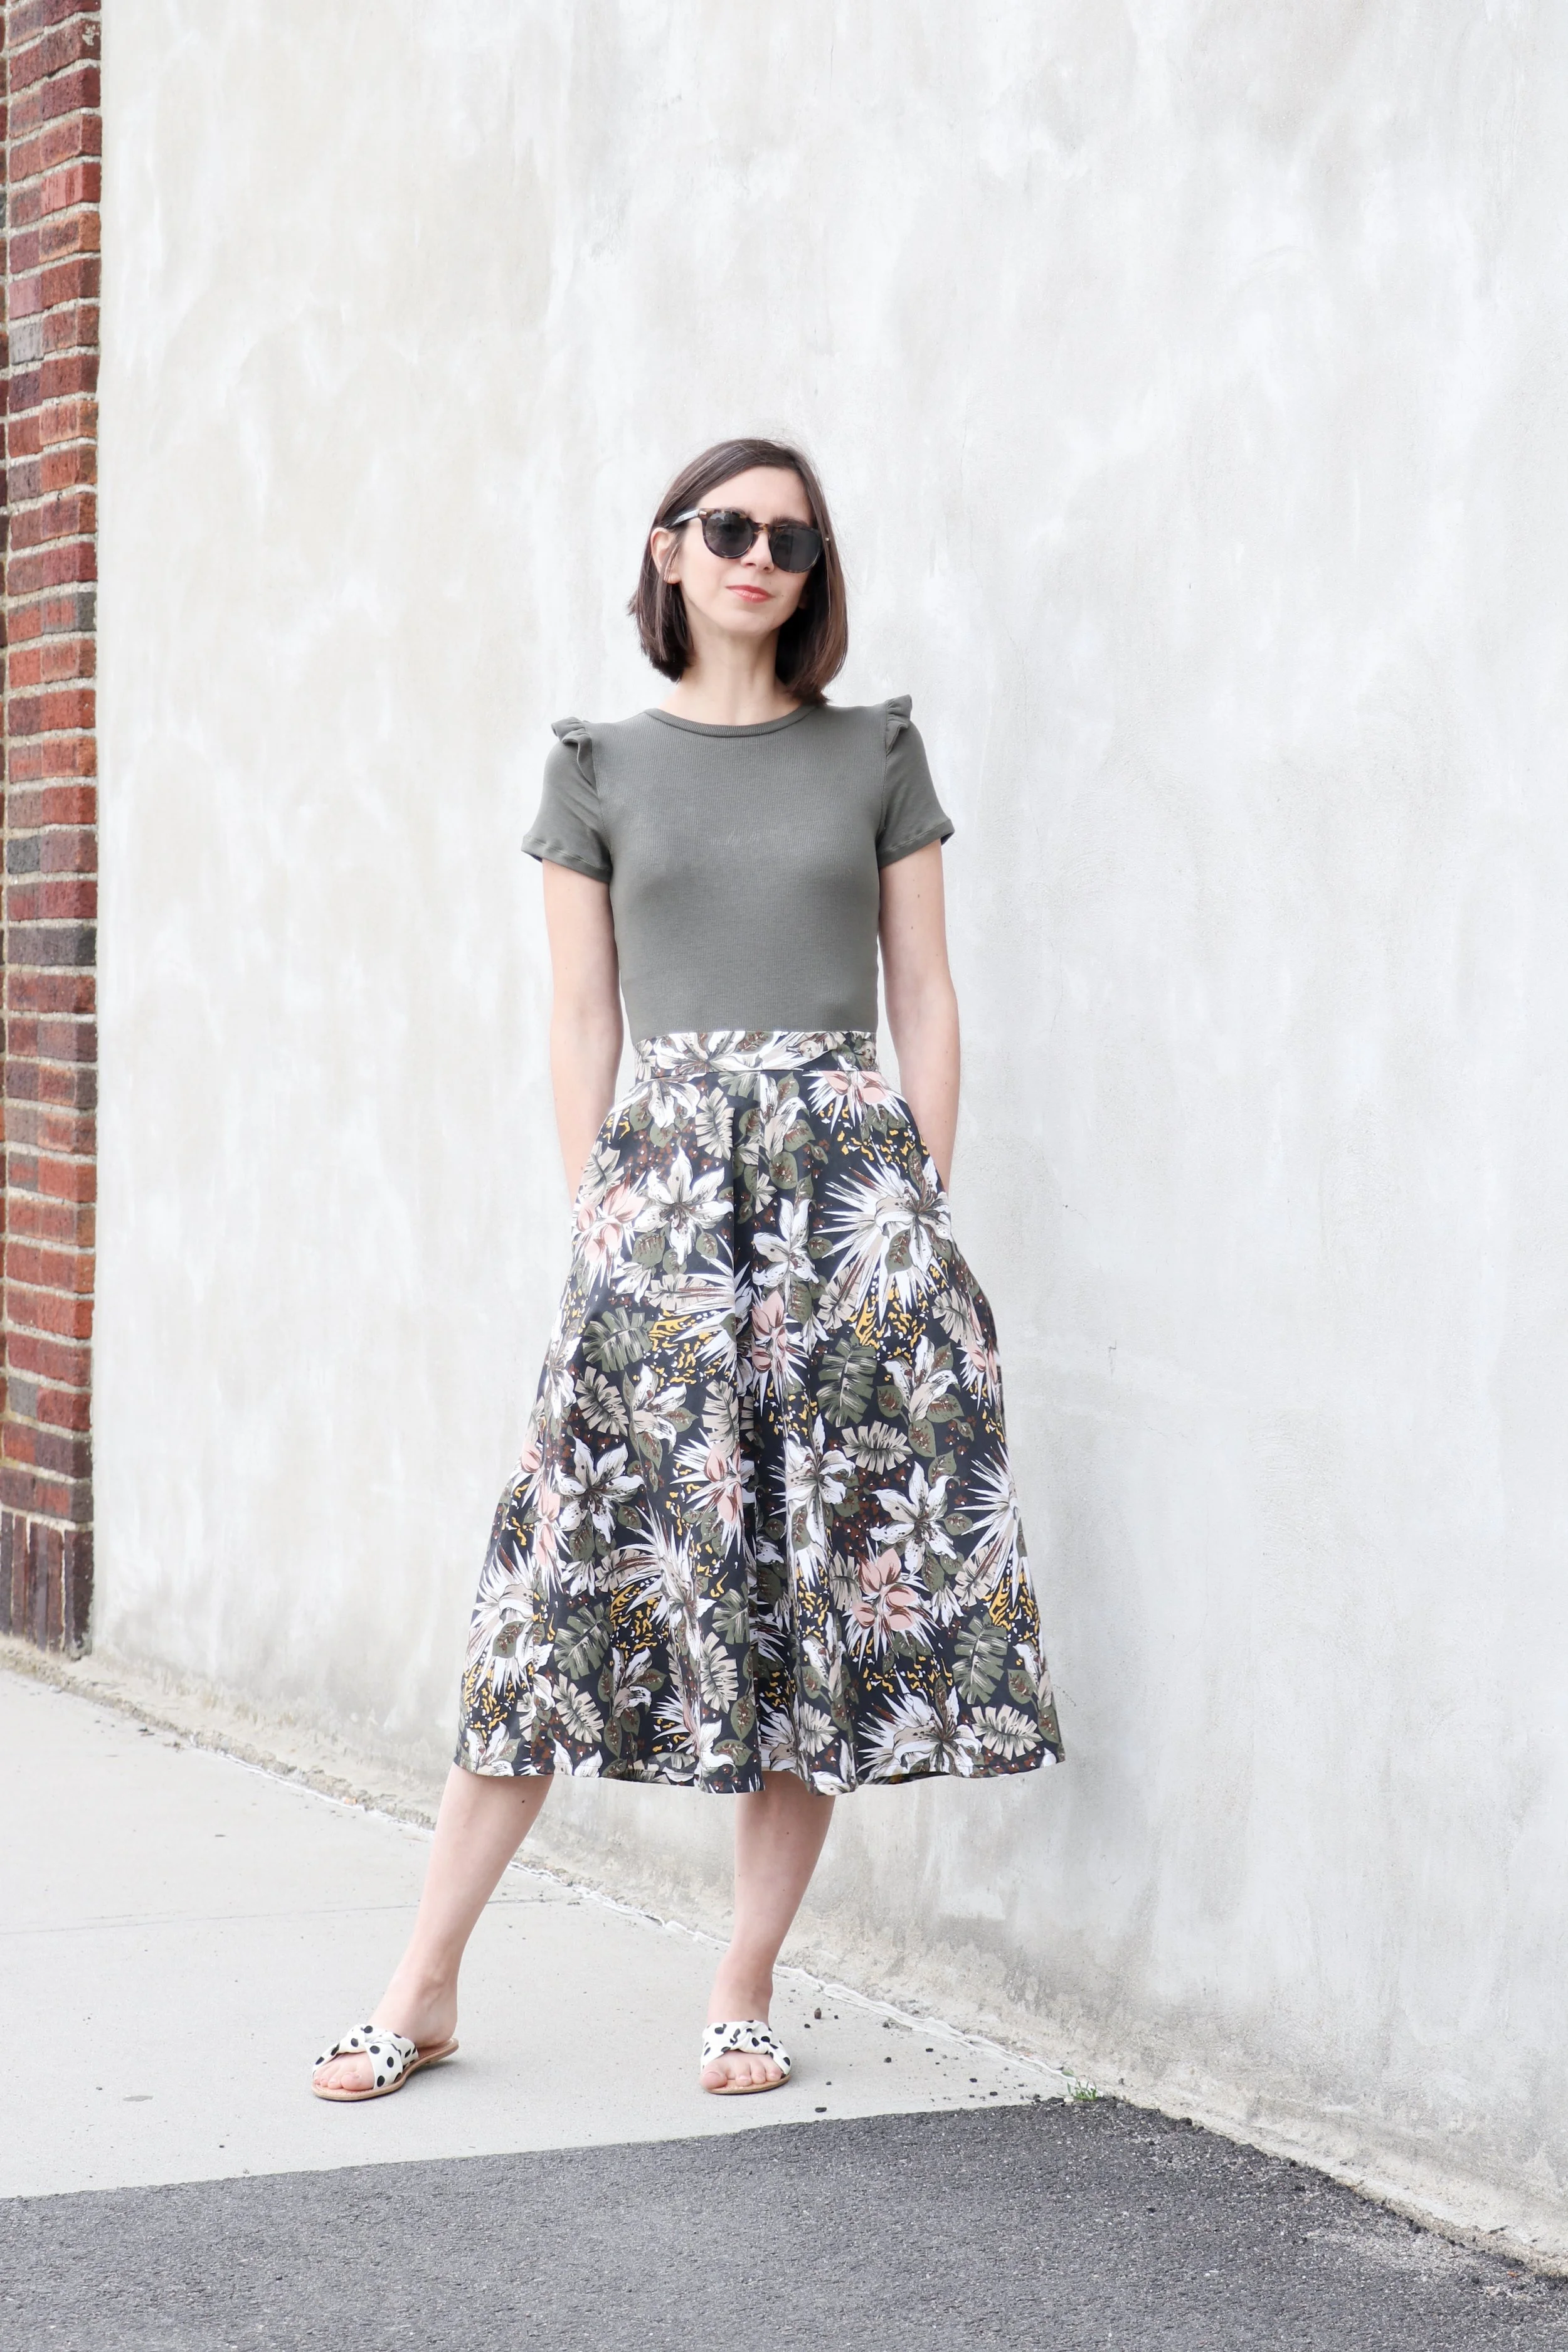
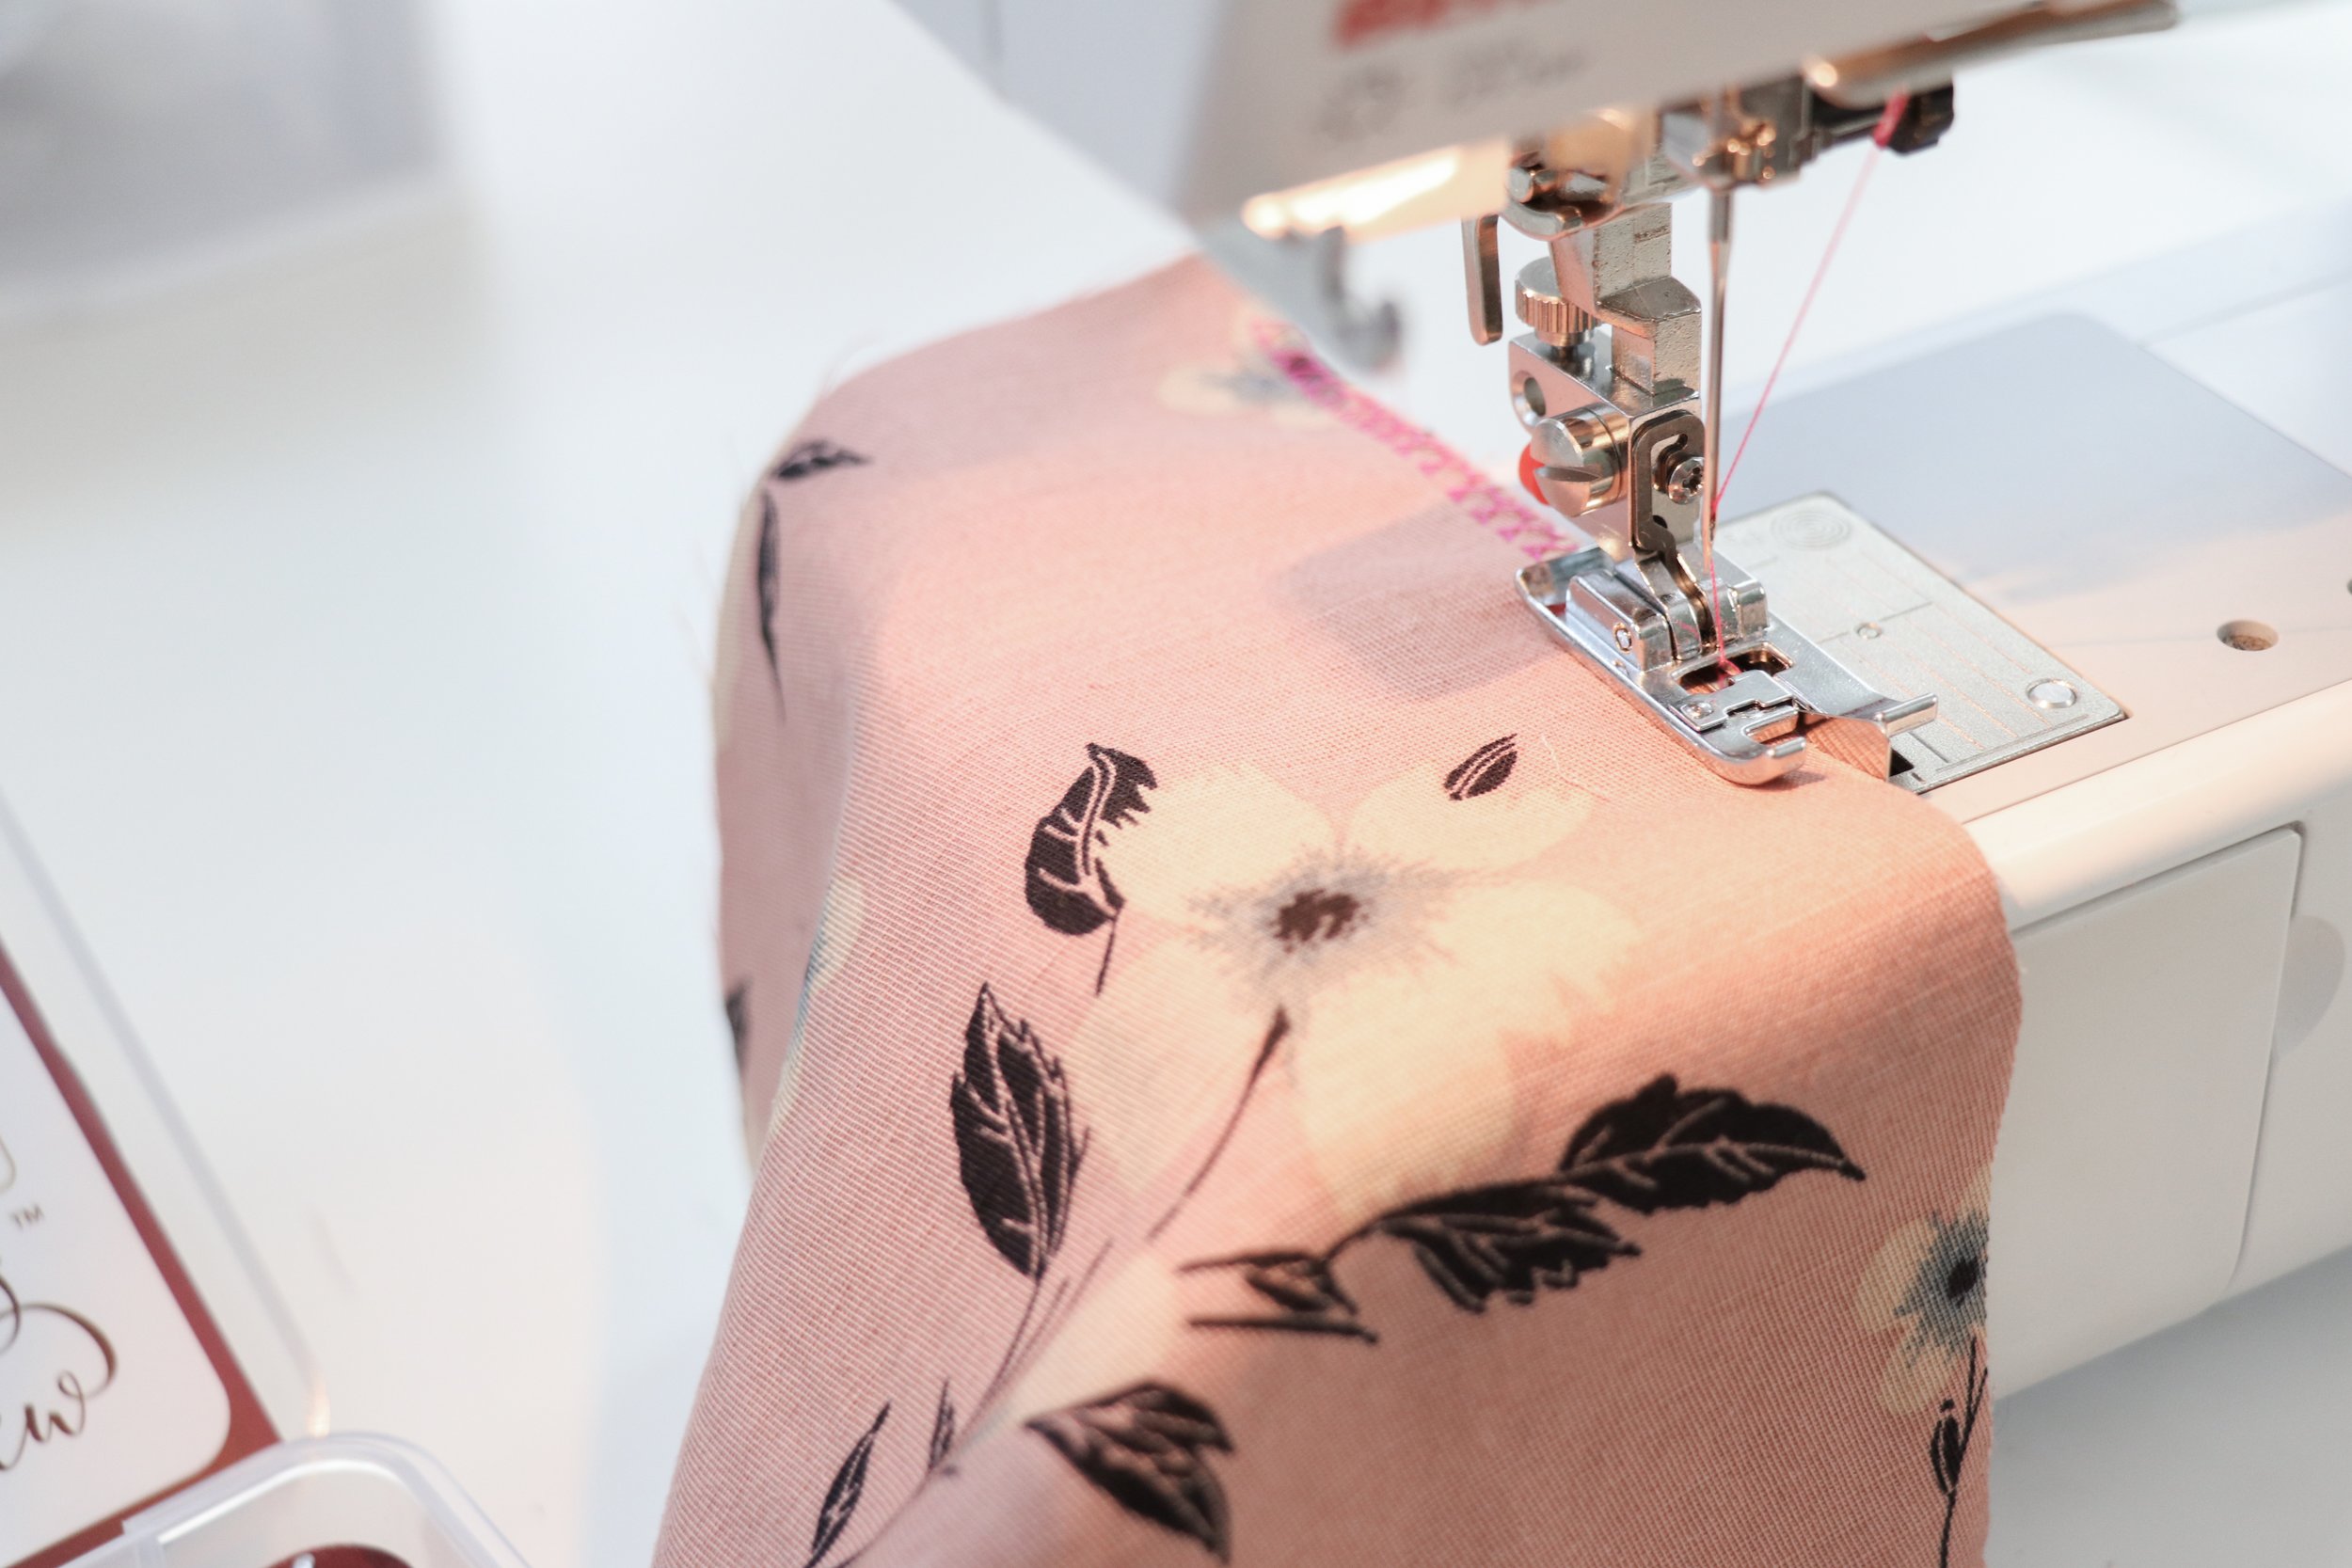
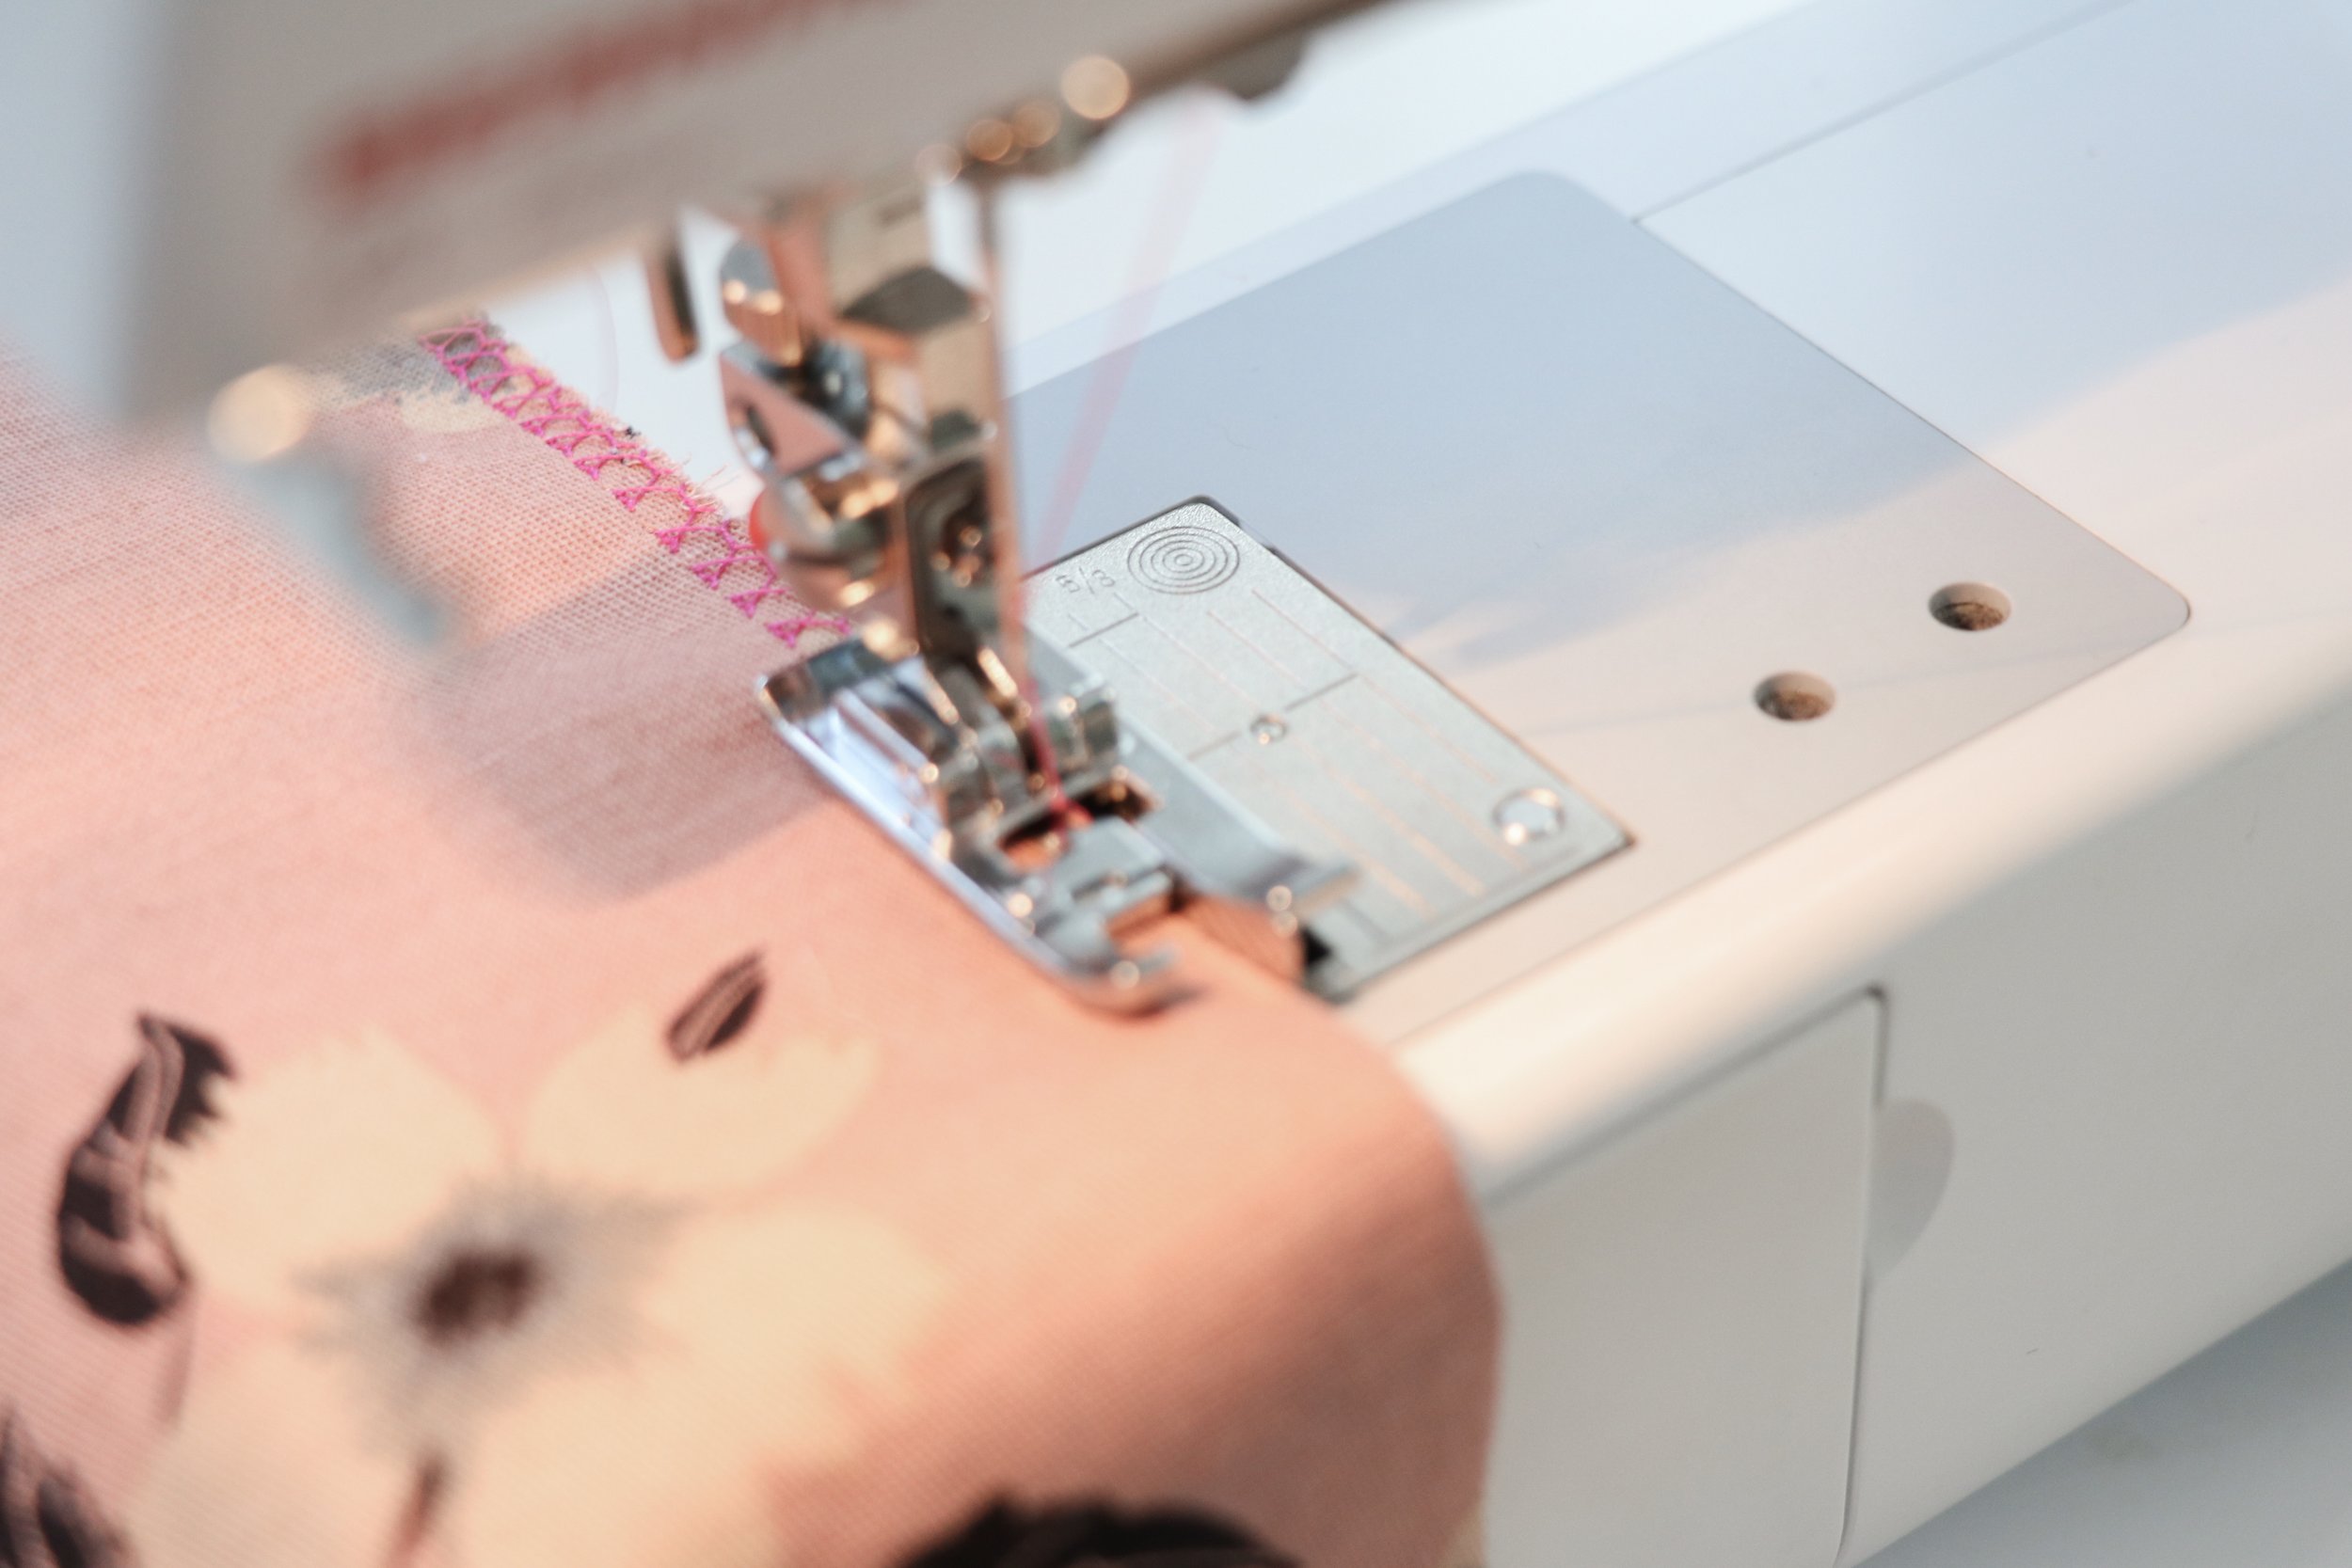
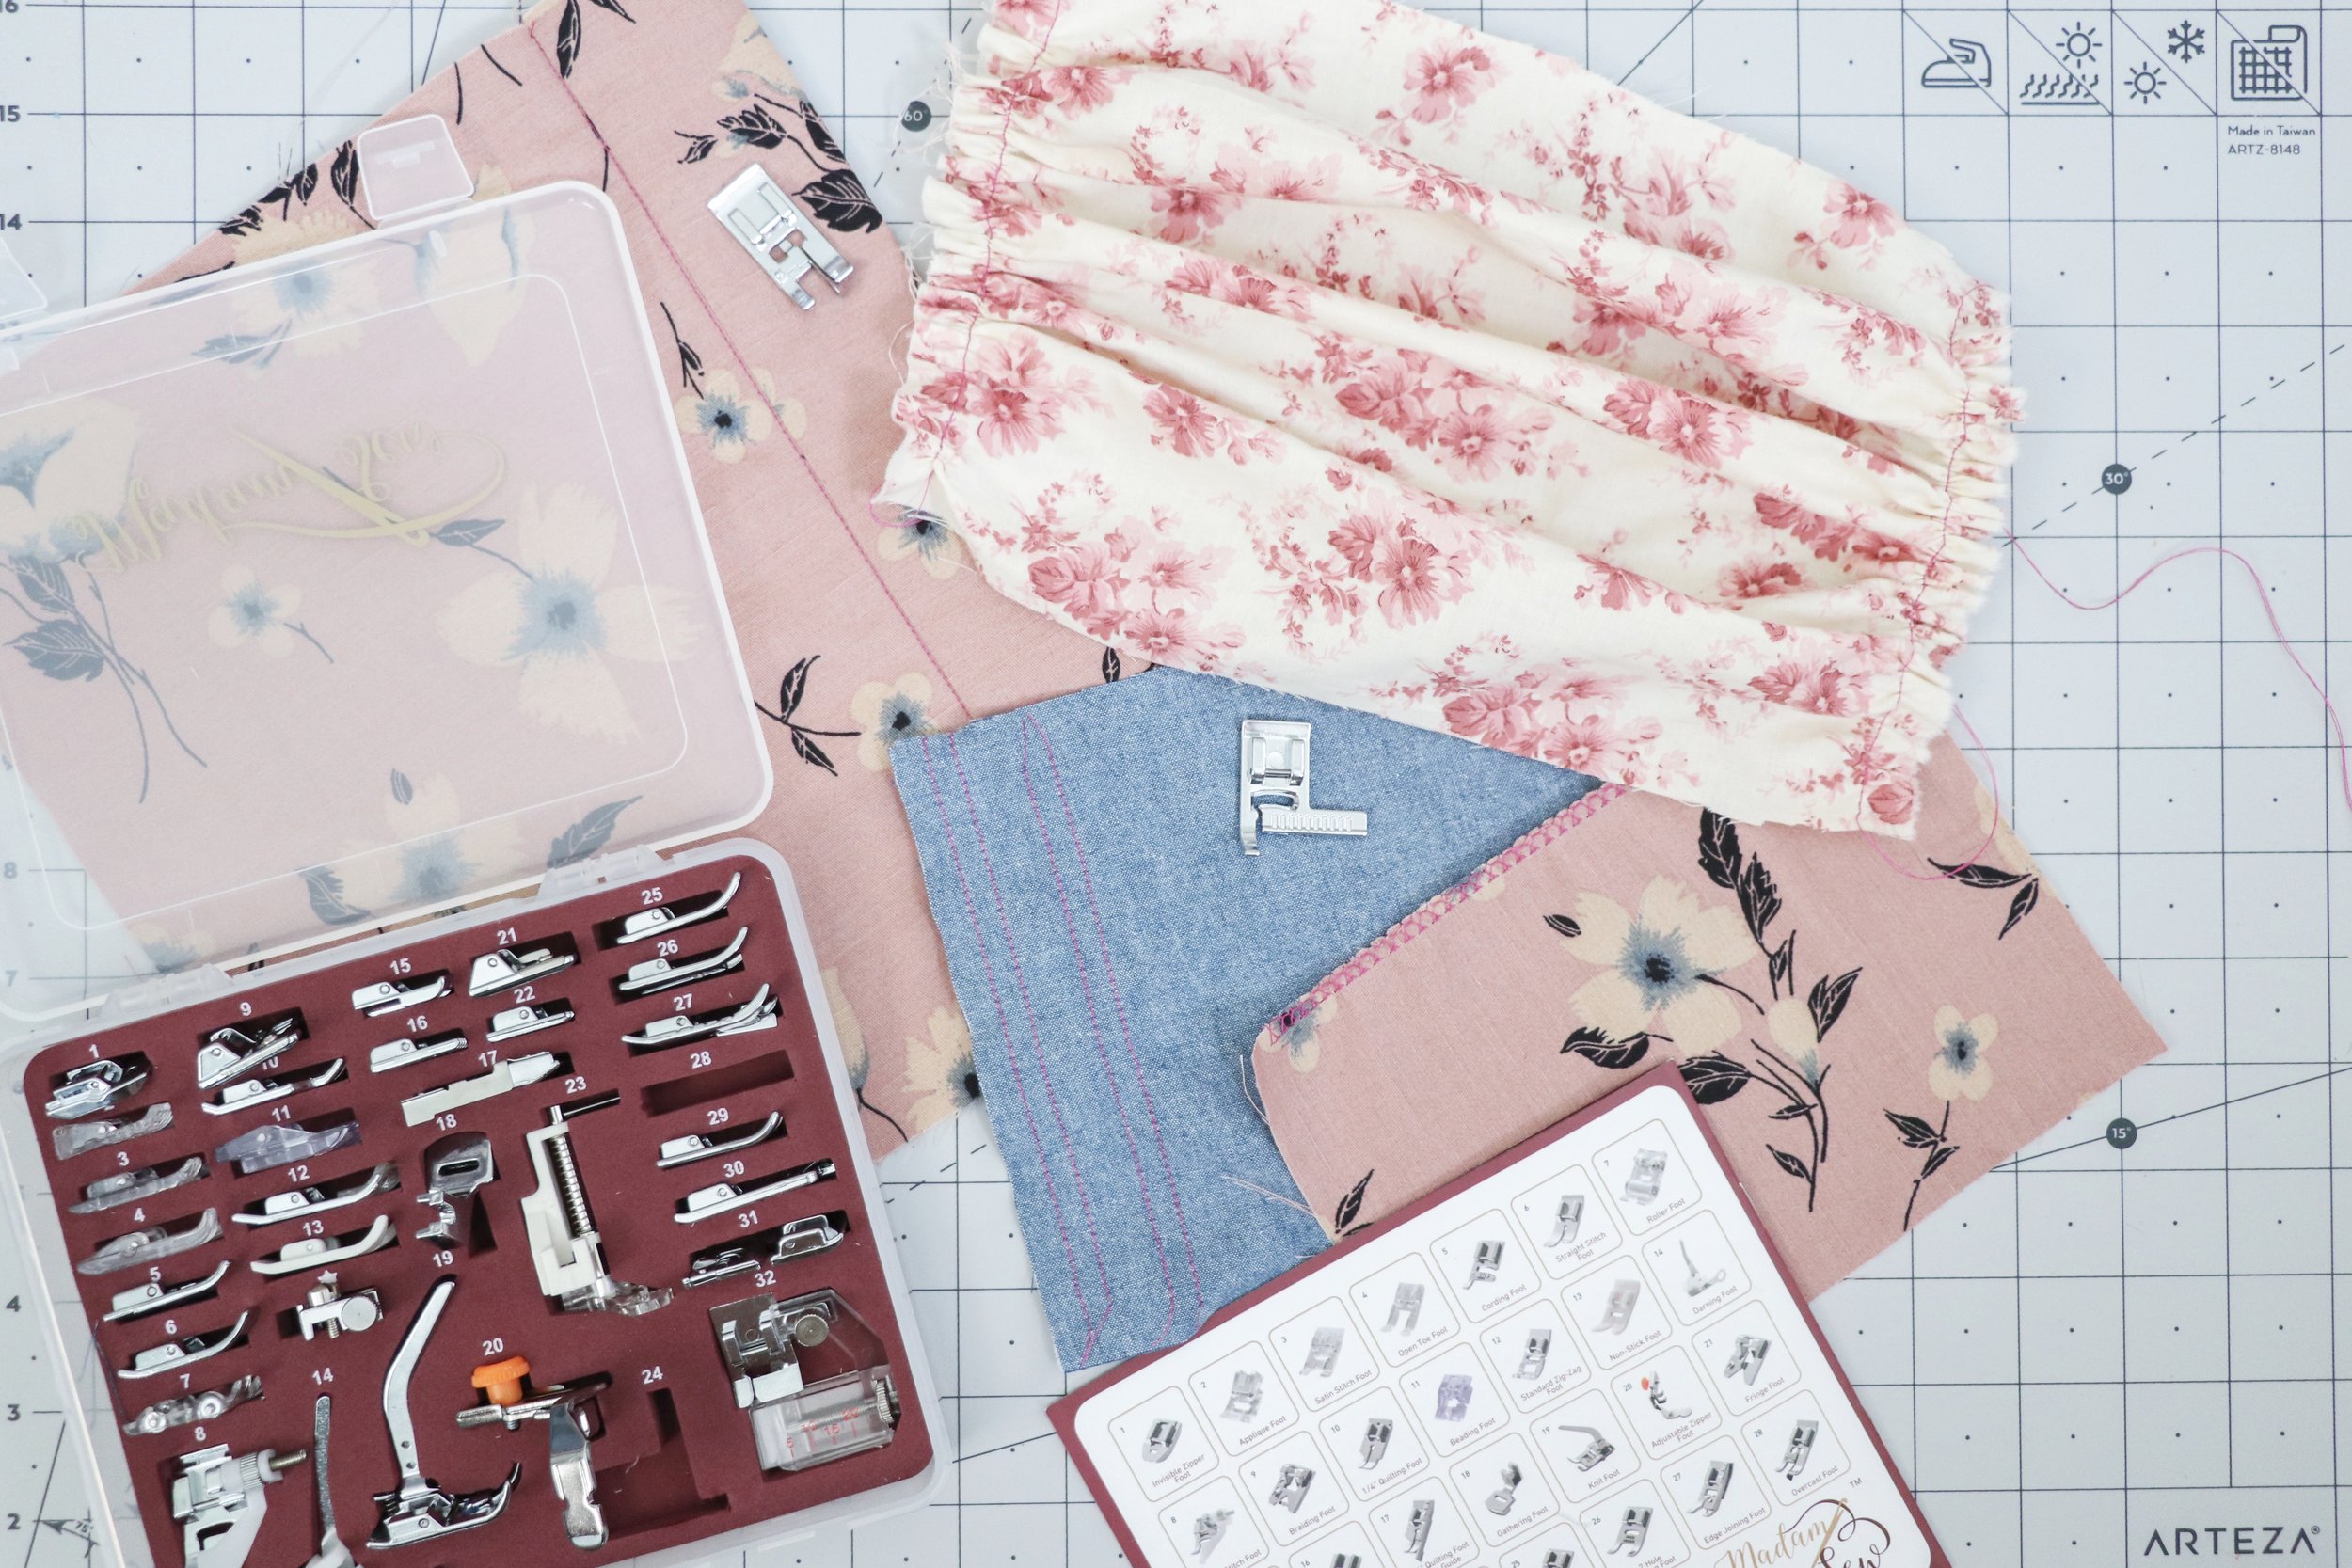
my pants: handmade Named Clothing Ninni Culottes in a light chambray

my ears: Target party section

Penny’s overalls: Pepper Kids

Penny’s tee and sneakers: June and January

Penny’s fanny pack: Target (girls, not toddler. I had to alter the waist strap. And I cut off the glittery bunny ears)

—————————————————————————

Long, photo heavy post alert!

Disney, year 2! It was so fun this year, with Penny being a year older. While there were still plenty of rides she couldn’t ride, she was more aware of what we wee doing and how much fun it was. She kept yelling “that was so much fun!” or “I like that!” after the rides. Especially the Barnstormer rollercoaster and teacups. It appears we a little thrill seeker on our hands. And dare I say, I may have finally started a liking in her for a Disney Princess! She lists the Little Mermaid ride as one of her other favorites, and she even got a Little Mermaid toy as a prize. You have no idea how happy this makes me! I love that she loves Cars and Mickey, but I was such a Little Mermaid fan when I was little.

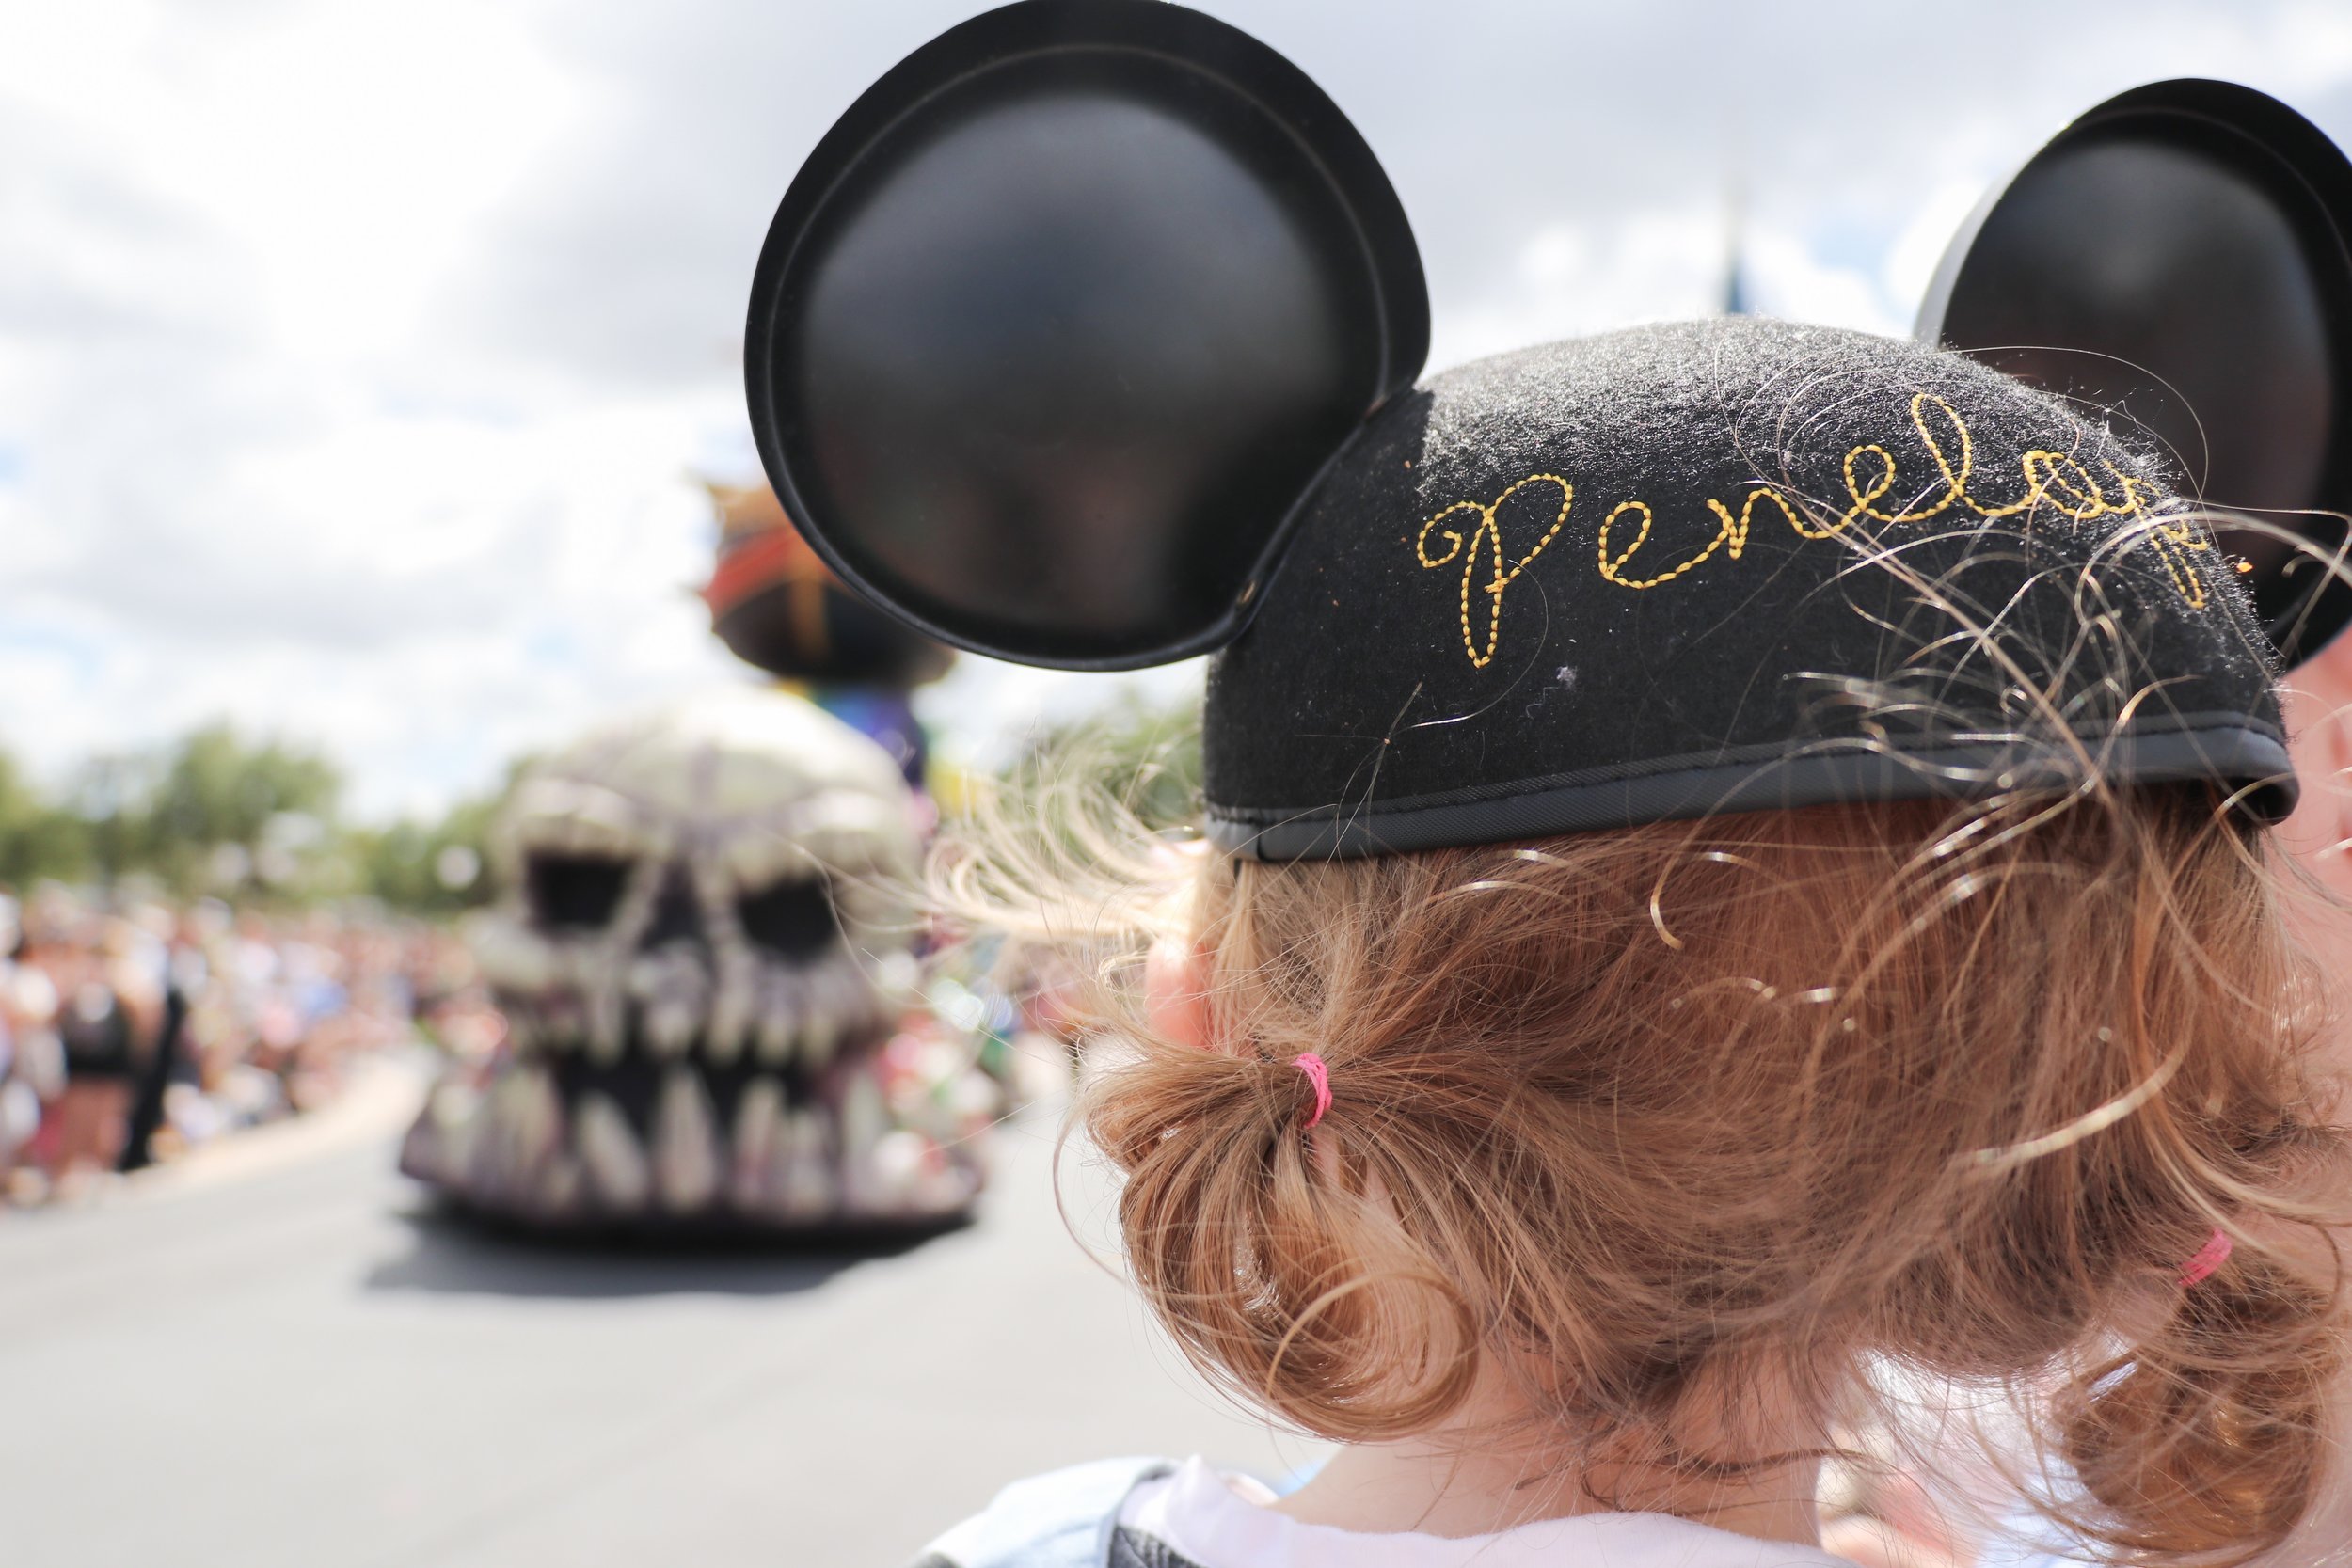
At Magic Kingdom, we literally spent all day there. Got there right at rope drop at 9am, and stayed for the fireworks spectacular at 9pm. And surprisingly, we still didn’t hit all the rides that we could’ve, ha. Granted, we did ride some of Penny’s favorites multiple times, and we also stopped and sat down for her to take a 45 minute nap. But we spent most of our time in Fantasyland, hitting up every ride we could there. Also got a good spot for the parade, spent a bit of time on Main street picking out some prizes, managed to squeeze in a few rides in Tomorrowland, and then very quickly ran through Adventureland at the end. We love Magic Kingdom so much! If we only ever went to one theme park ever again, we would have no problem picking this one. Now if only it wasn’t so freakin expensive so we could do it all the time haha.

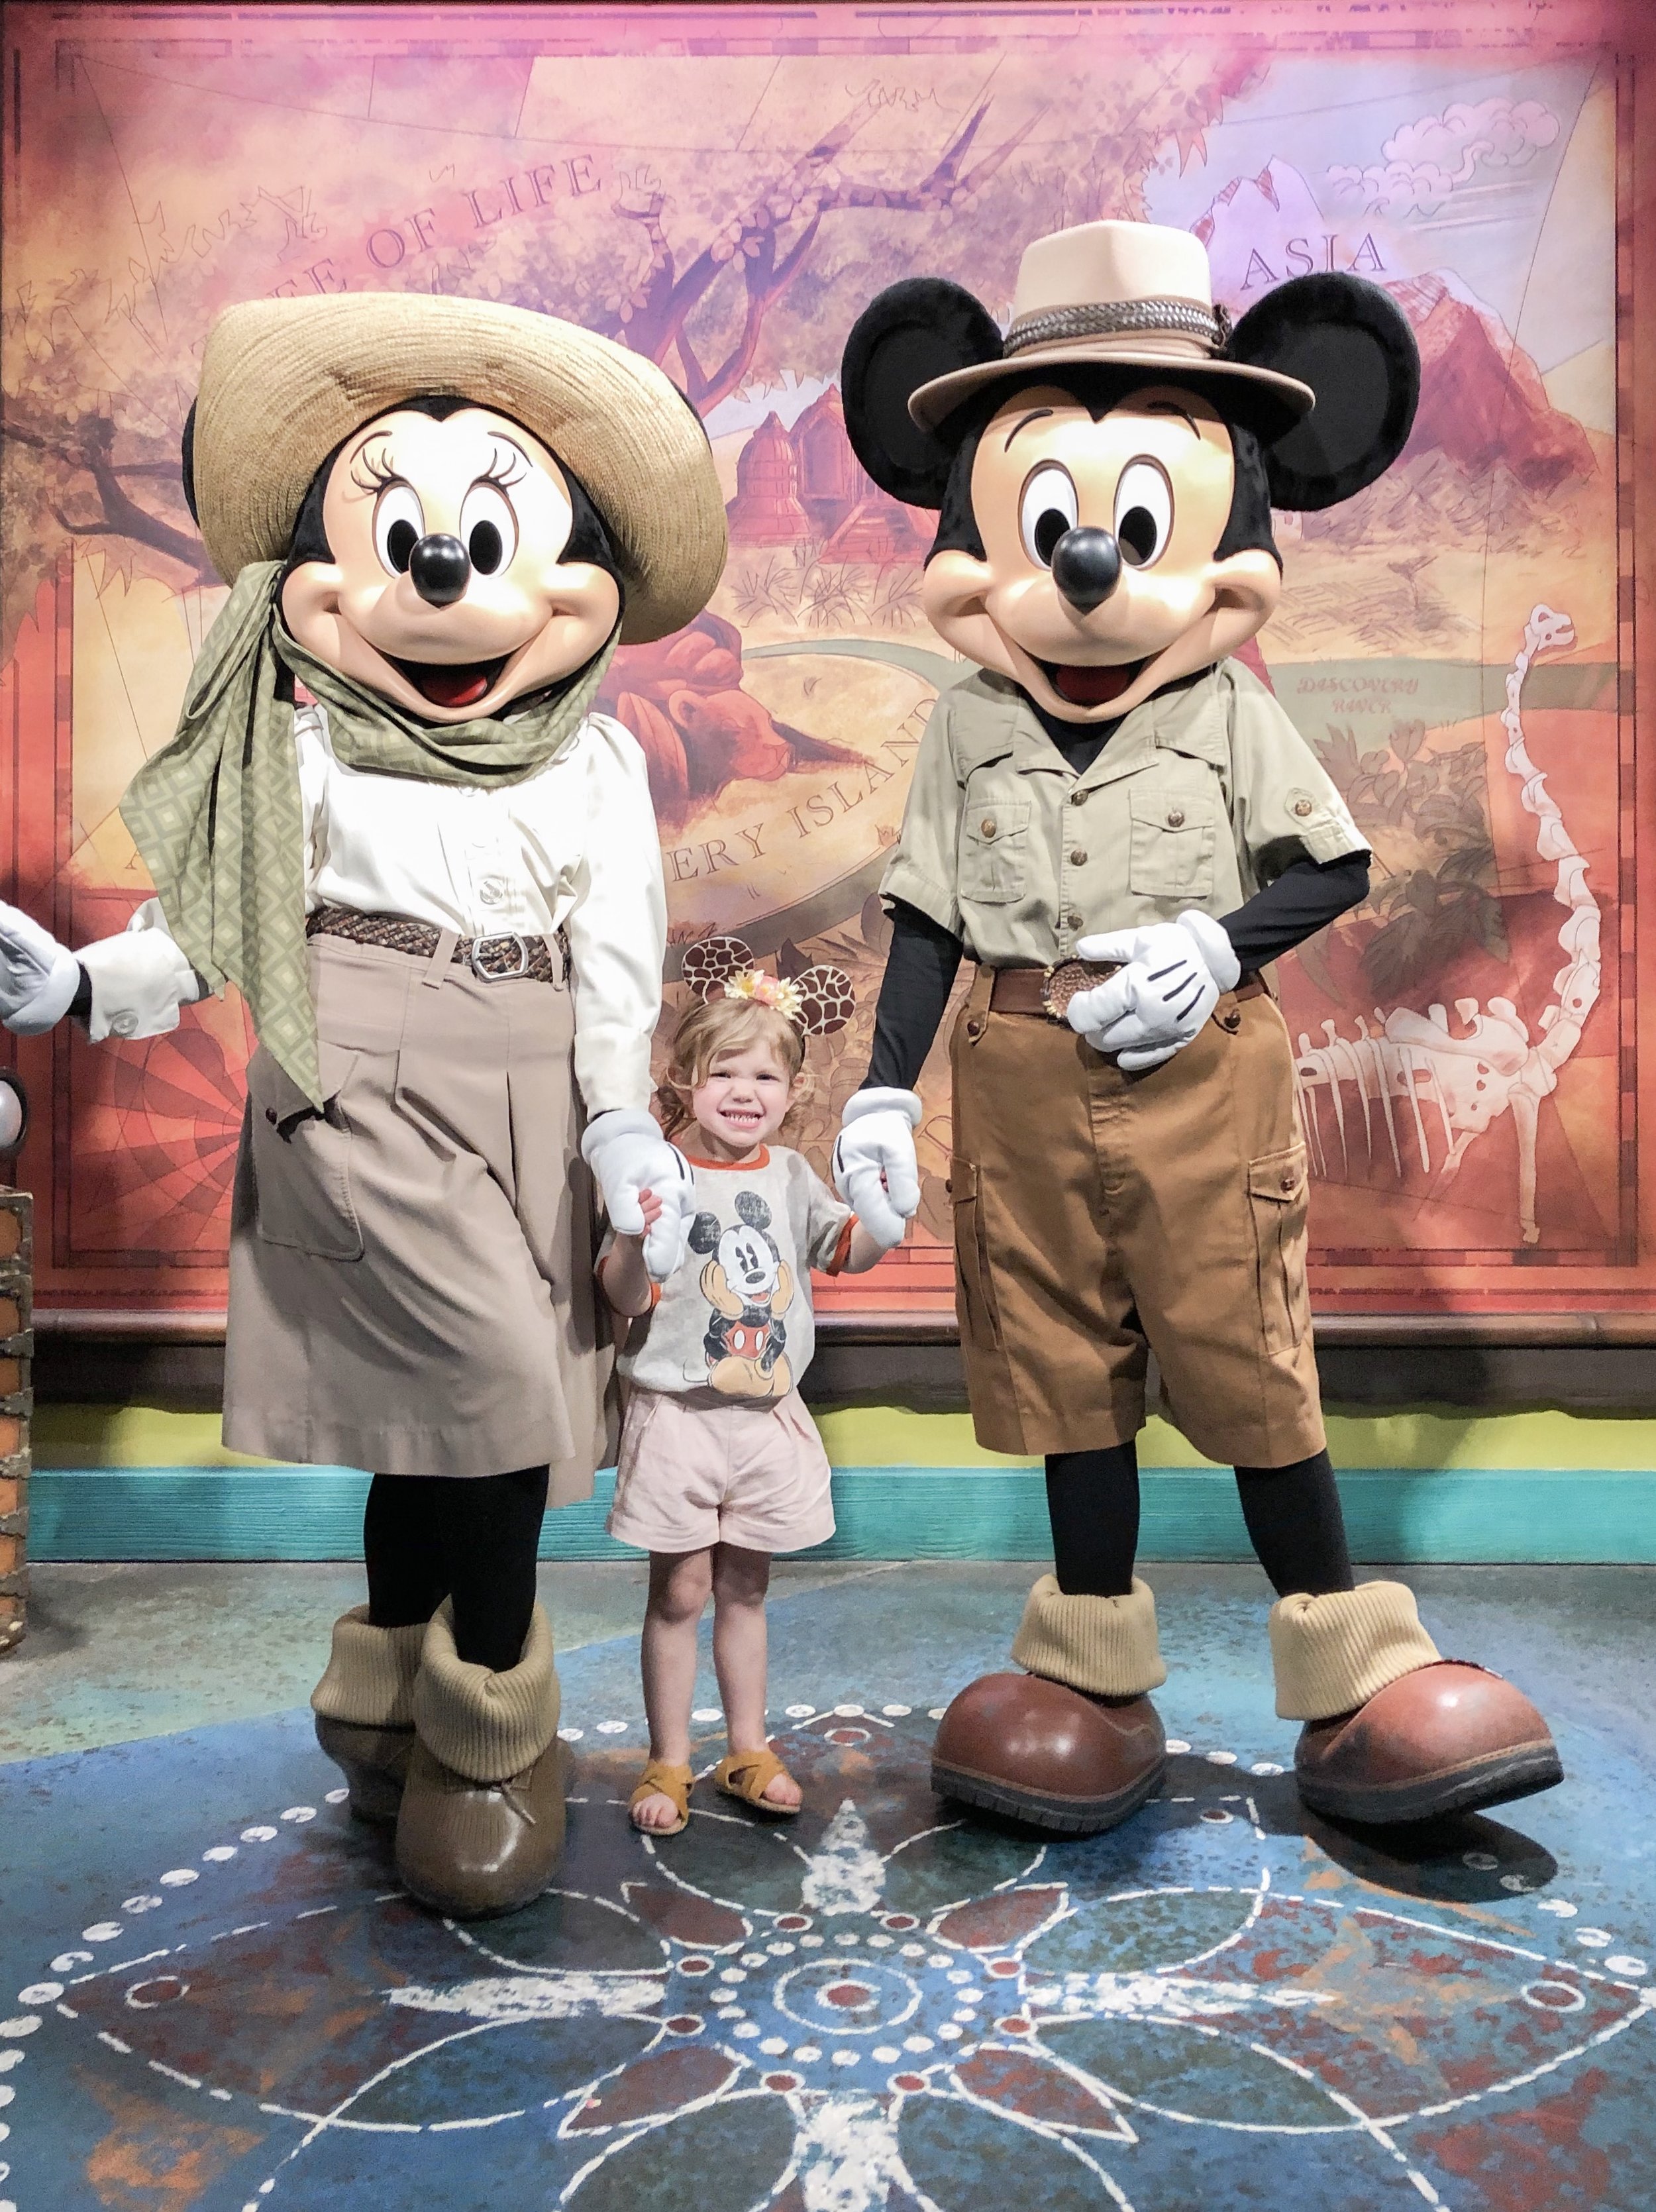
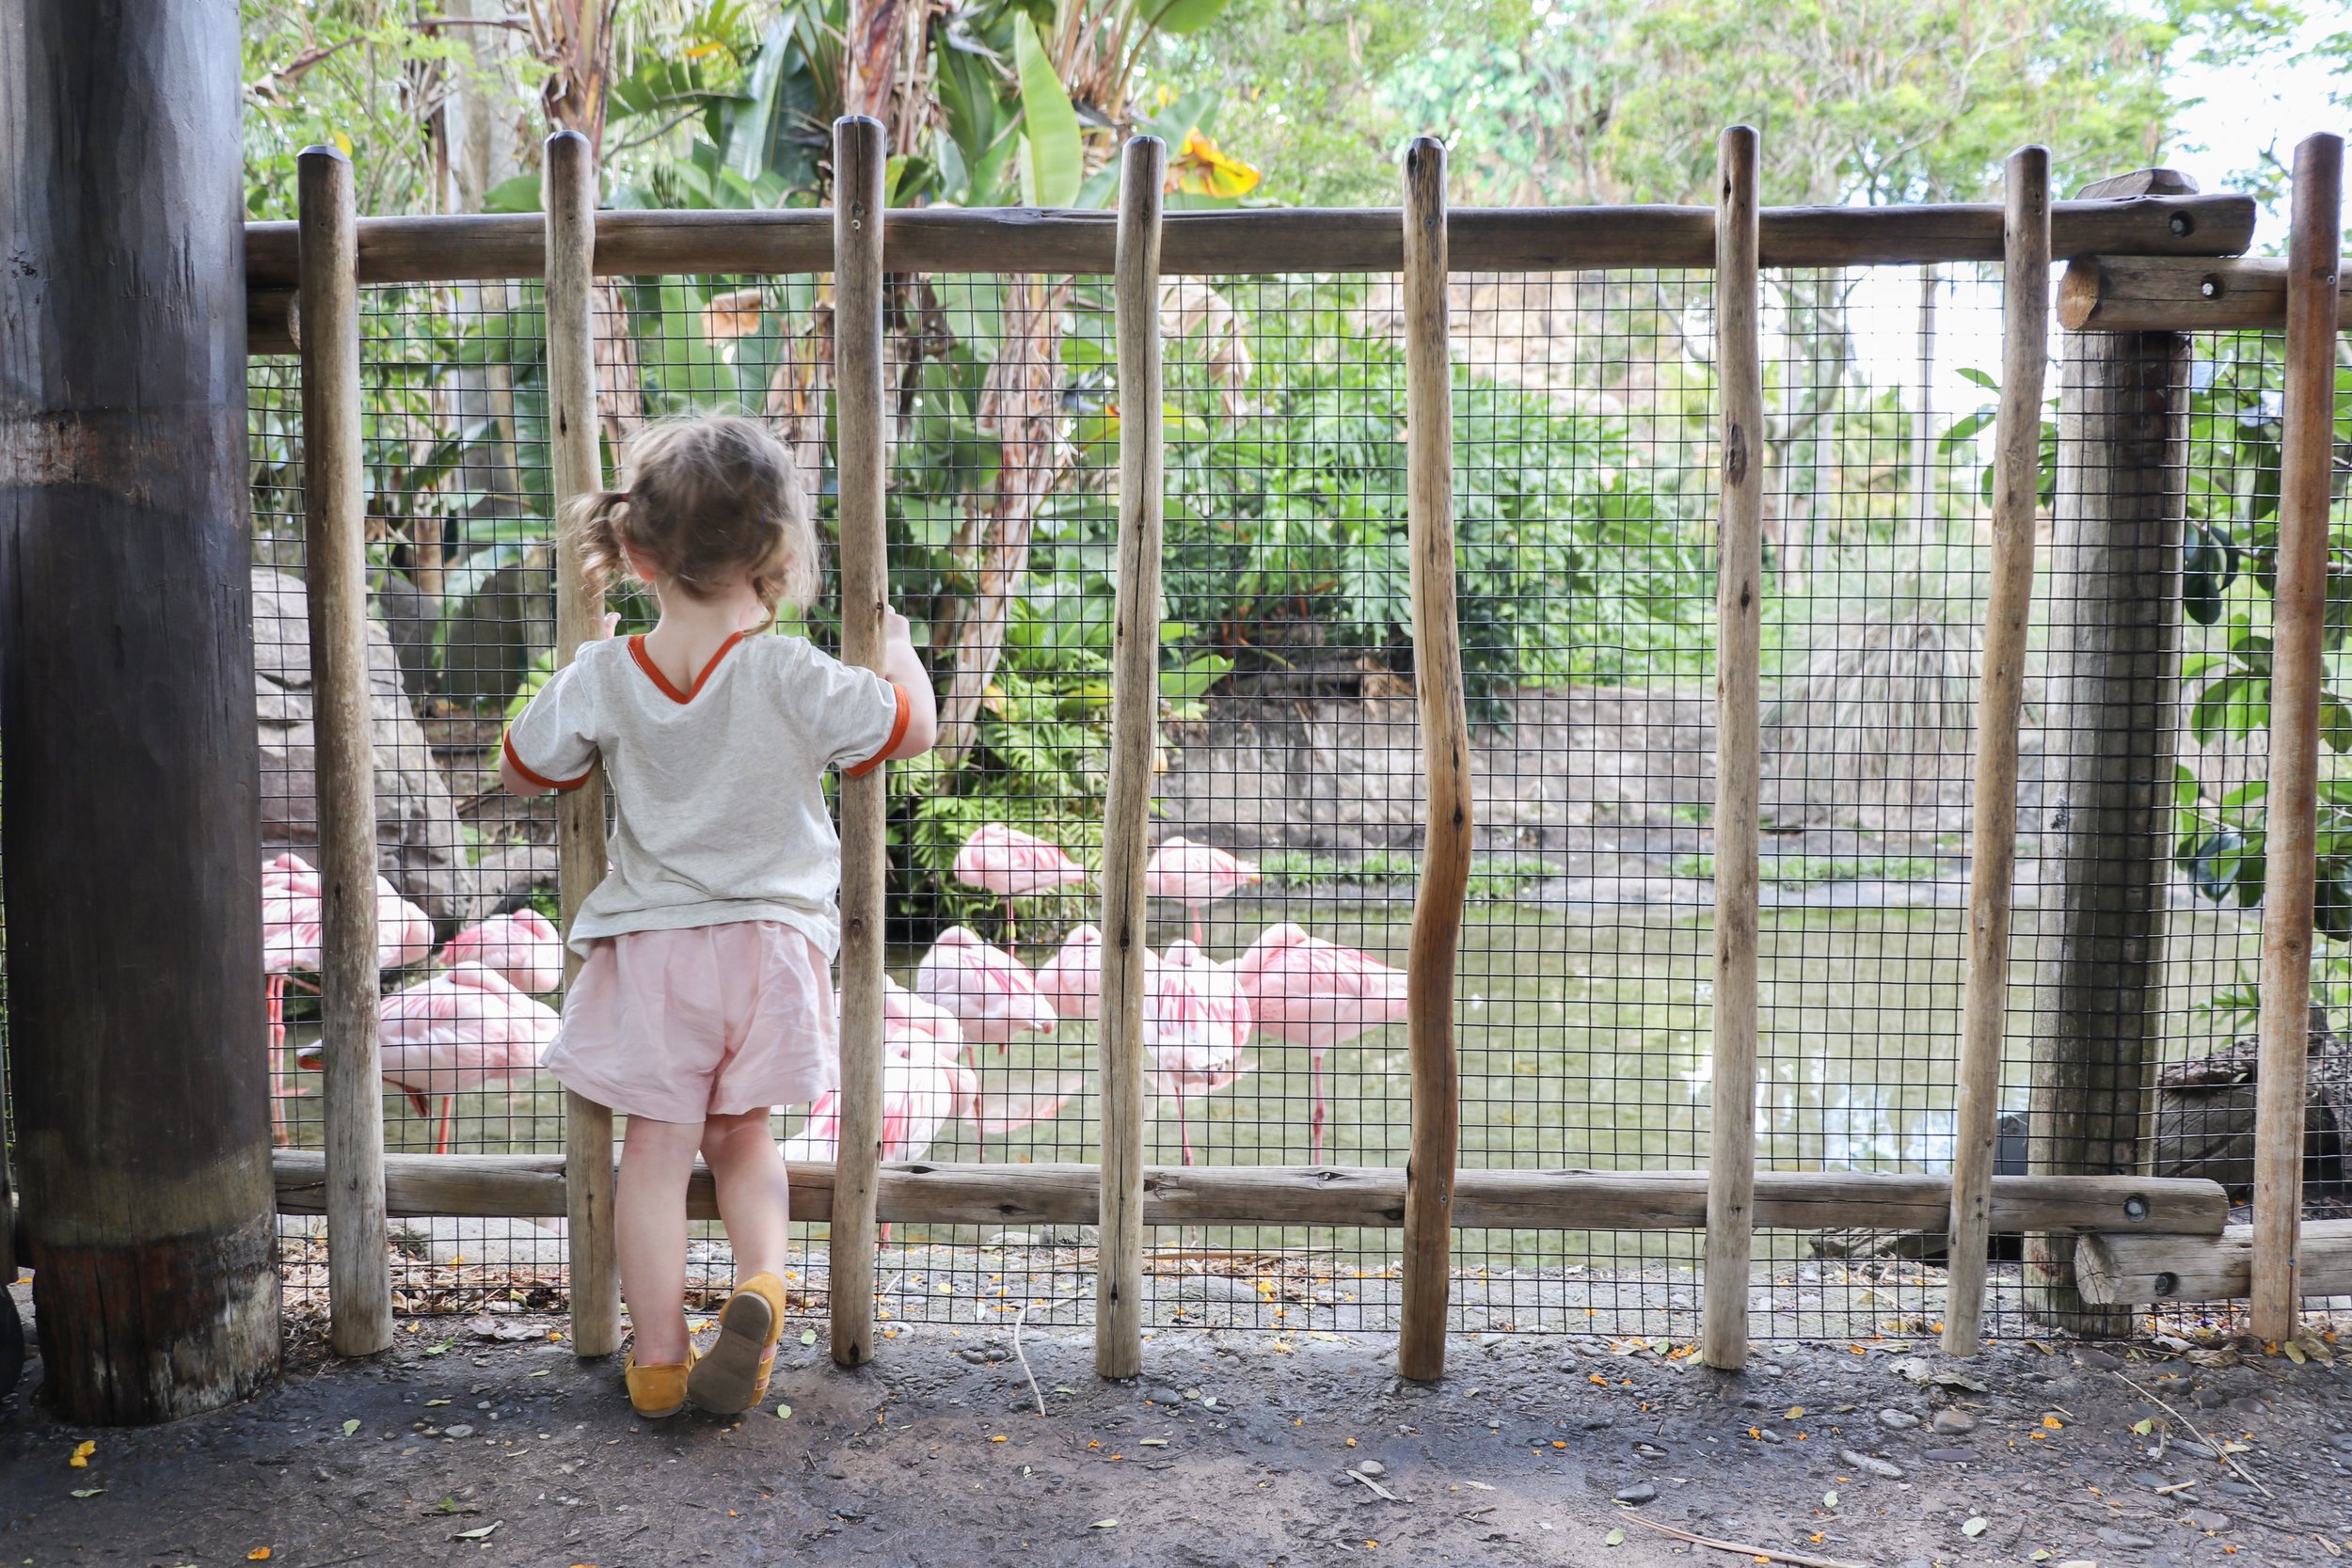
Scroll down for Animal Kingdom!

——————————————————————————————————————

Animal Kingdom outfits -

Mickey tees: Target

my skirt: handmade Megan Nielsen Wattle skirt (see original post)

Penny’s shorts: handmade by shortening a Hello Dear Kids pants pattern

Penny’s ears: DIY here

———————————————————————

This was Penny’s first time at Animal Kingdom, since we didn’t do it last year. Even though it doesn’t have nearly as many rides for her to ride, I still think she had fun! We discovered she reaaaaaally loves flamingos (had no idea!). She stood there and stared at them forever, and this girl never stands still. But she she just watched them and watched them, and cried every time we tried to leave them.

She also saw lots of animals on the safari (including a giraffe that walked right next to the jeep!), danced like crazy at the lion king show, helped played the drums with the street performers, met Mickey and Minnie (!!!), and had a blast in the dino dig yard. We did also spend a little bit of time in Pandora, which was pretty cool! I realize now I never took any pictures in that area.

Handmade Wardrobe // Snapshots // Ruska dress at Wicked Tulips

dress: Named Clothing Breaking the Pattern Ruska knot dress a rib knit from Harts Fabric

scissors hair clip: Turtle Story

Penny’s dress: Gymboree

both our boots: Hunter boots

——————————————————————

We may be kind of crazy, but the day after returning from vacation, we jumped right back in the car and drove over an hour down to Wicked Tulips farm in Rhode Island. I’ve been wanting to visit the last couple years, but they are only open for a short couple of week period each year, and I didn’t want to miss the opportunity again!

It was the perfect opportunity to wear my new Ruska dress that I finished right before leaving for Florida. It’s my first make form the Breaking The Pattern book, which I’ve been holding onto since November. I knew the Ruska knot dress would be my first make because it is sooooo my style. Probably the main reason I wanted the book, ha. For having such an interesting detail, it was actually a surprisingly quick sew. I was able to finish it ,from start to finish, in one Penny nap time, which doesn’t happen often. And I also didn’t have to make any modifications! Perfect for me, straight form the pattern. My only regret is not having enough fabric left to make a matching outfit for Penny, of course haha.

Now back to Wicked Tulips. For those of you in the New England area that want to visit next year (I don’t think they are open past this weekend), here are my two tips:

  1. Wear rain boots, or hiking boots, or any boots or shoes you don’t mind getting muddy. Definitely don’t wear fancy shoes. The parking lot, the flower fields - its all muddy. Even in rainboots, Penny slipped and fell right on her butt in the mud…in her cream colored dress.

  2. Expect A LOT of people. My photos are deceiving. The crowd is INTENSE. We went right at opening on a Wednesday morning, and it was still insane. I knew this going in, so I fully expected a lot of people, and a lot of people in the background of my photos. So it wasn’t upsetting. The reason you can’t tell in my photos is because I decided, after the fact, to try out some of my photoshop skills and try removing as many background people as I could! They’re not perfect, but I’m pretty proud of what I did. It was good editing practice.