handmade wardrobe // Sudley dress, and matching Cottesloes, too!

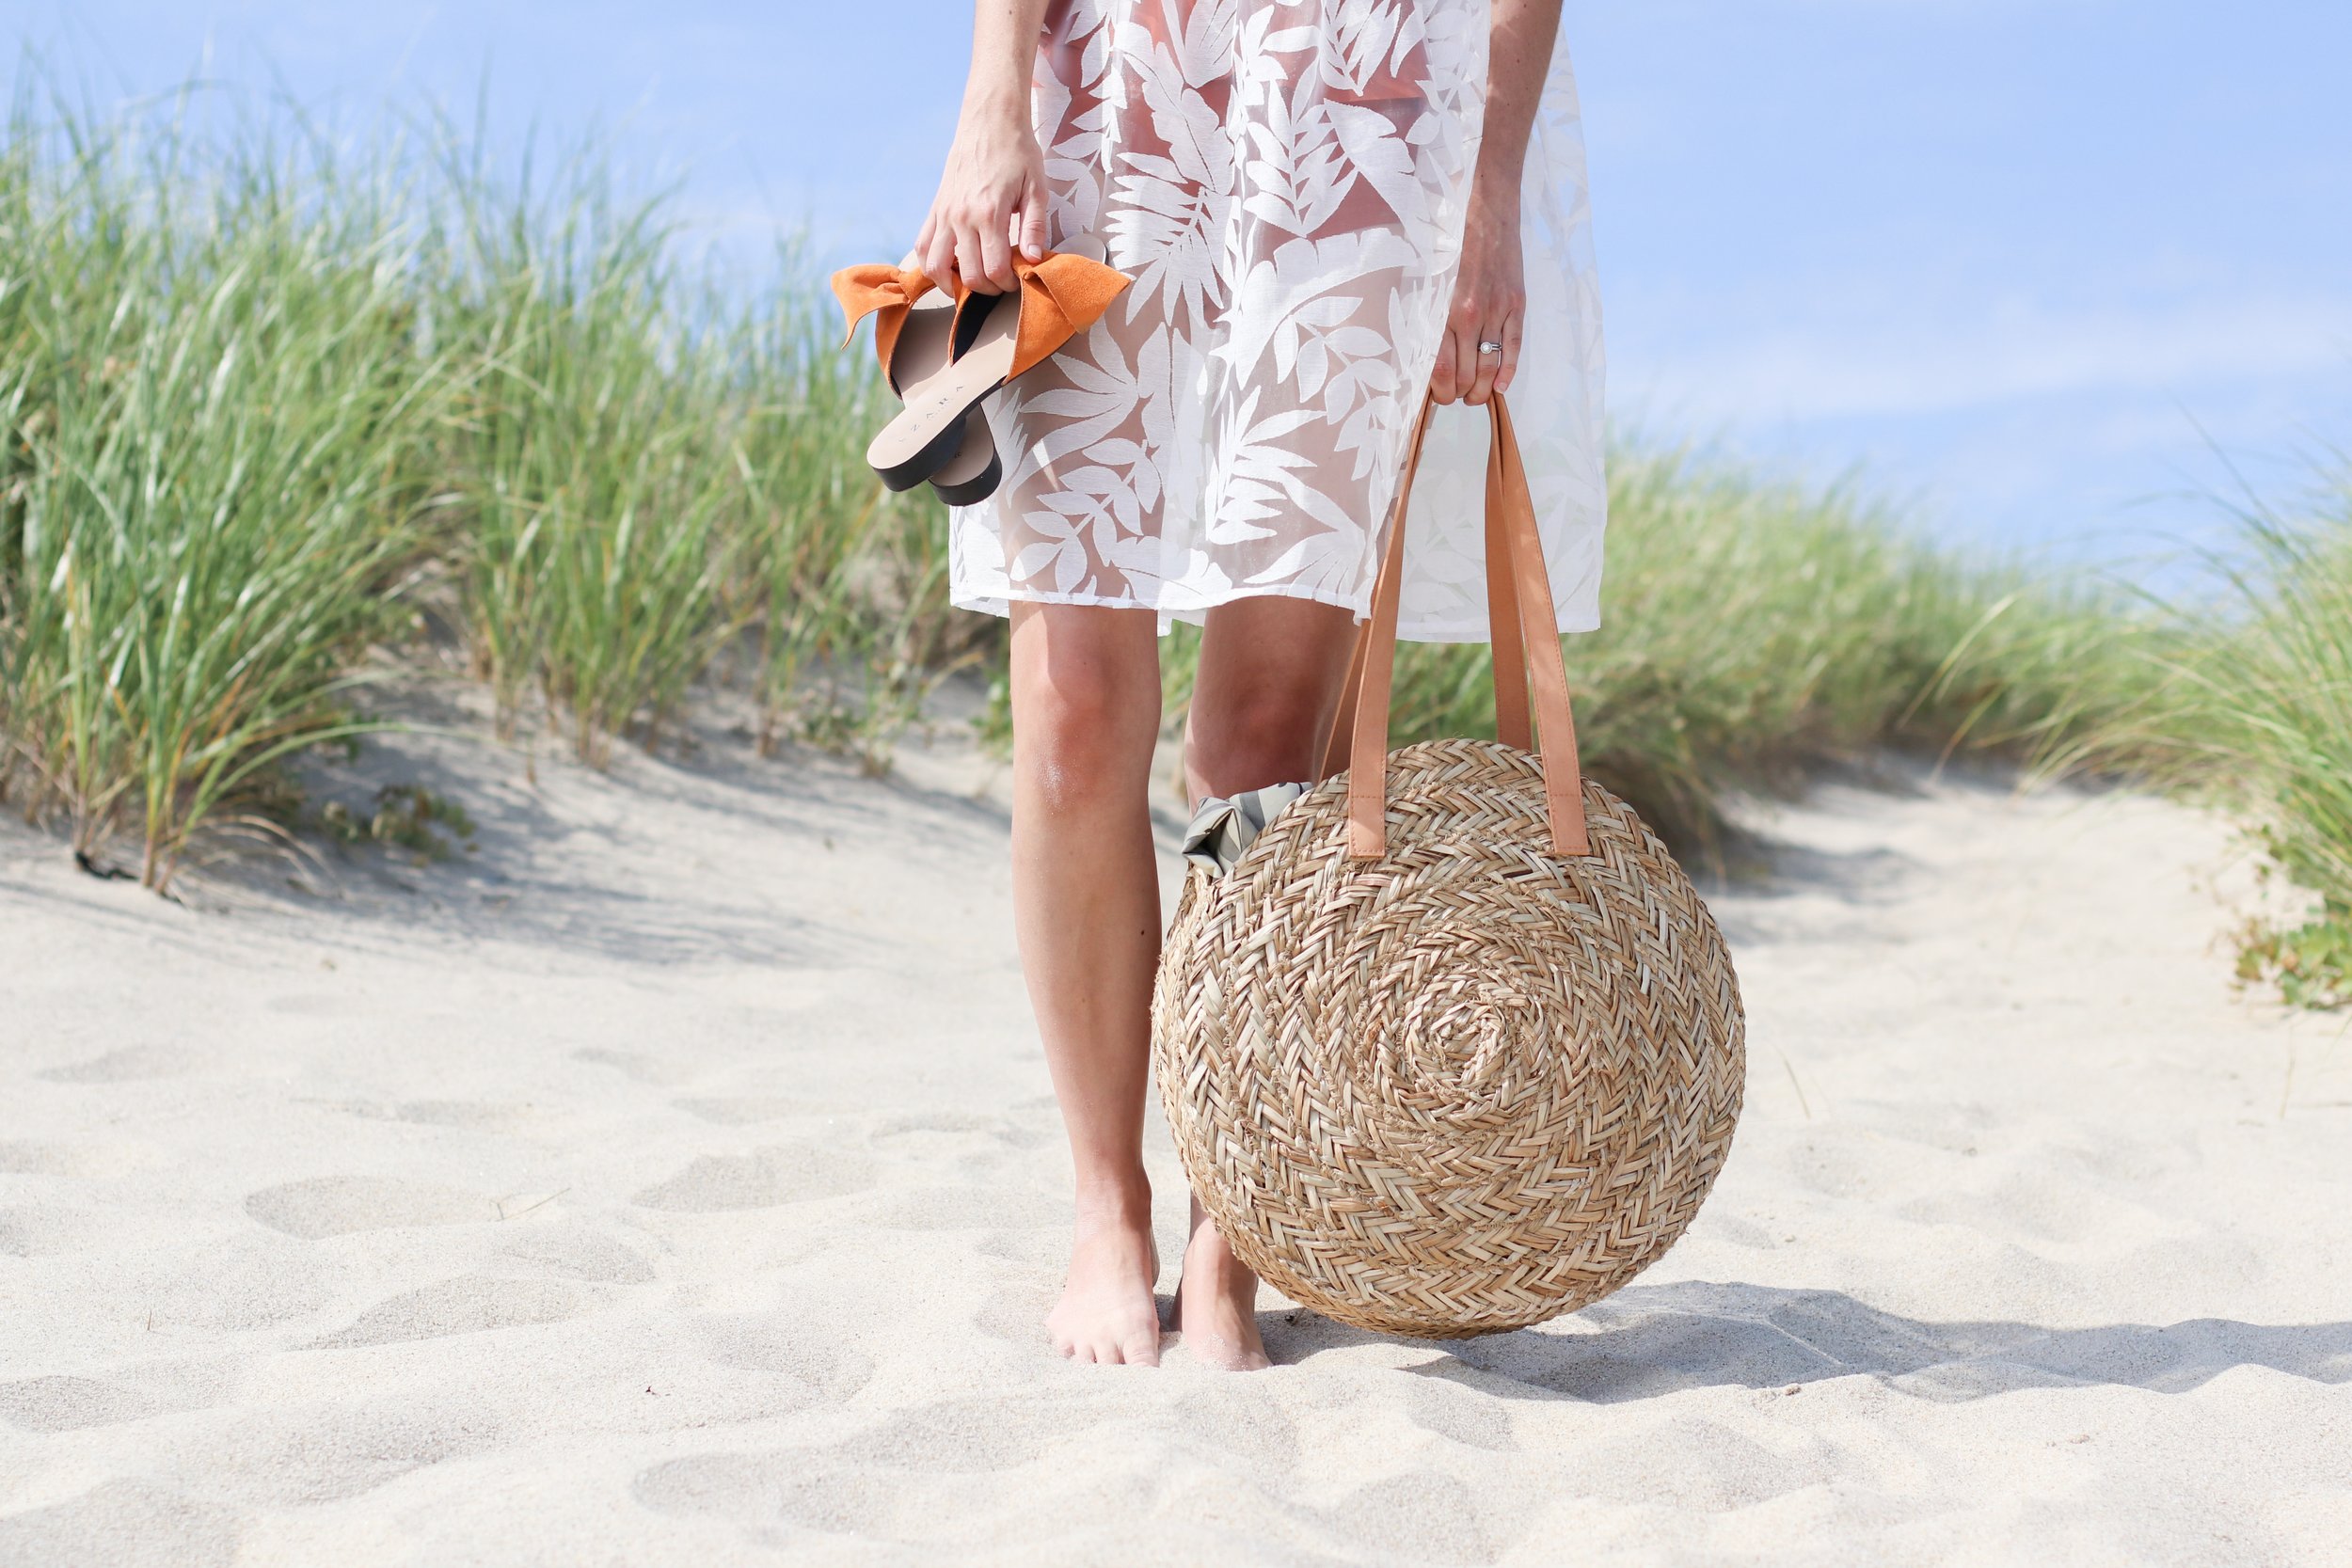
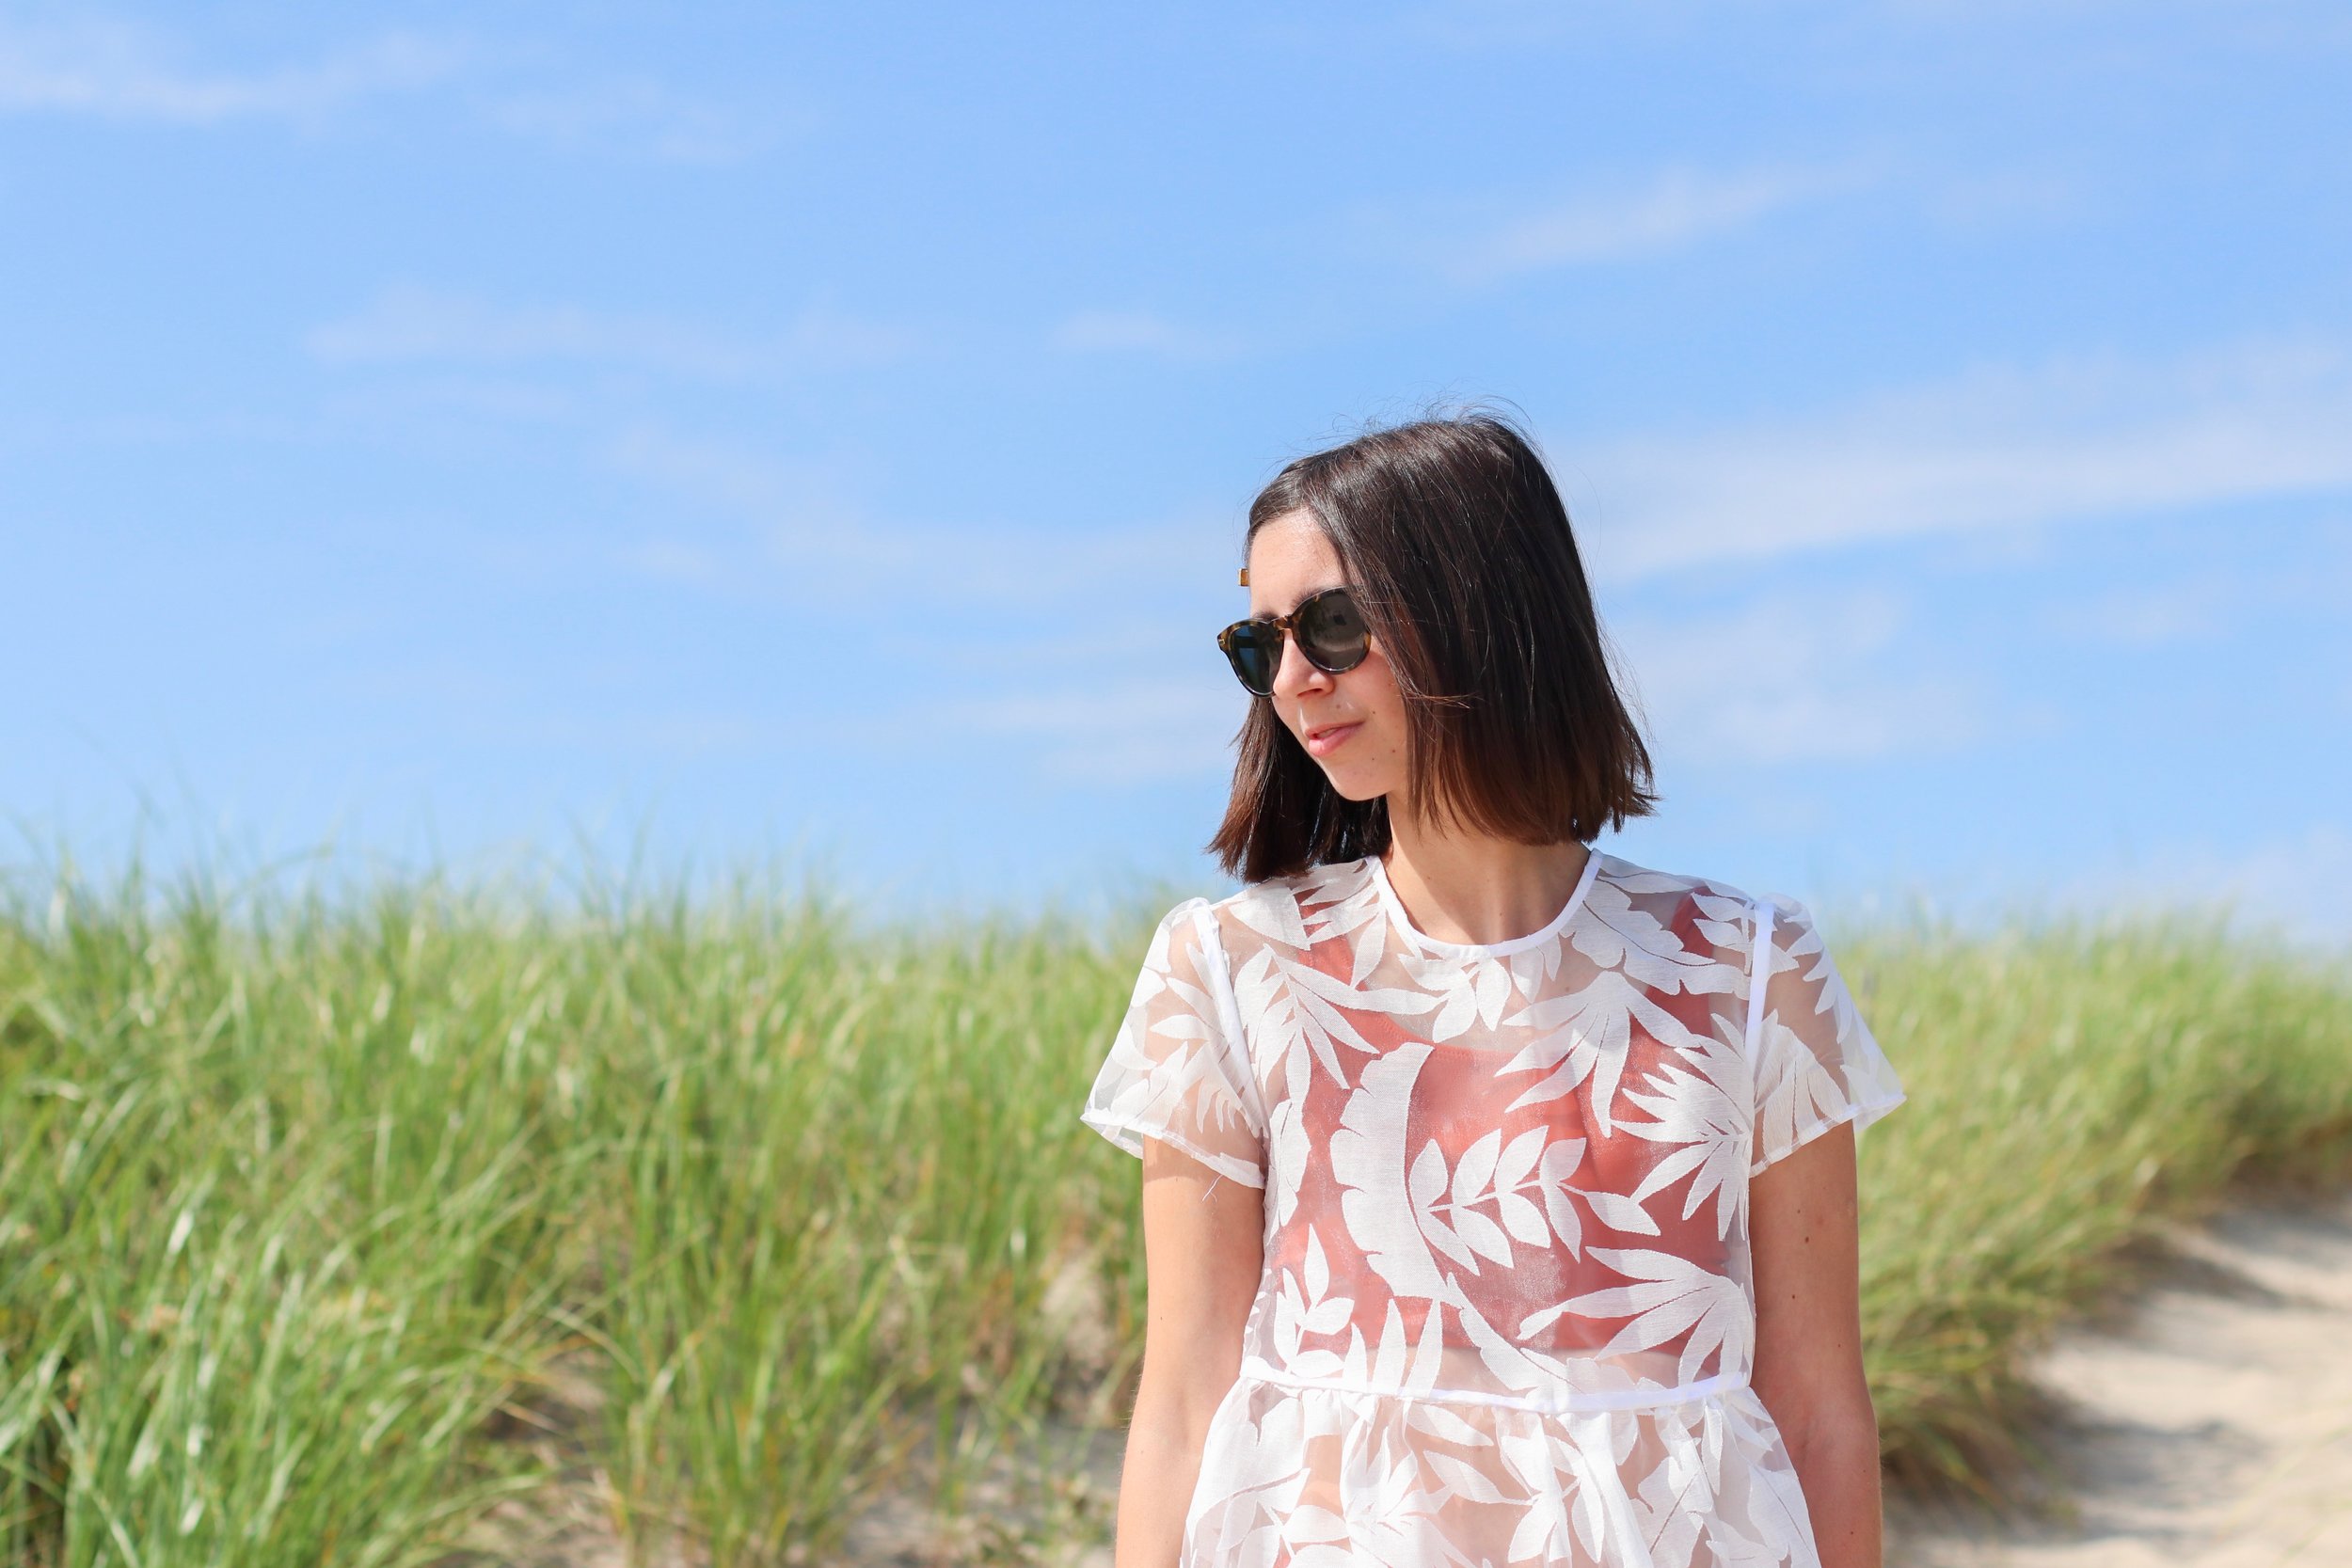
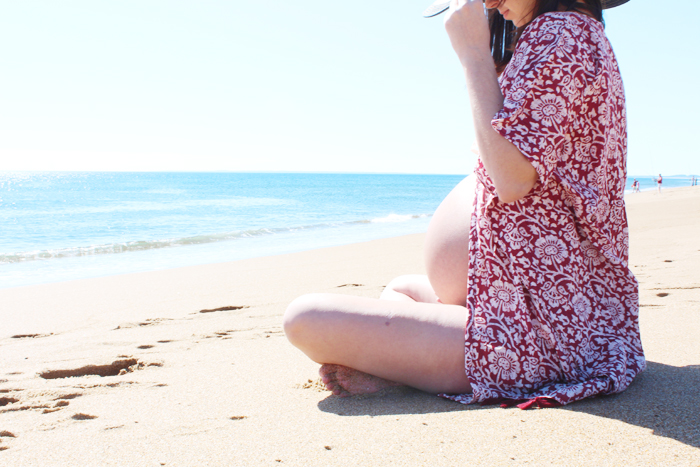
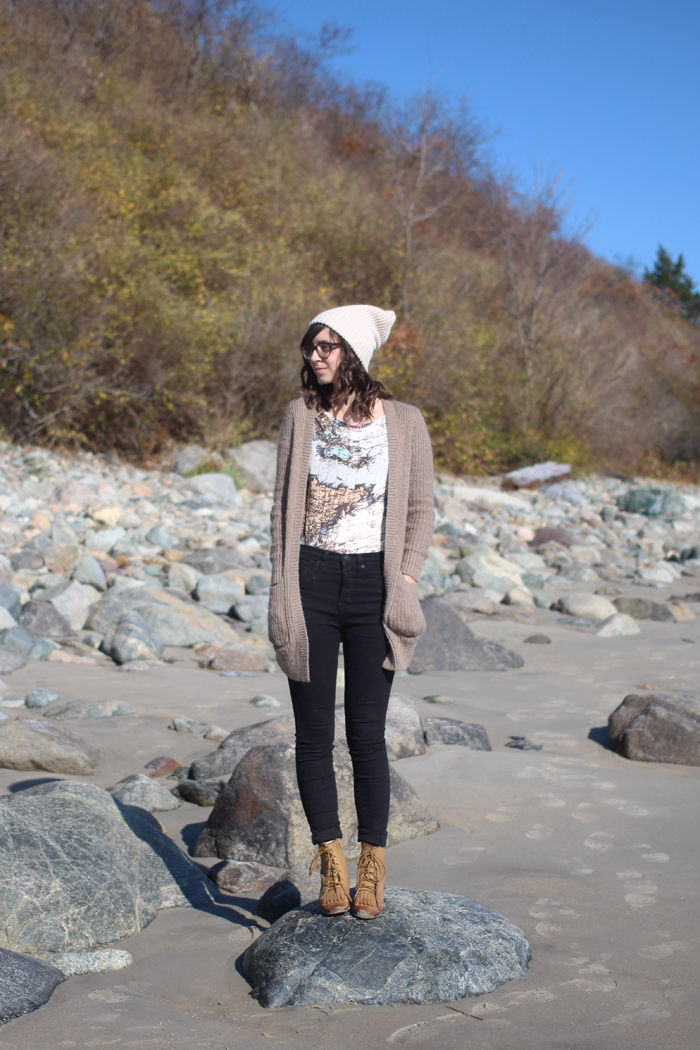
dress: Megan Nielsen Patterns Sudley dress in a burnout organza from Joann Fabrics (no longer available)

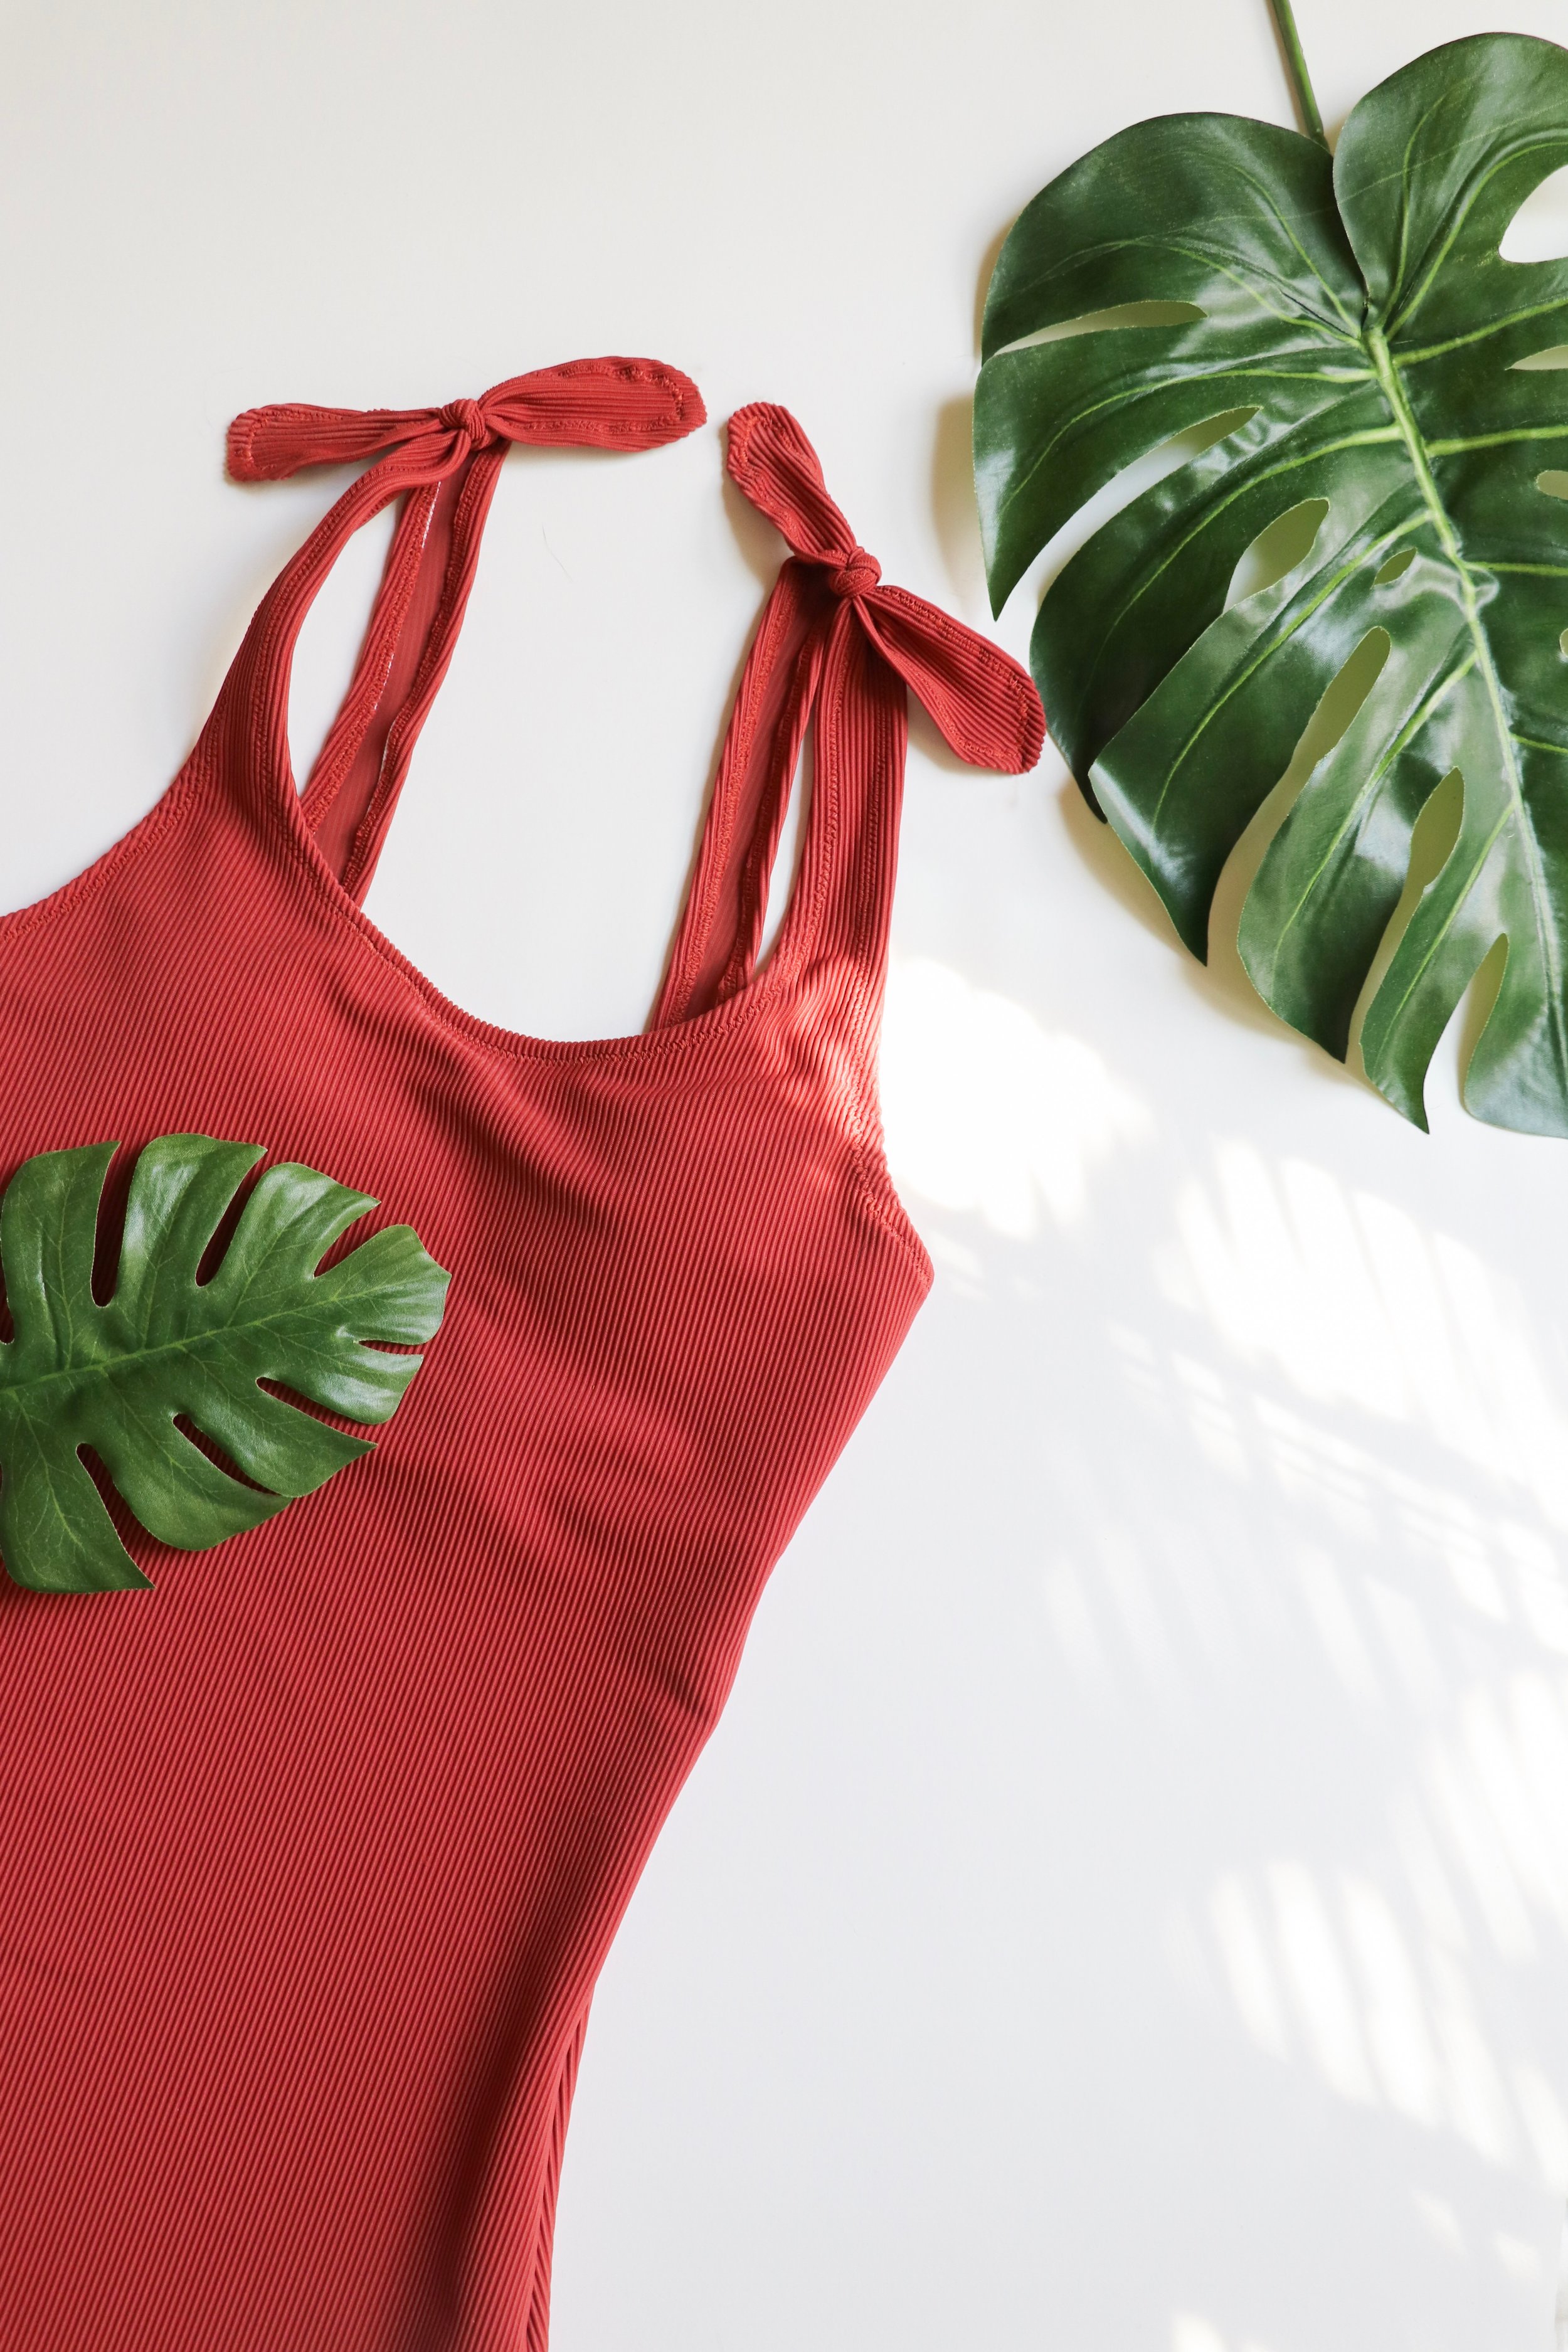
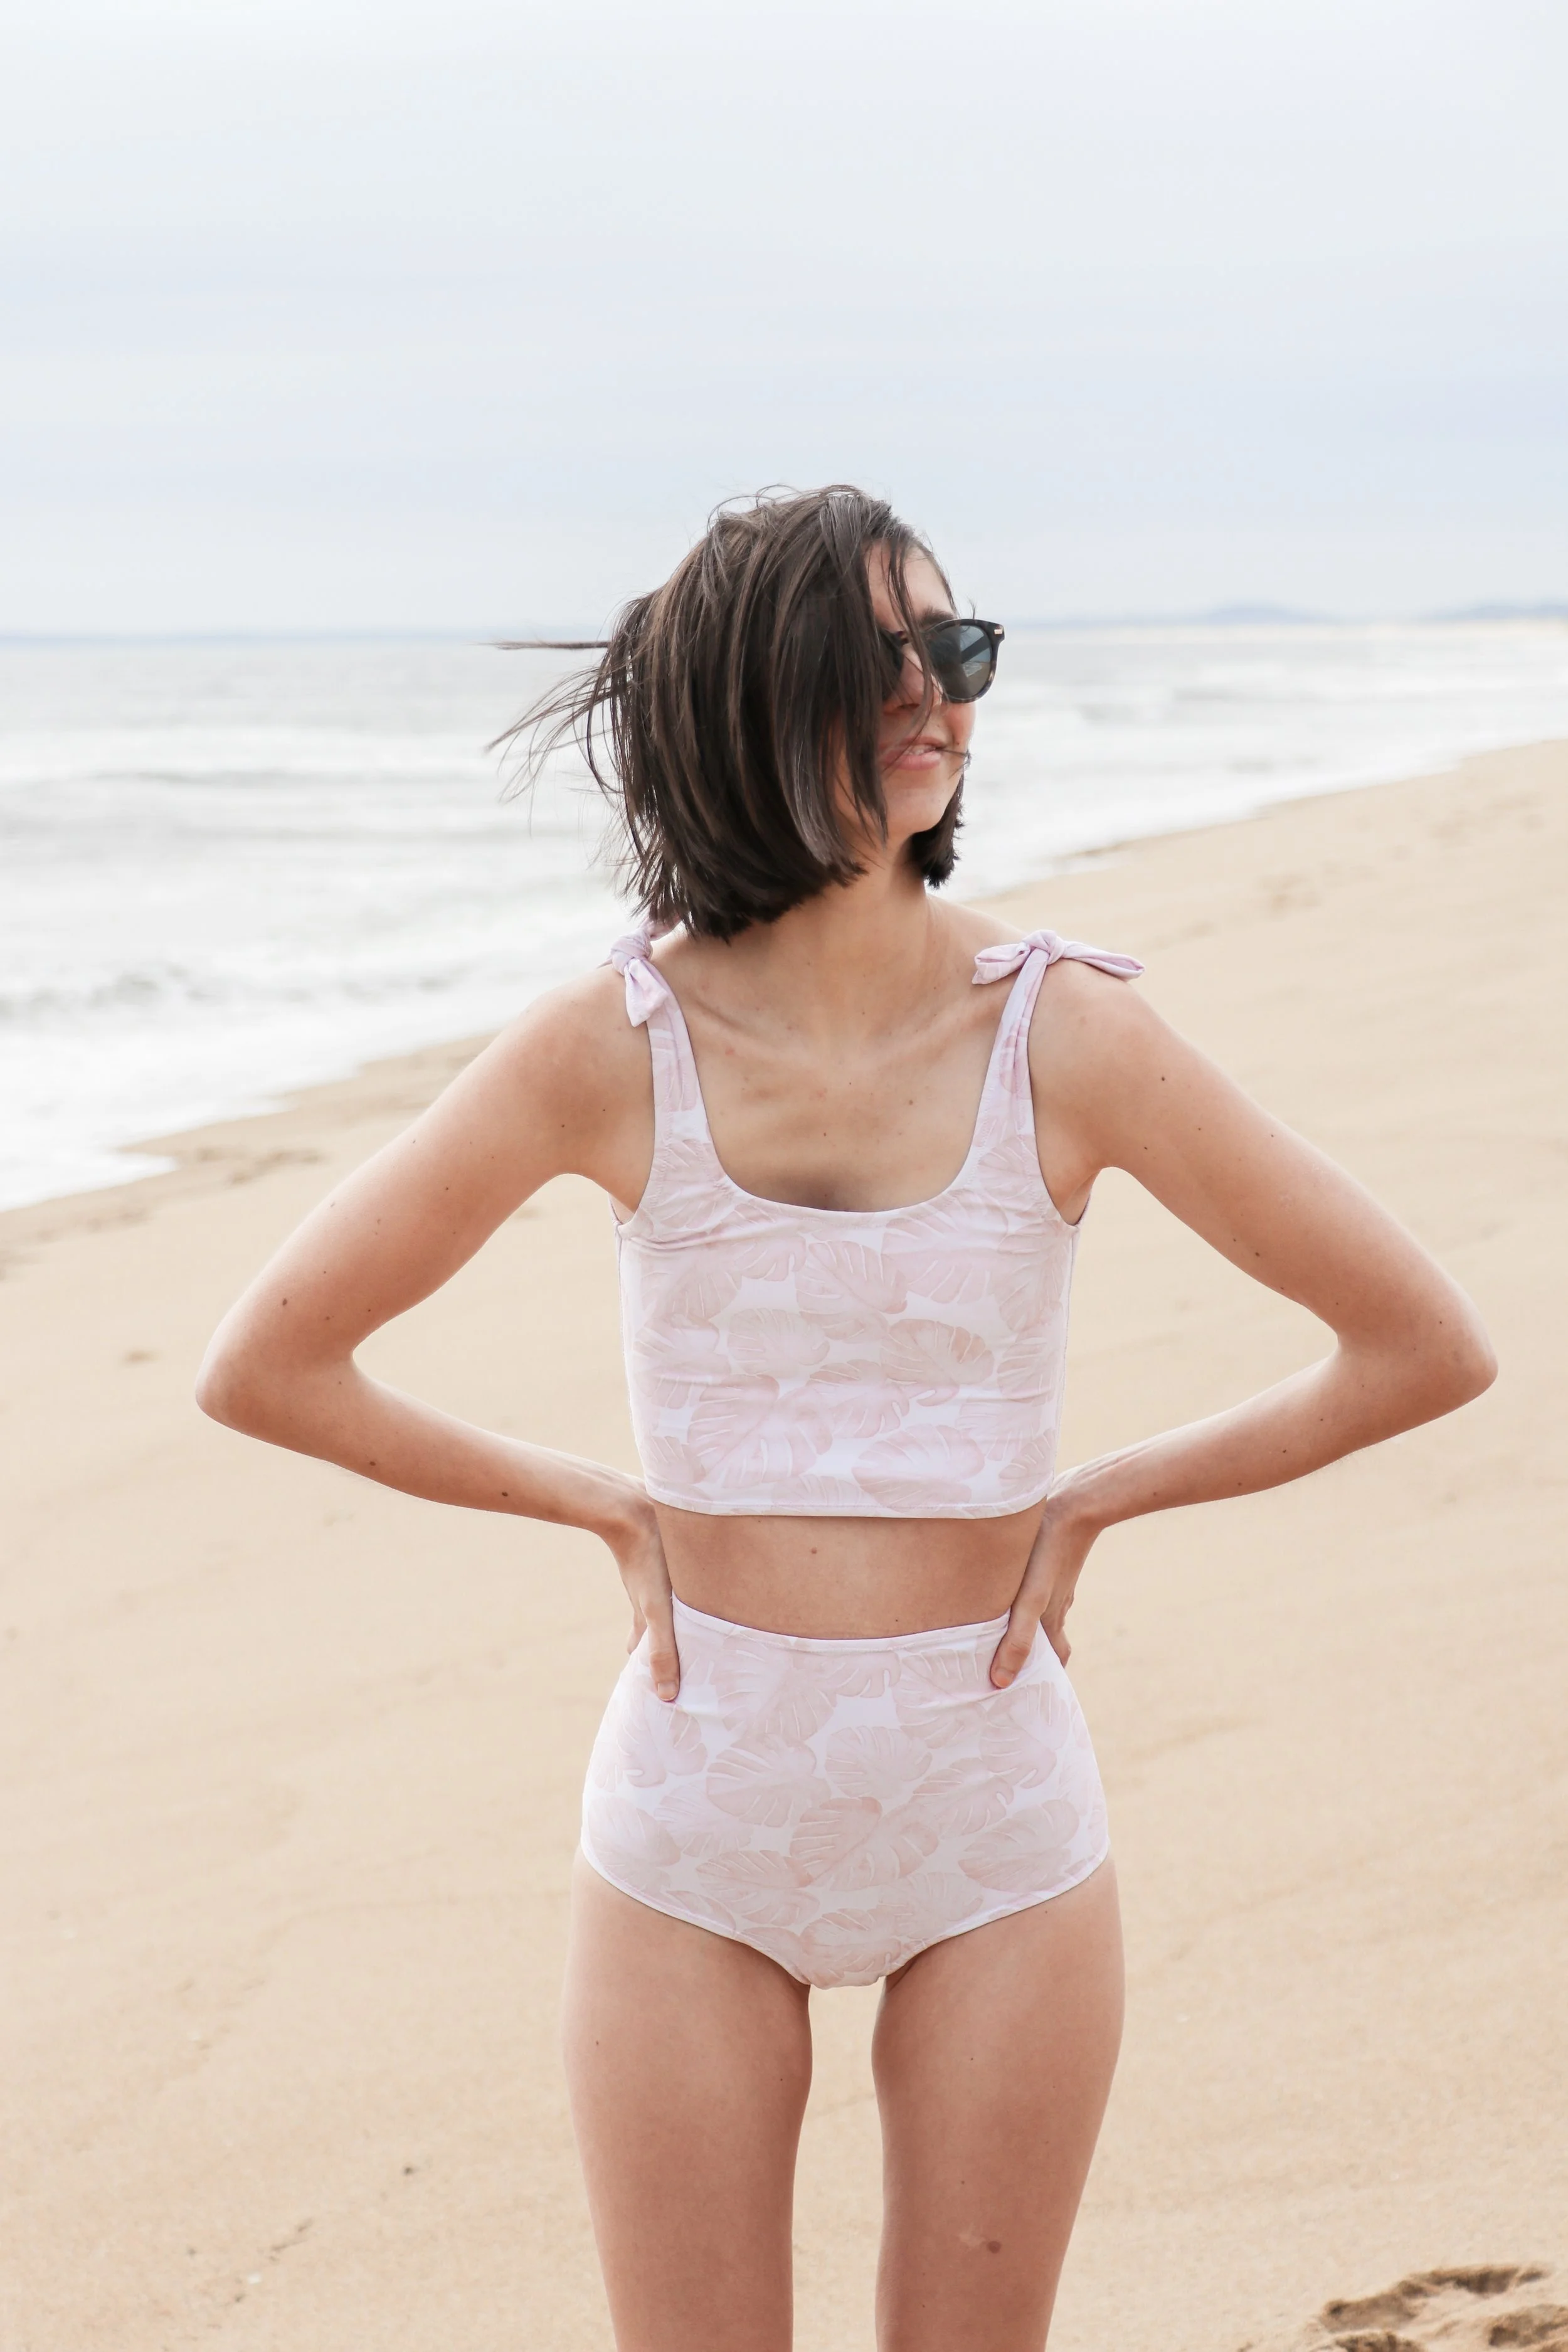
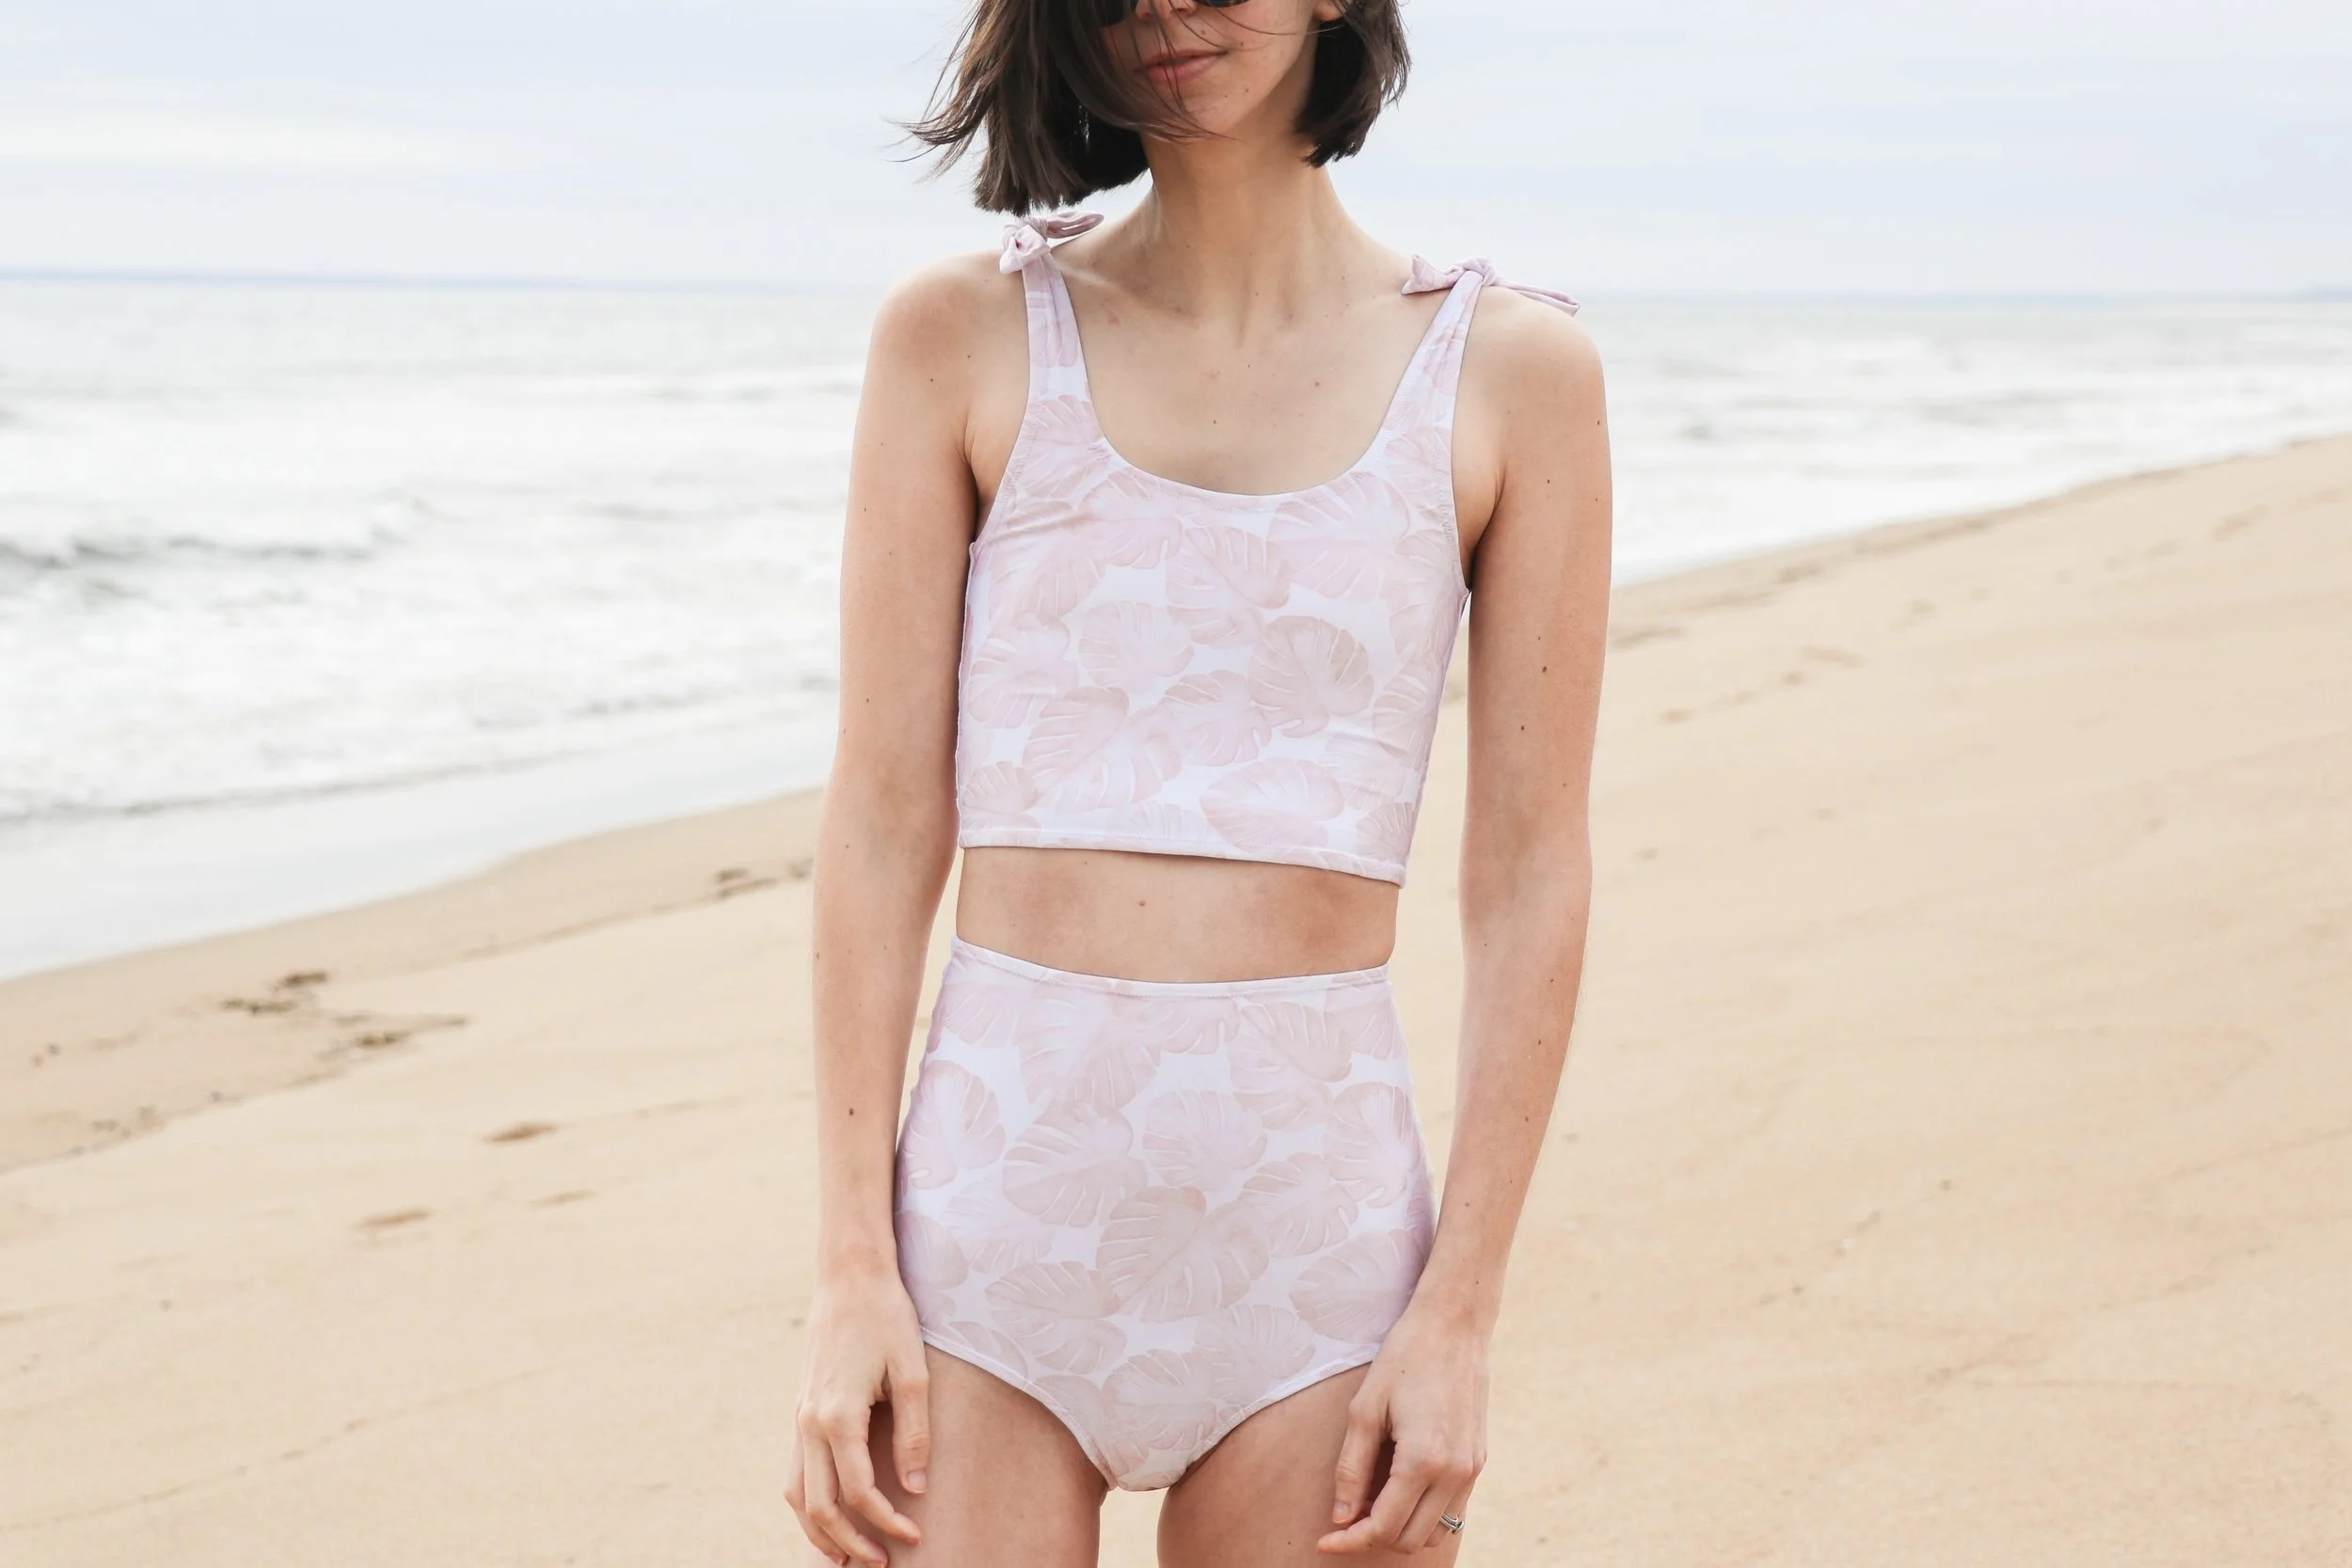
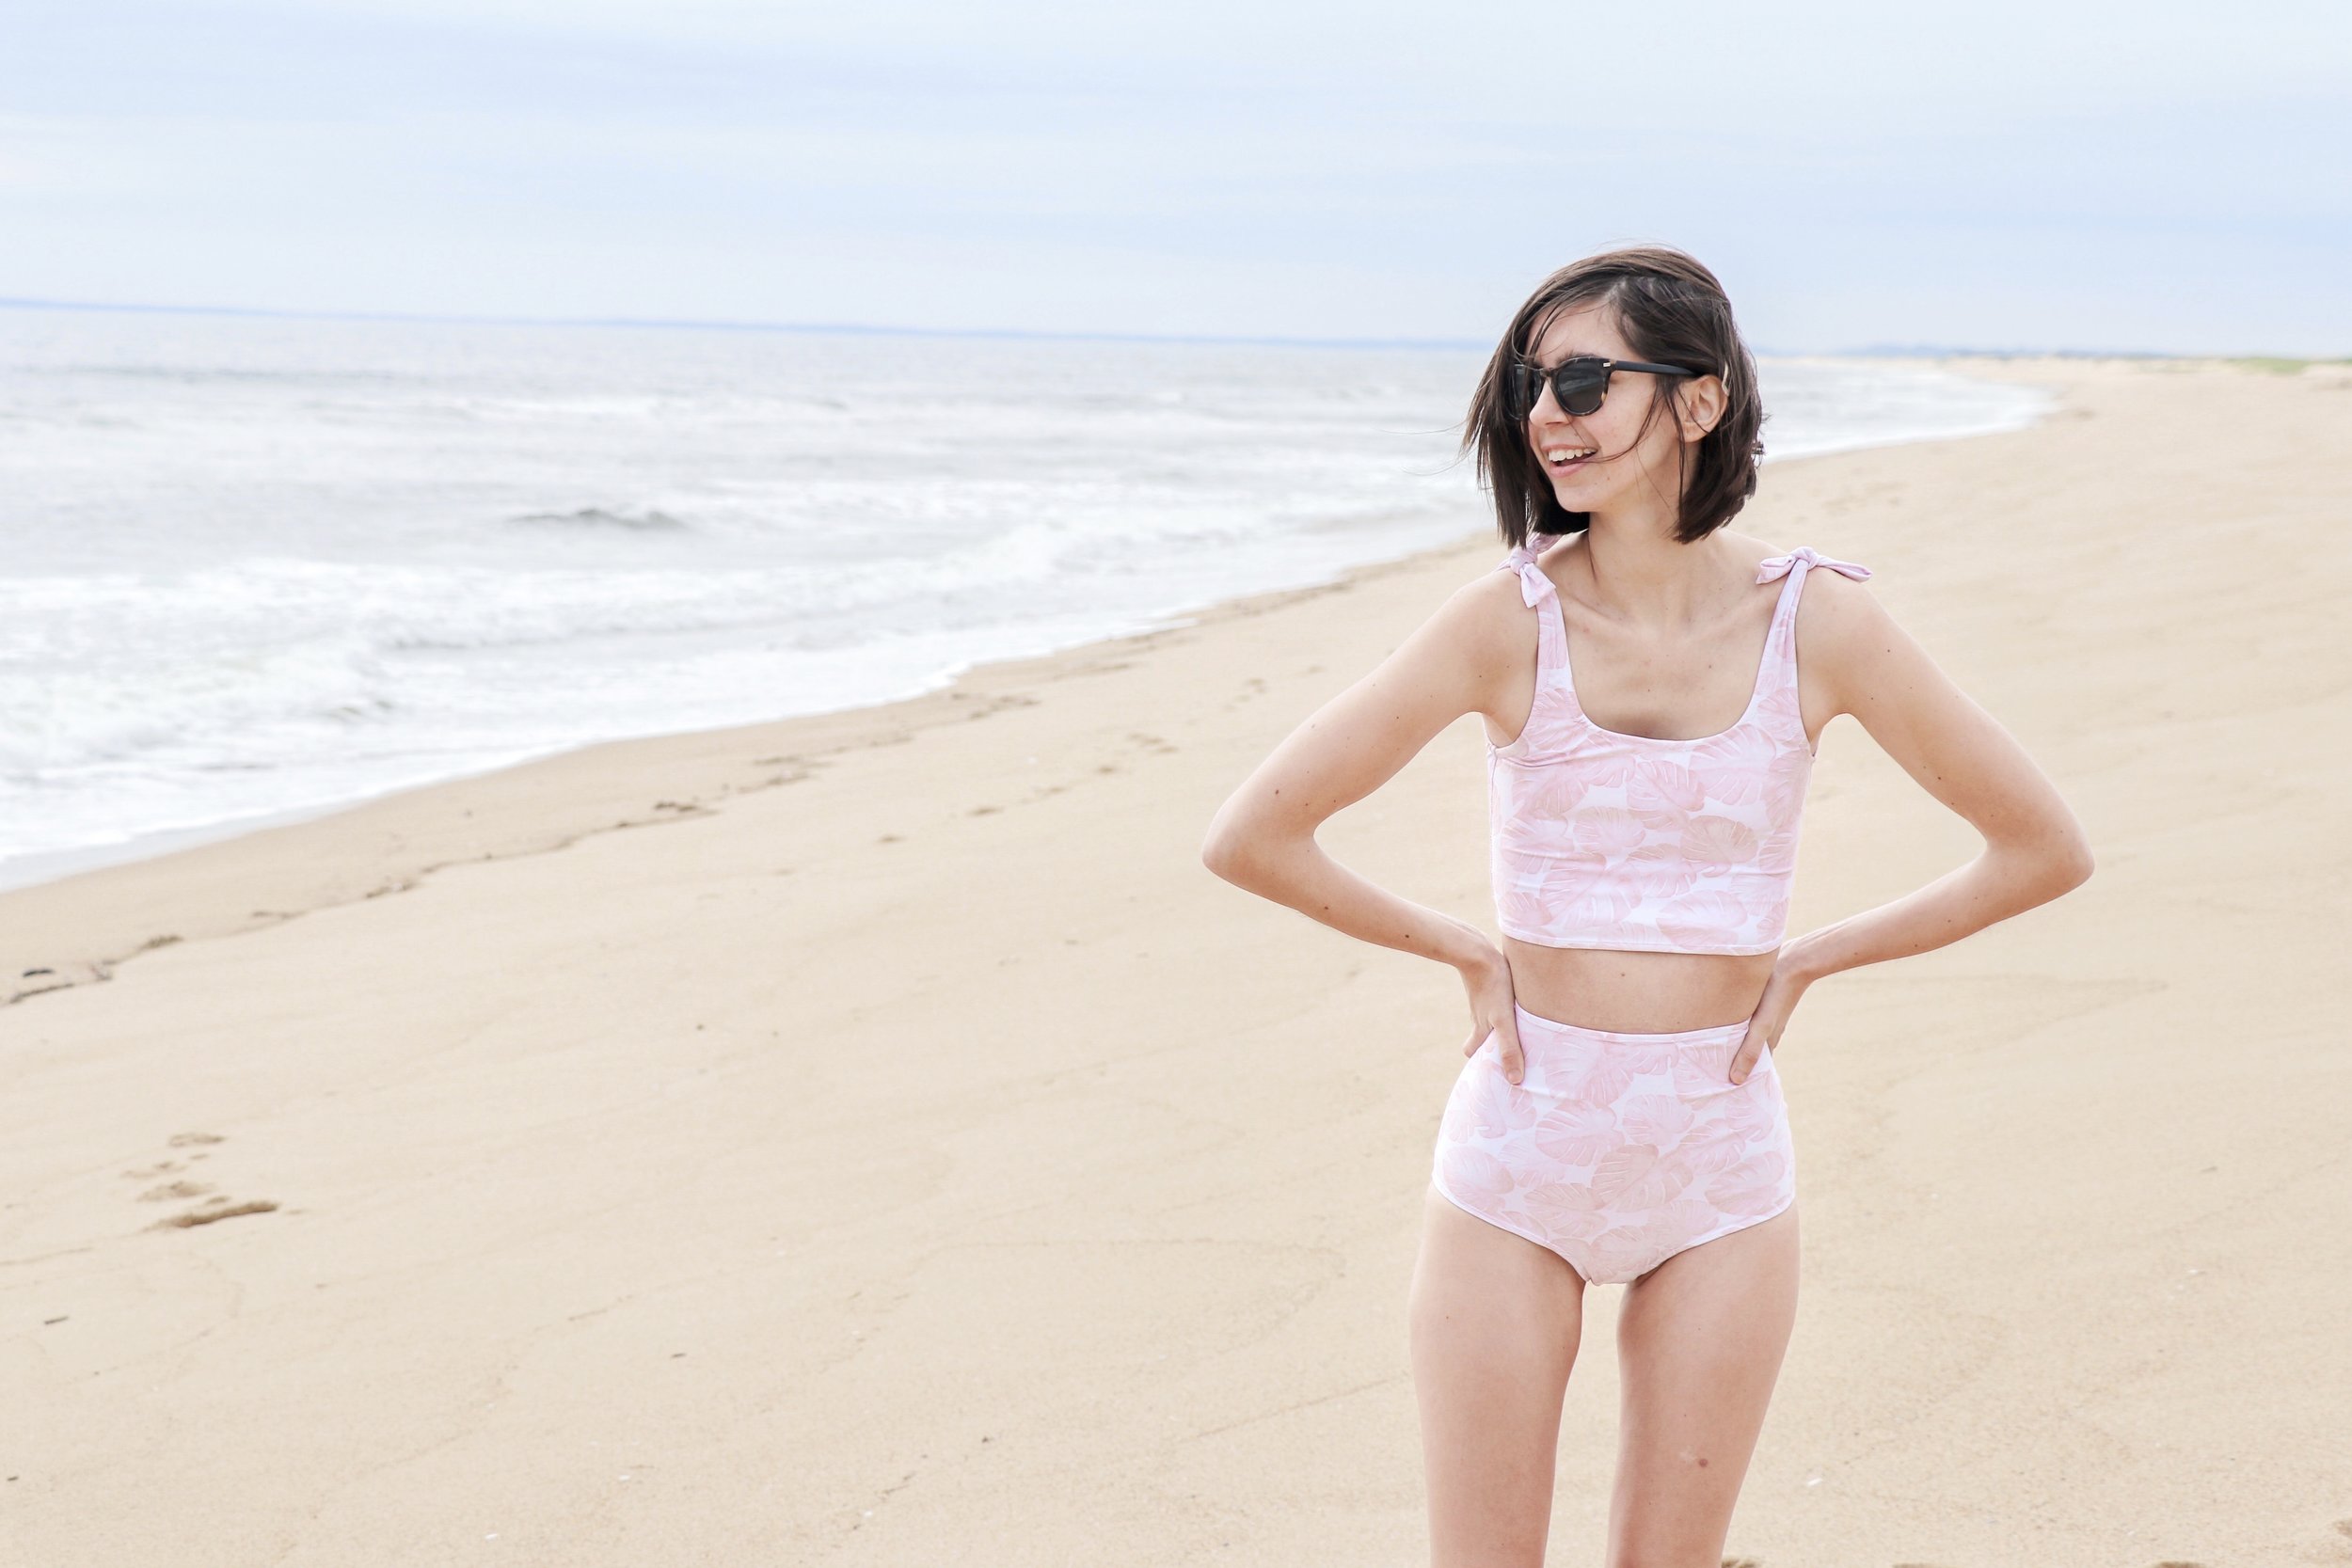
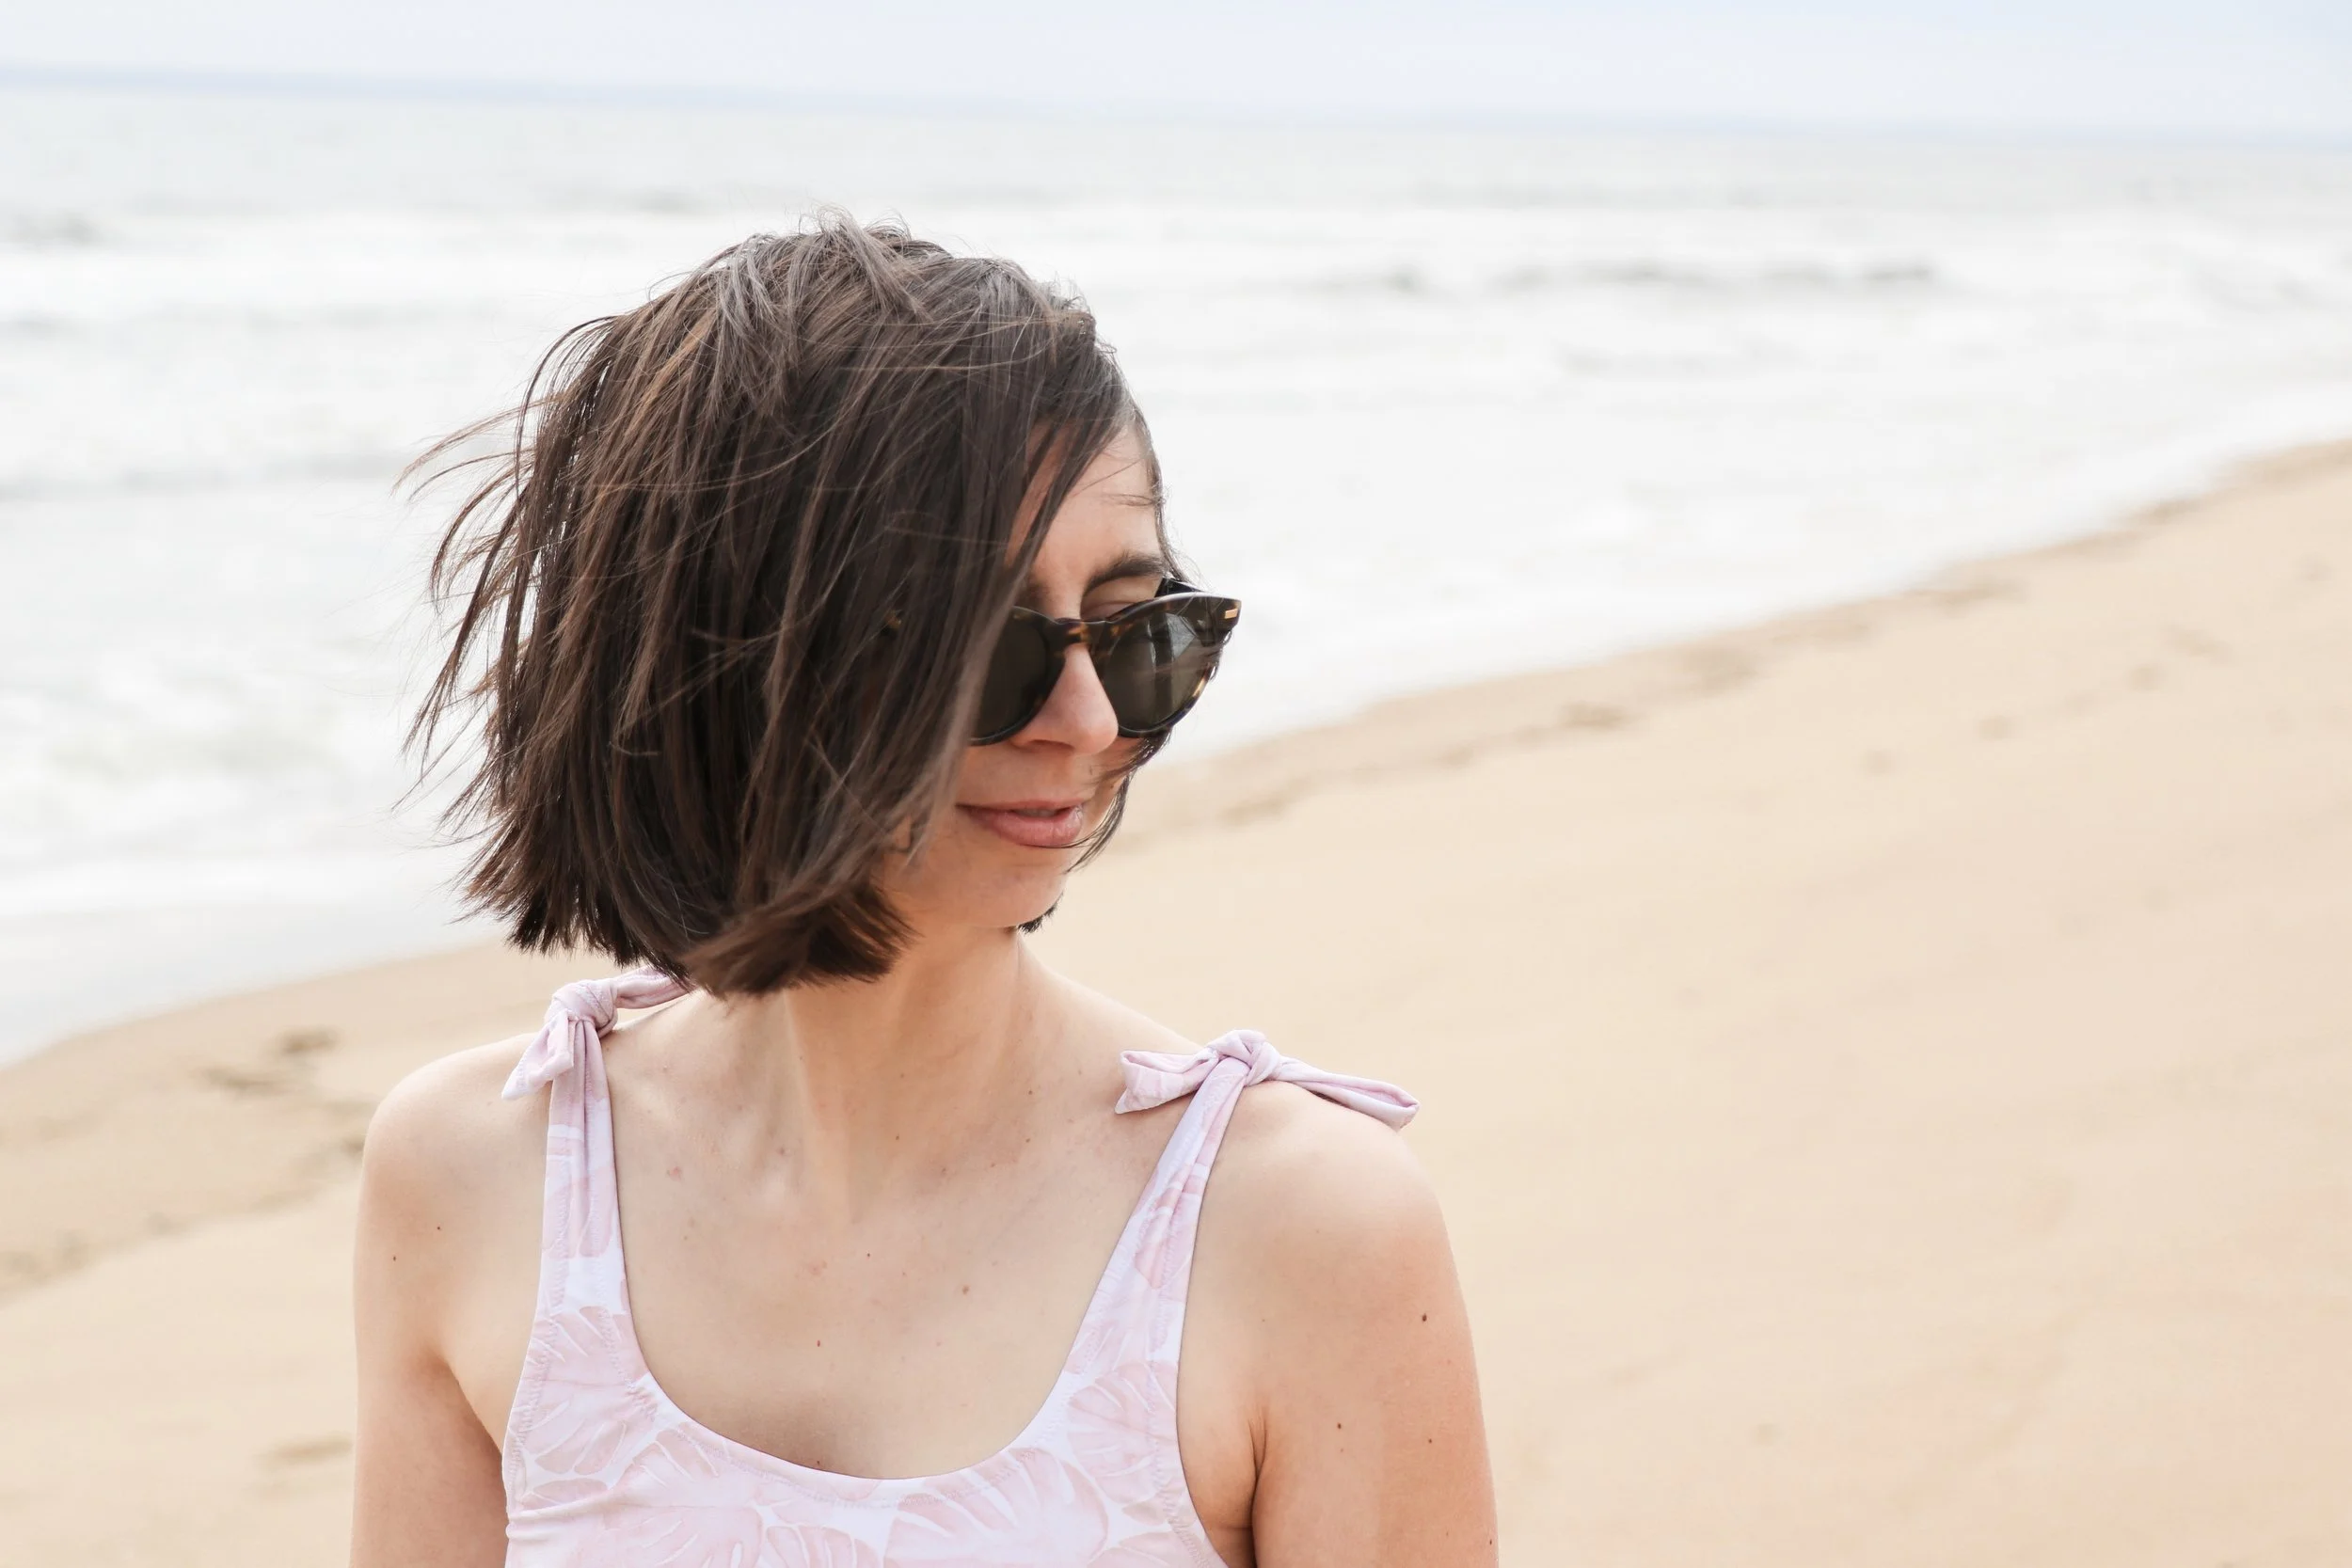
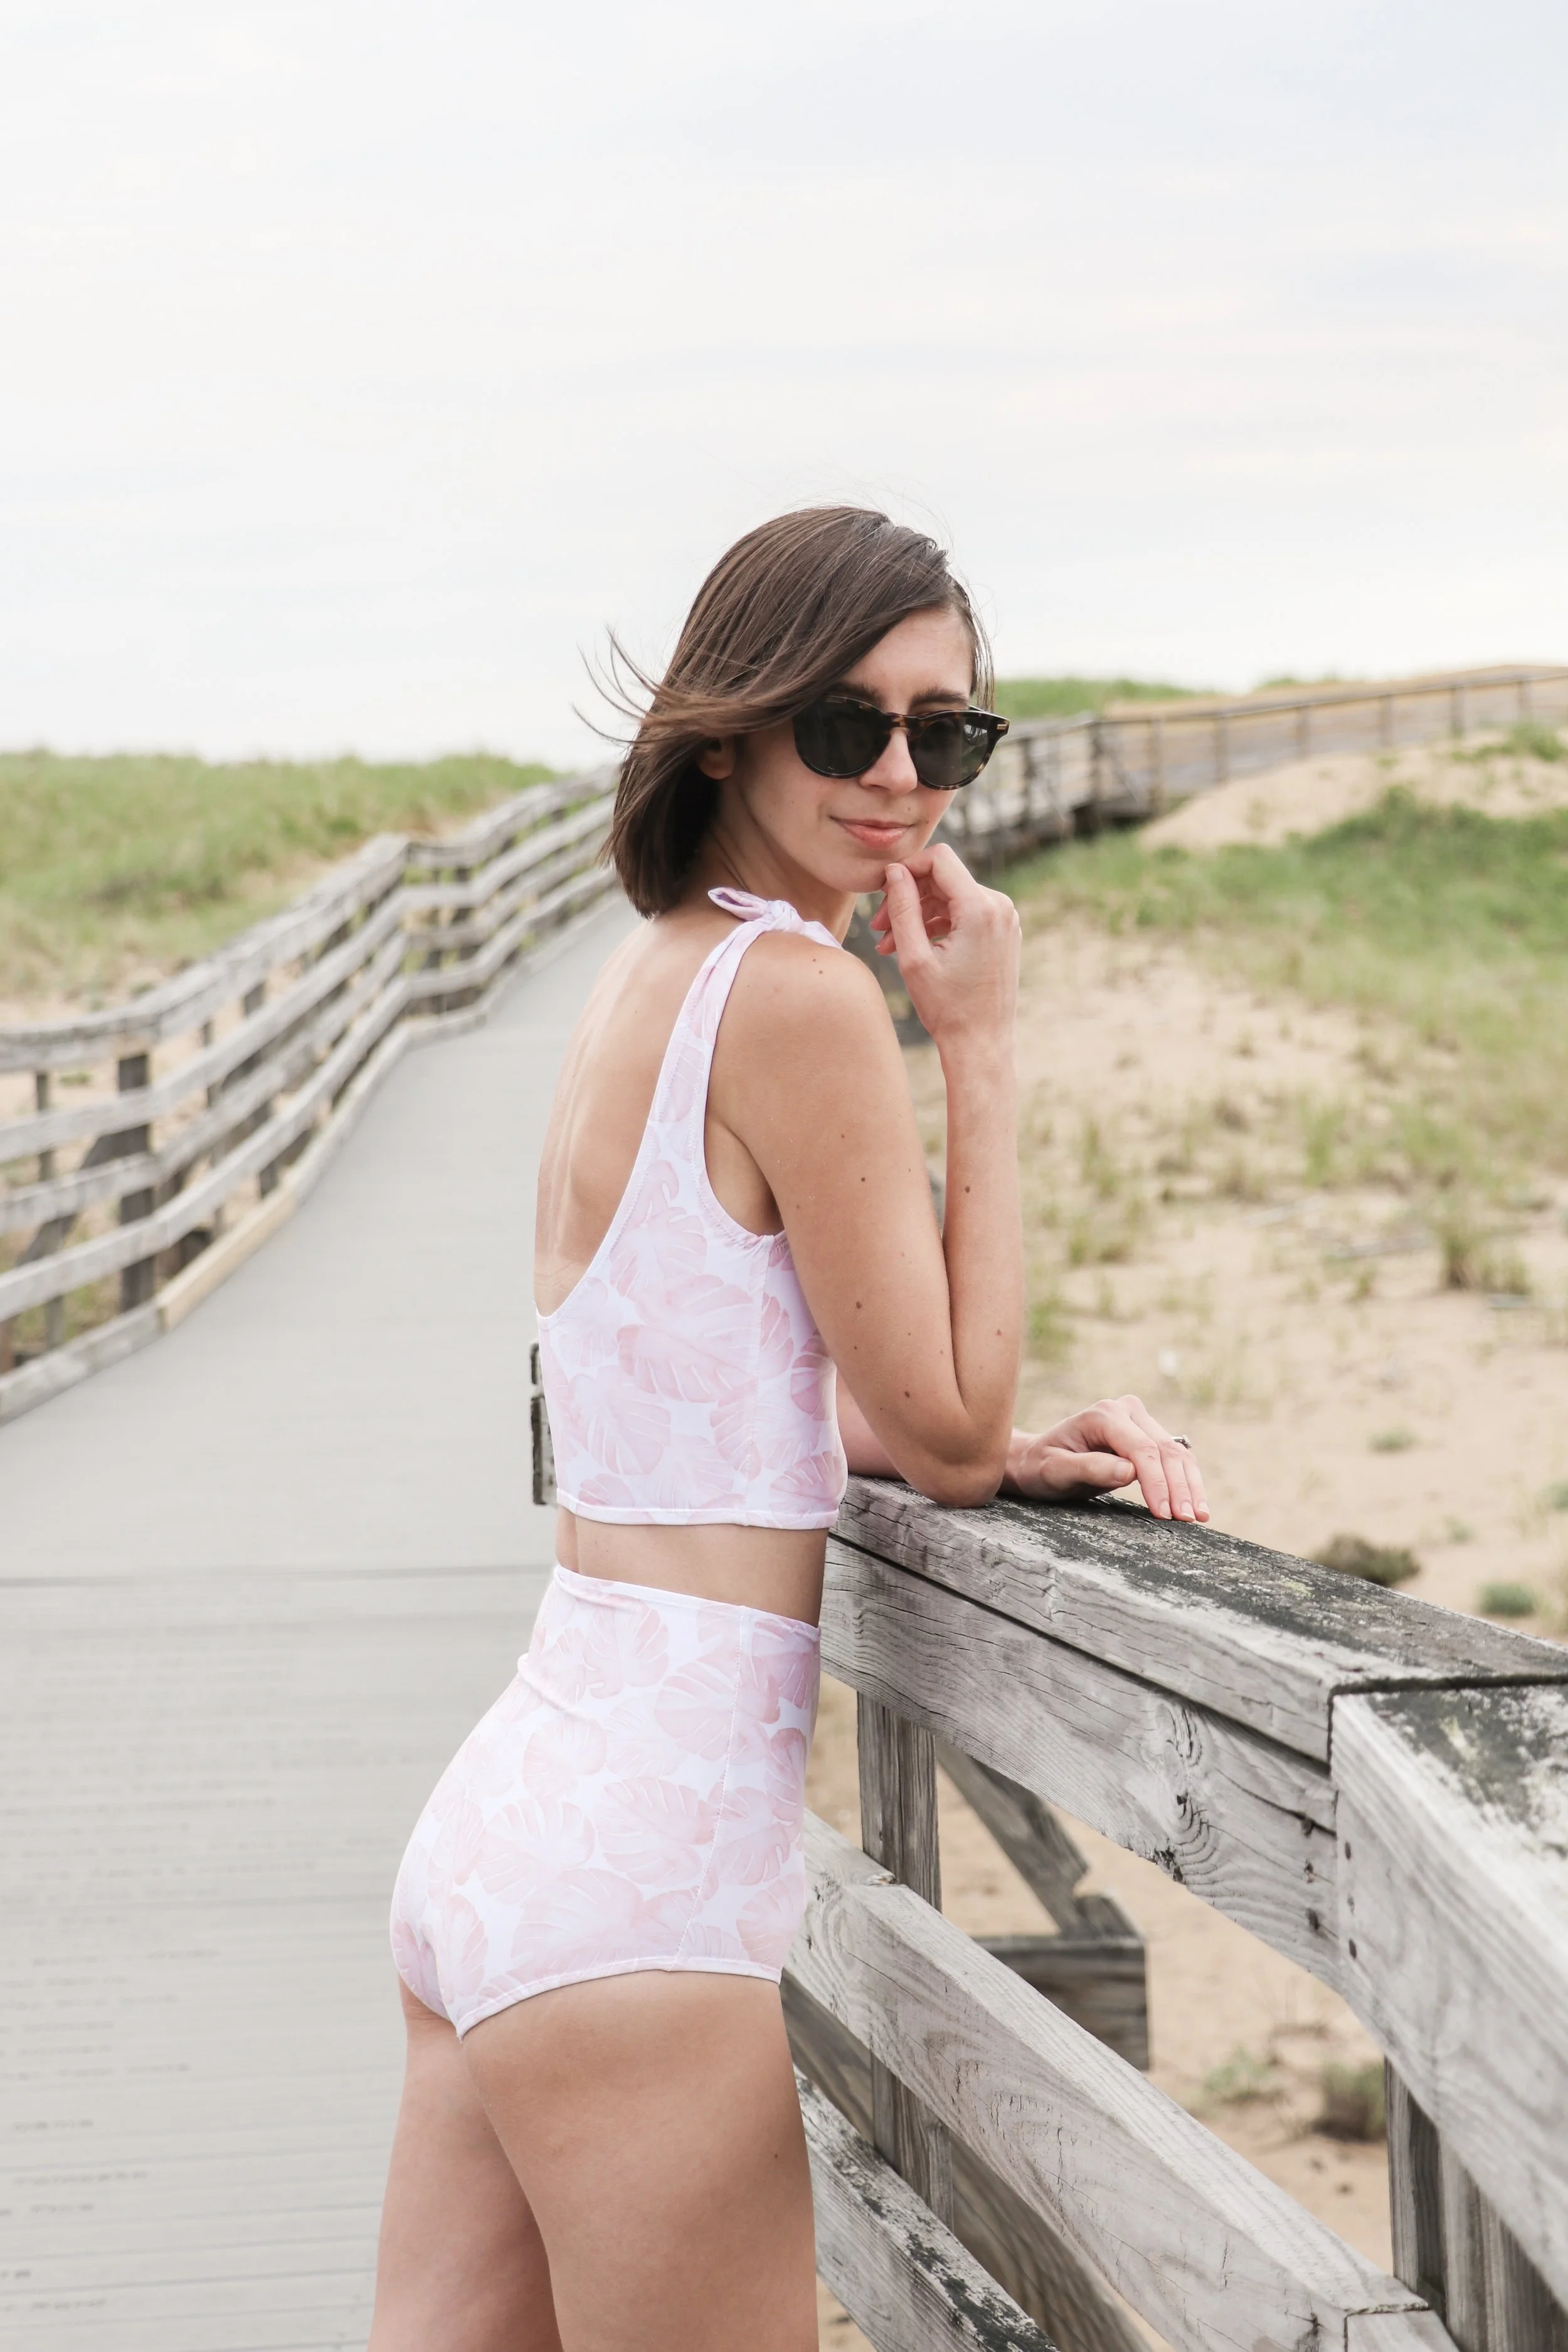
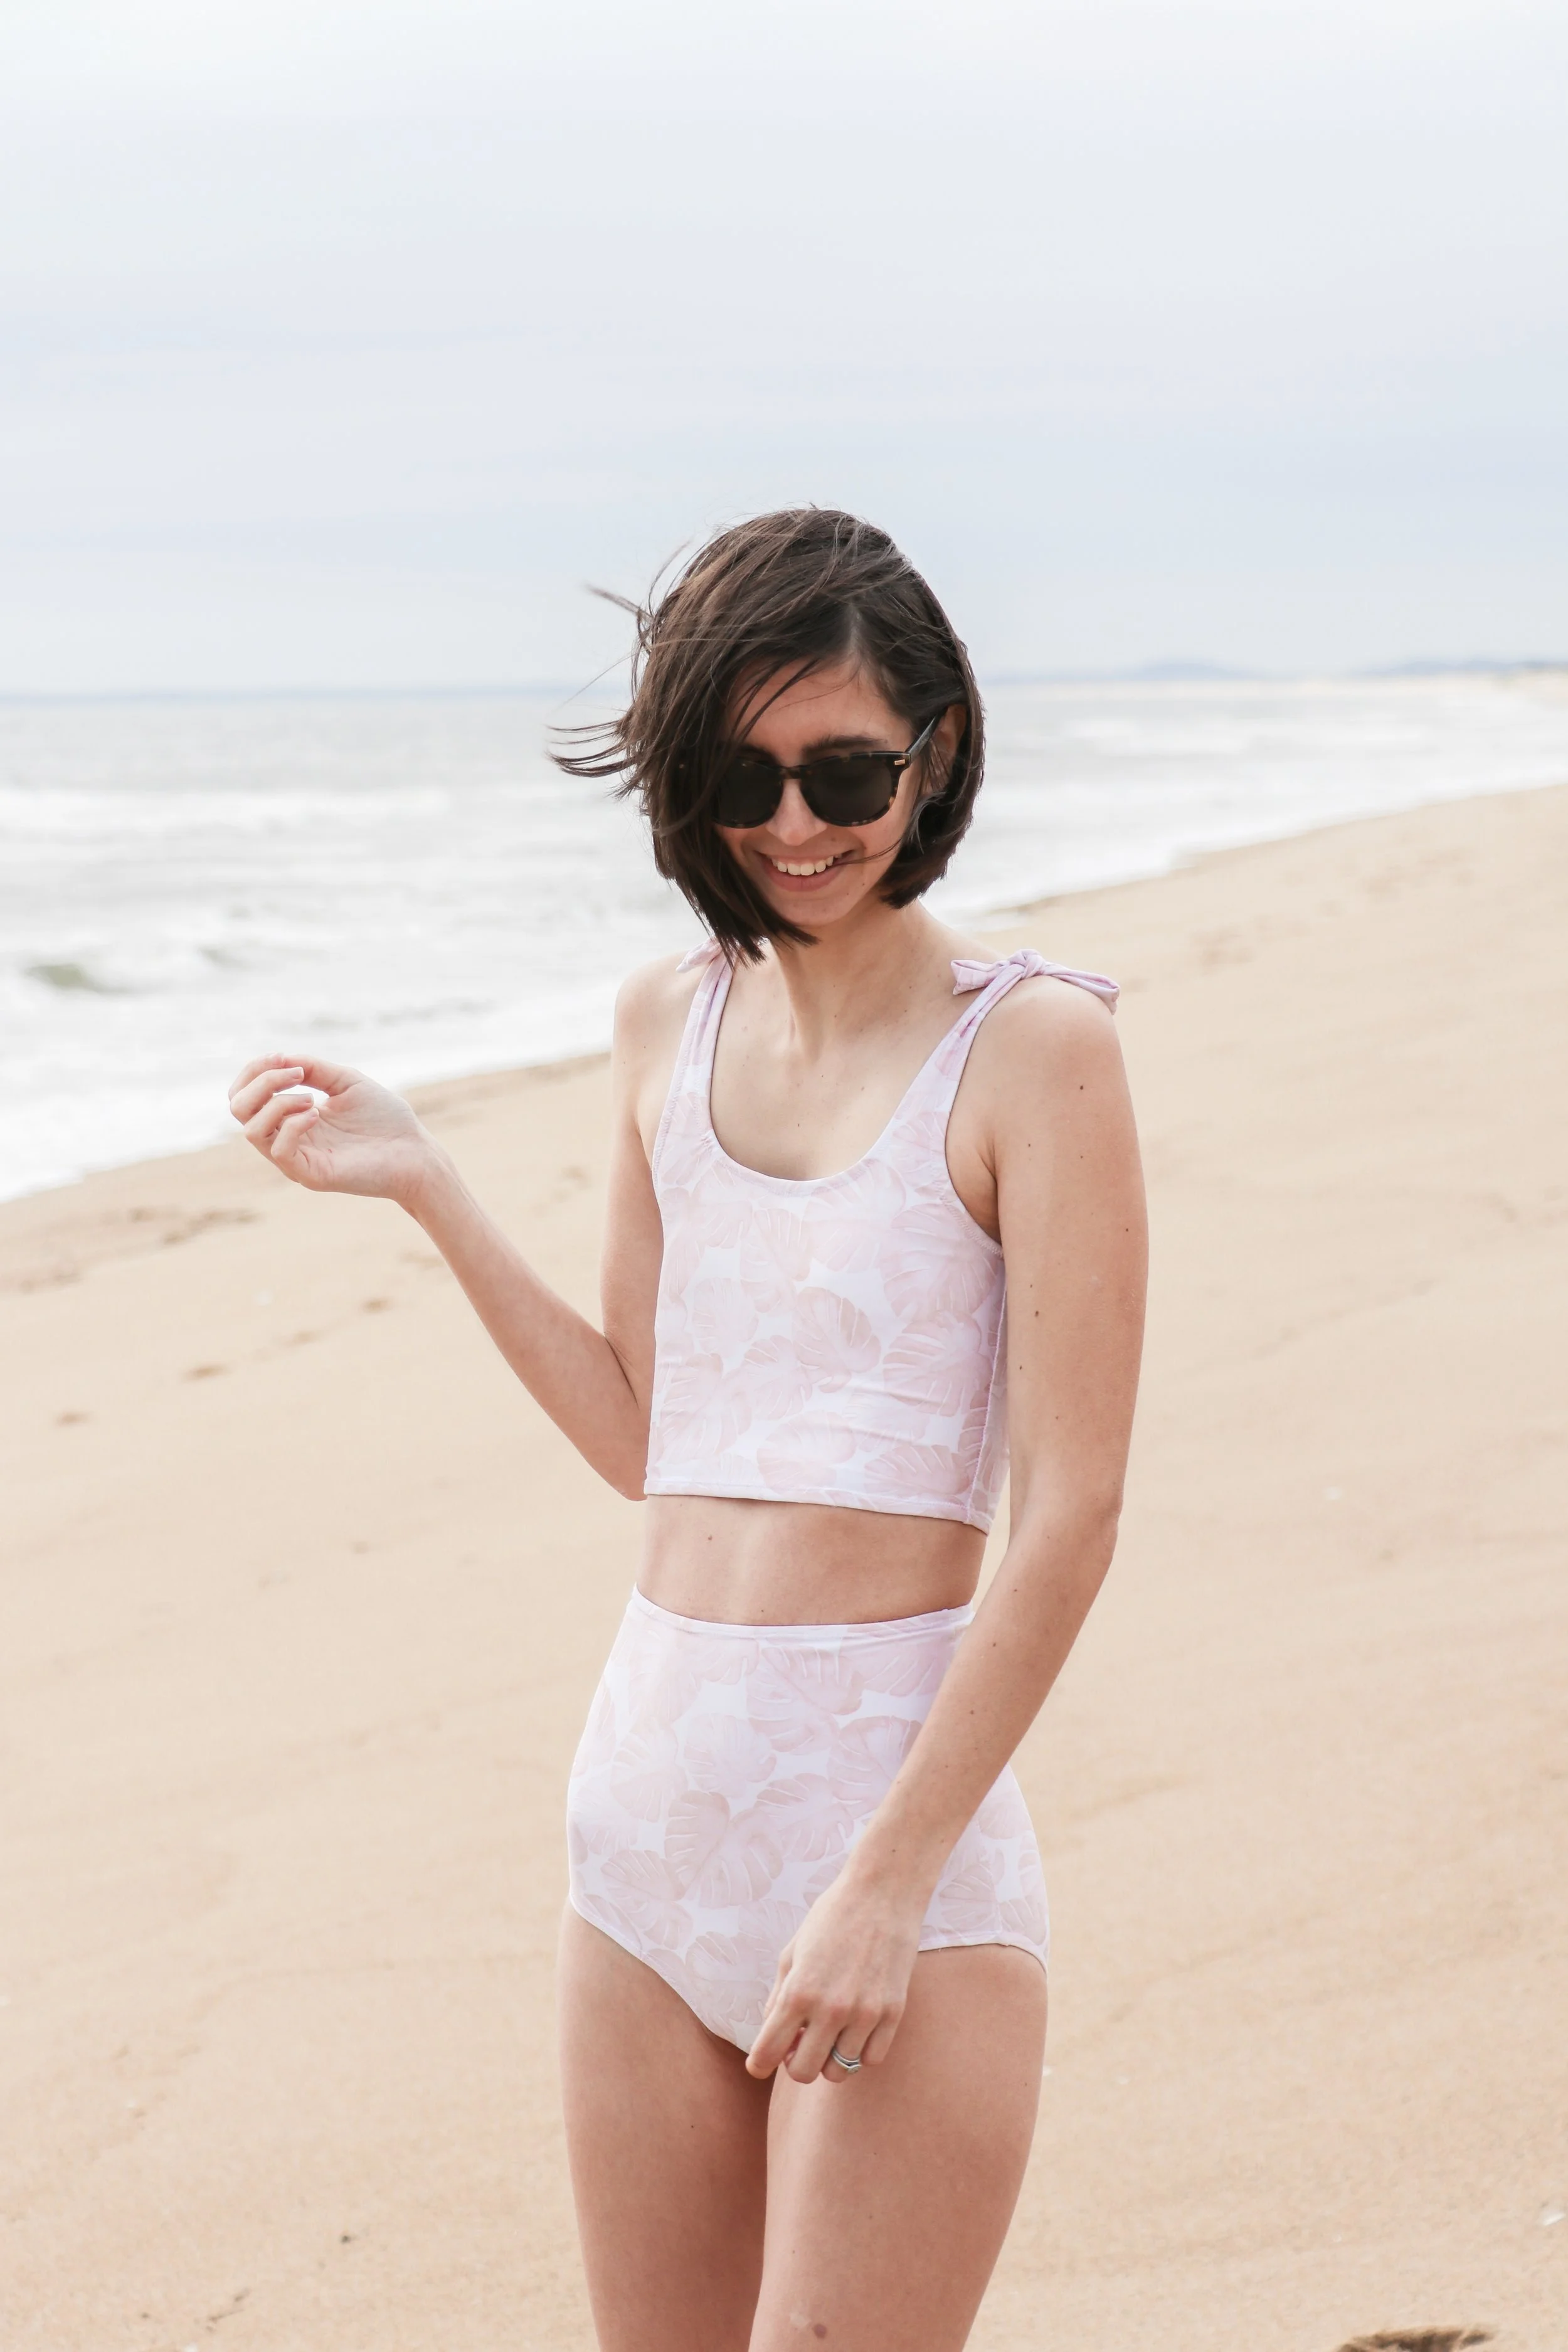
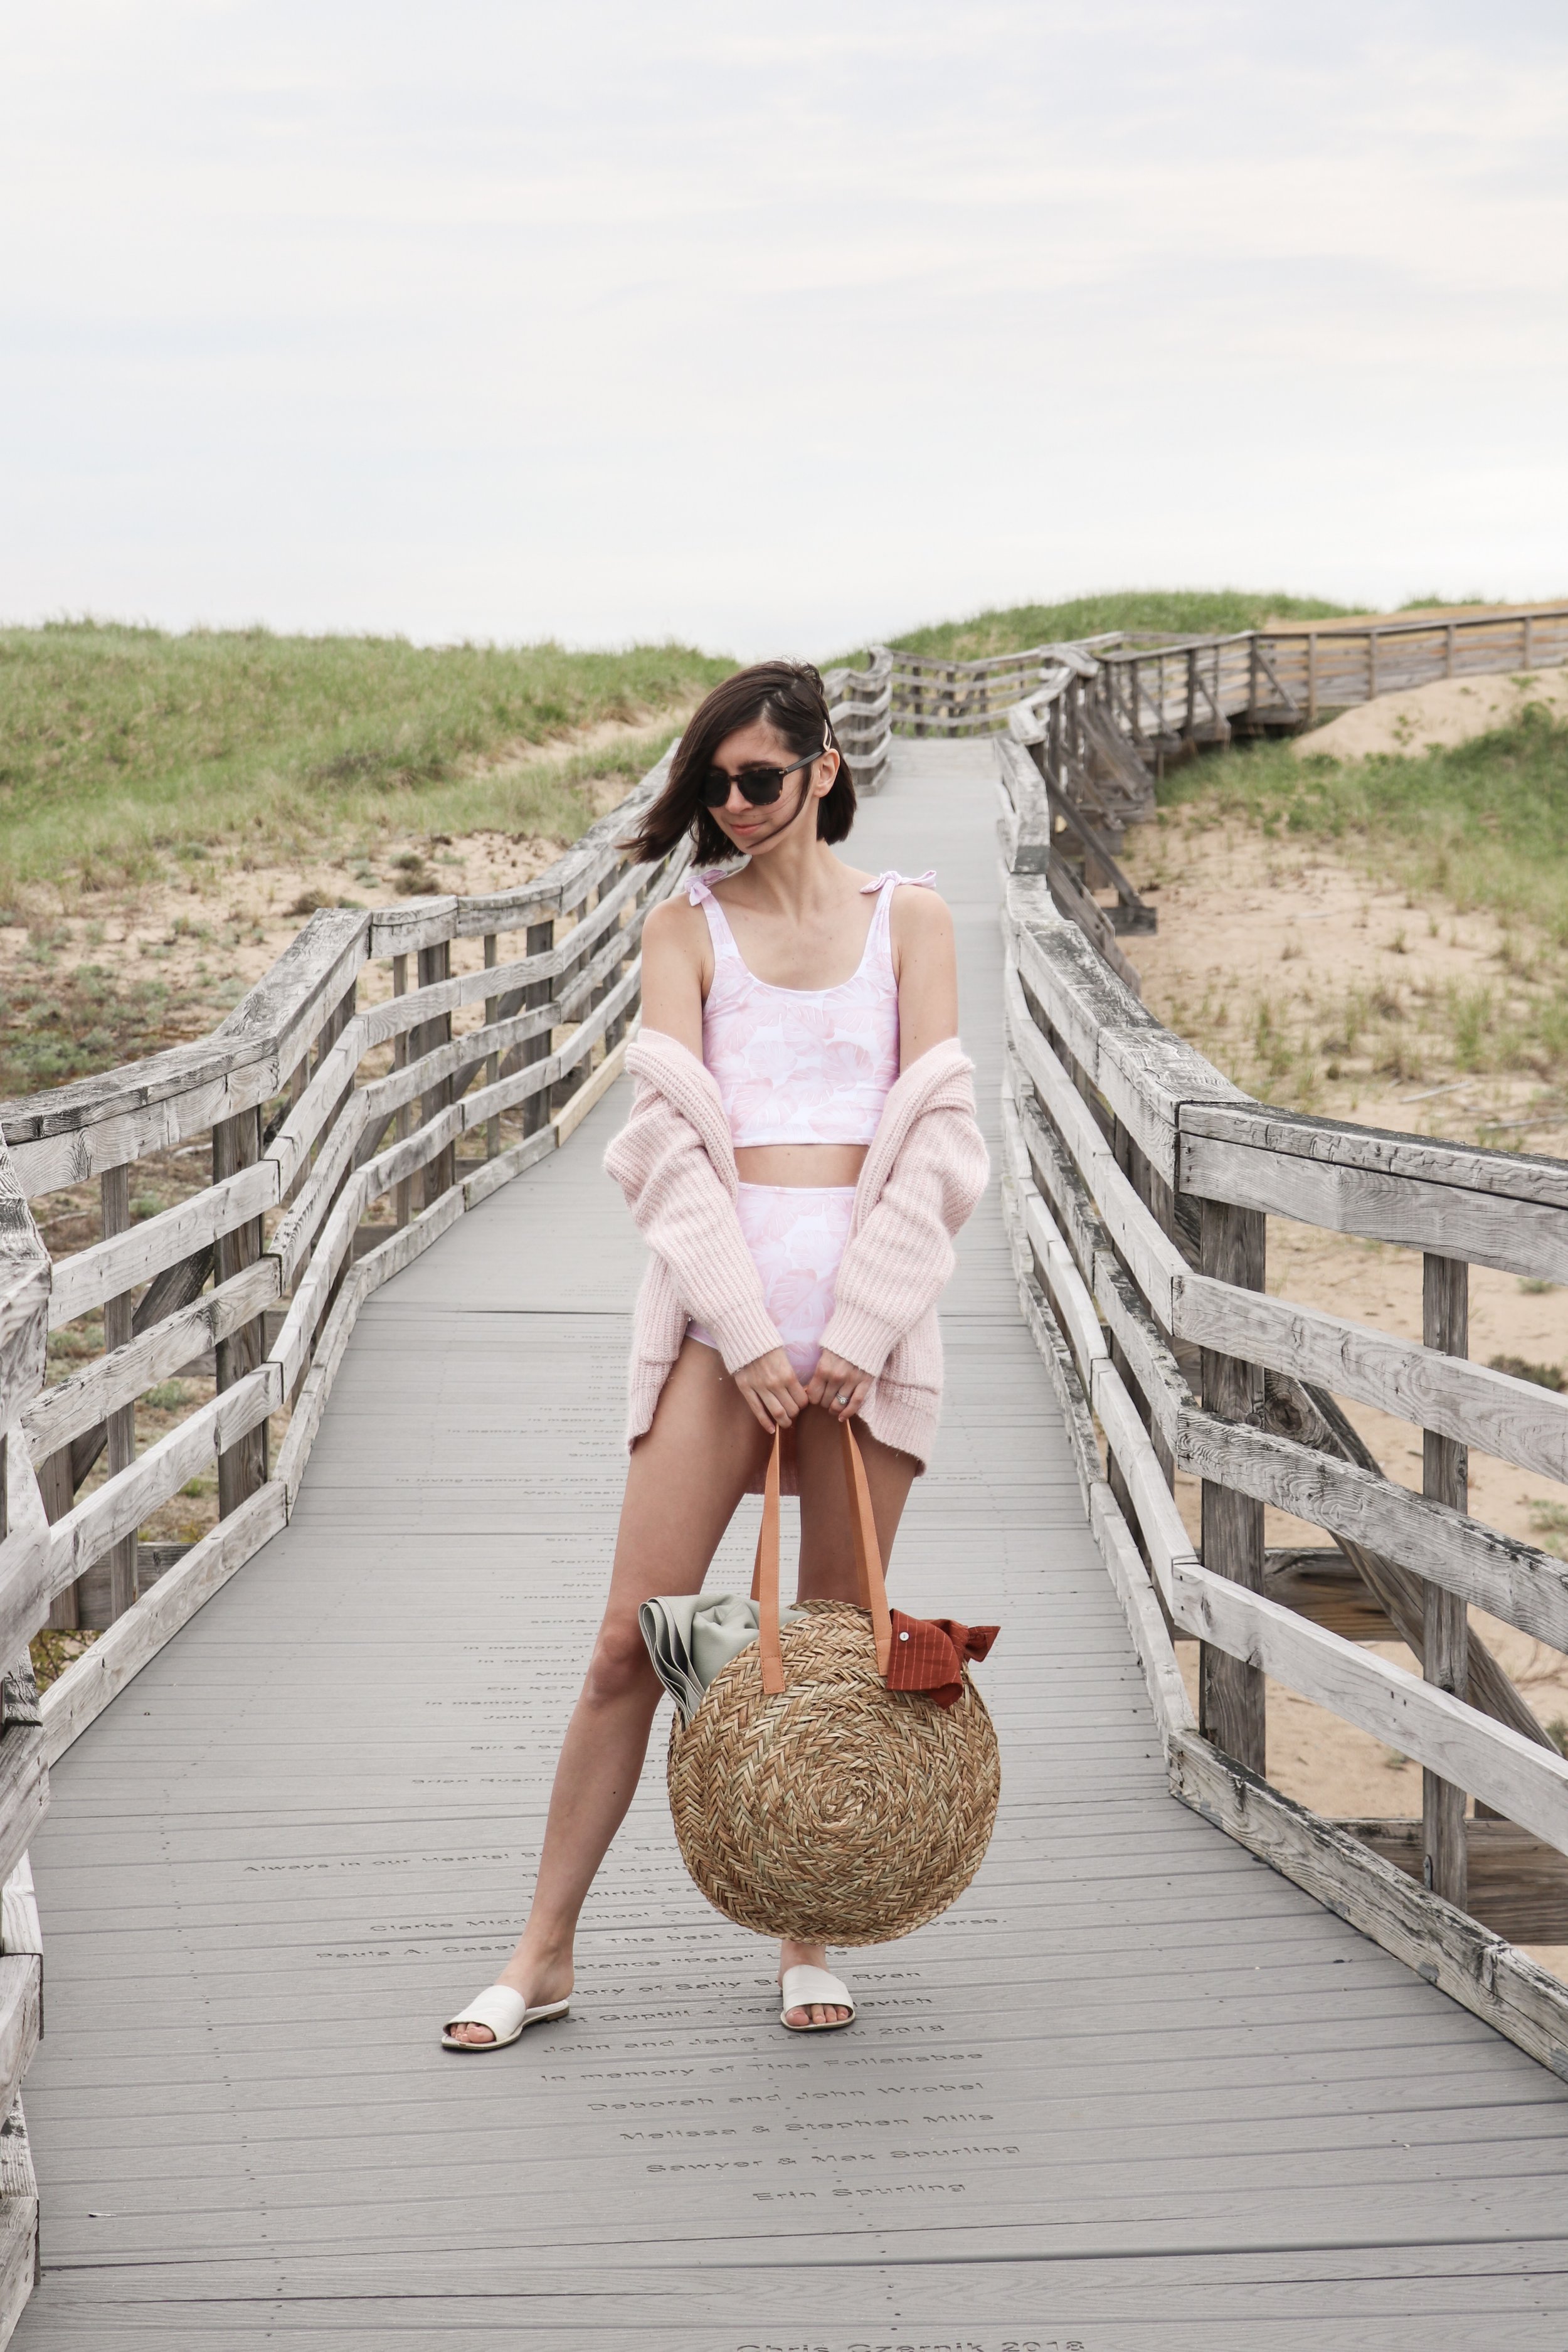
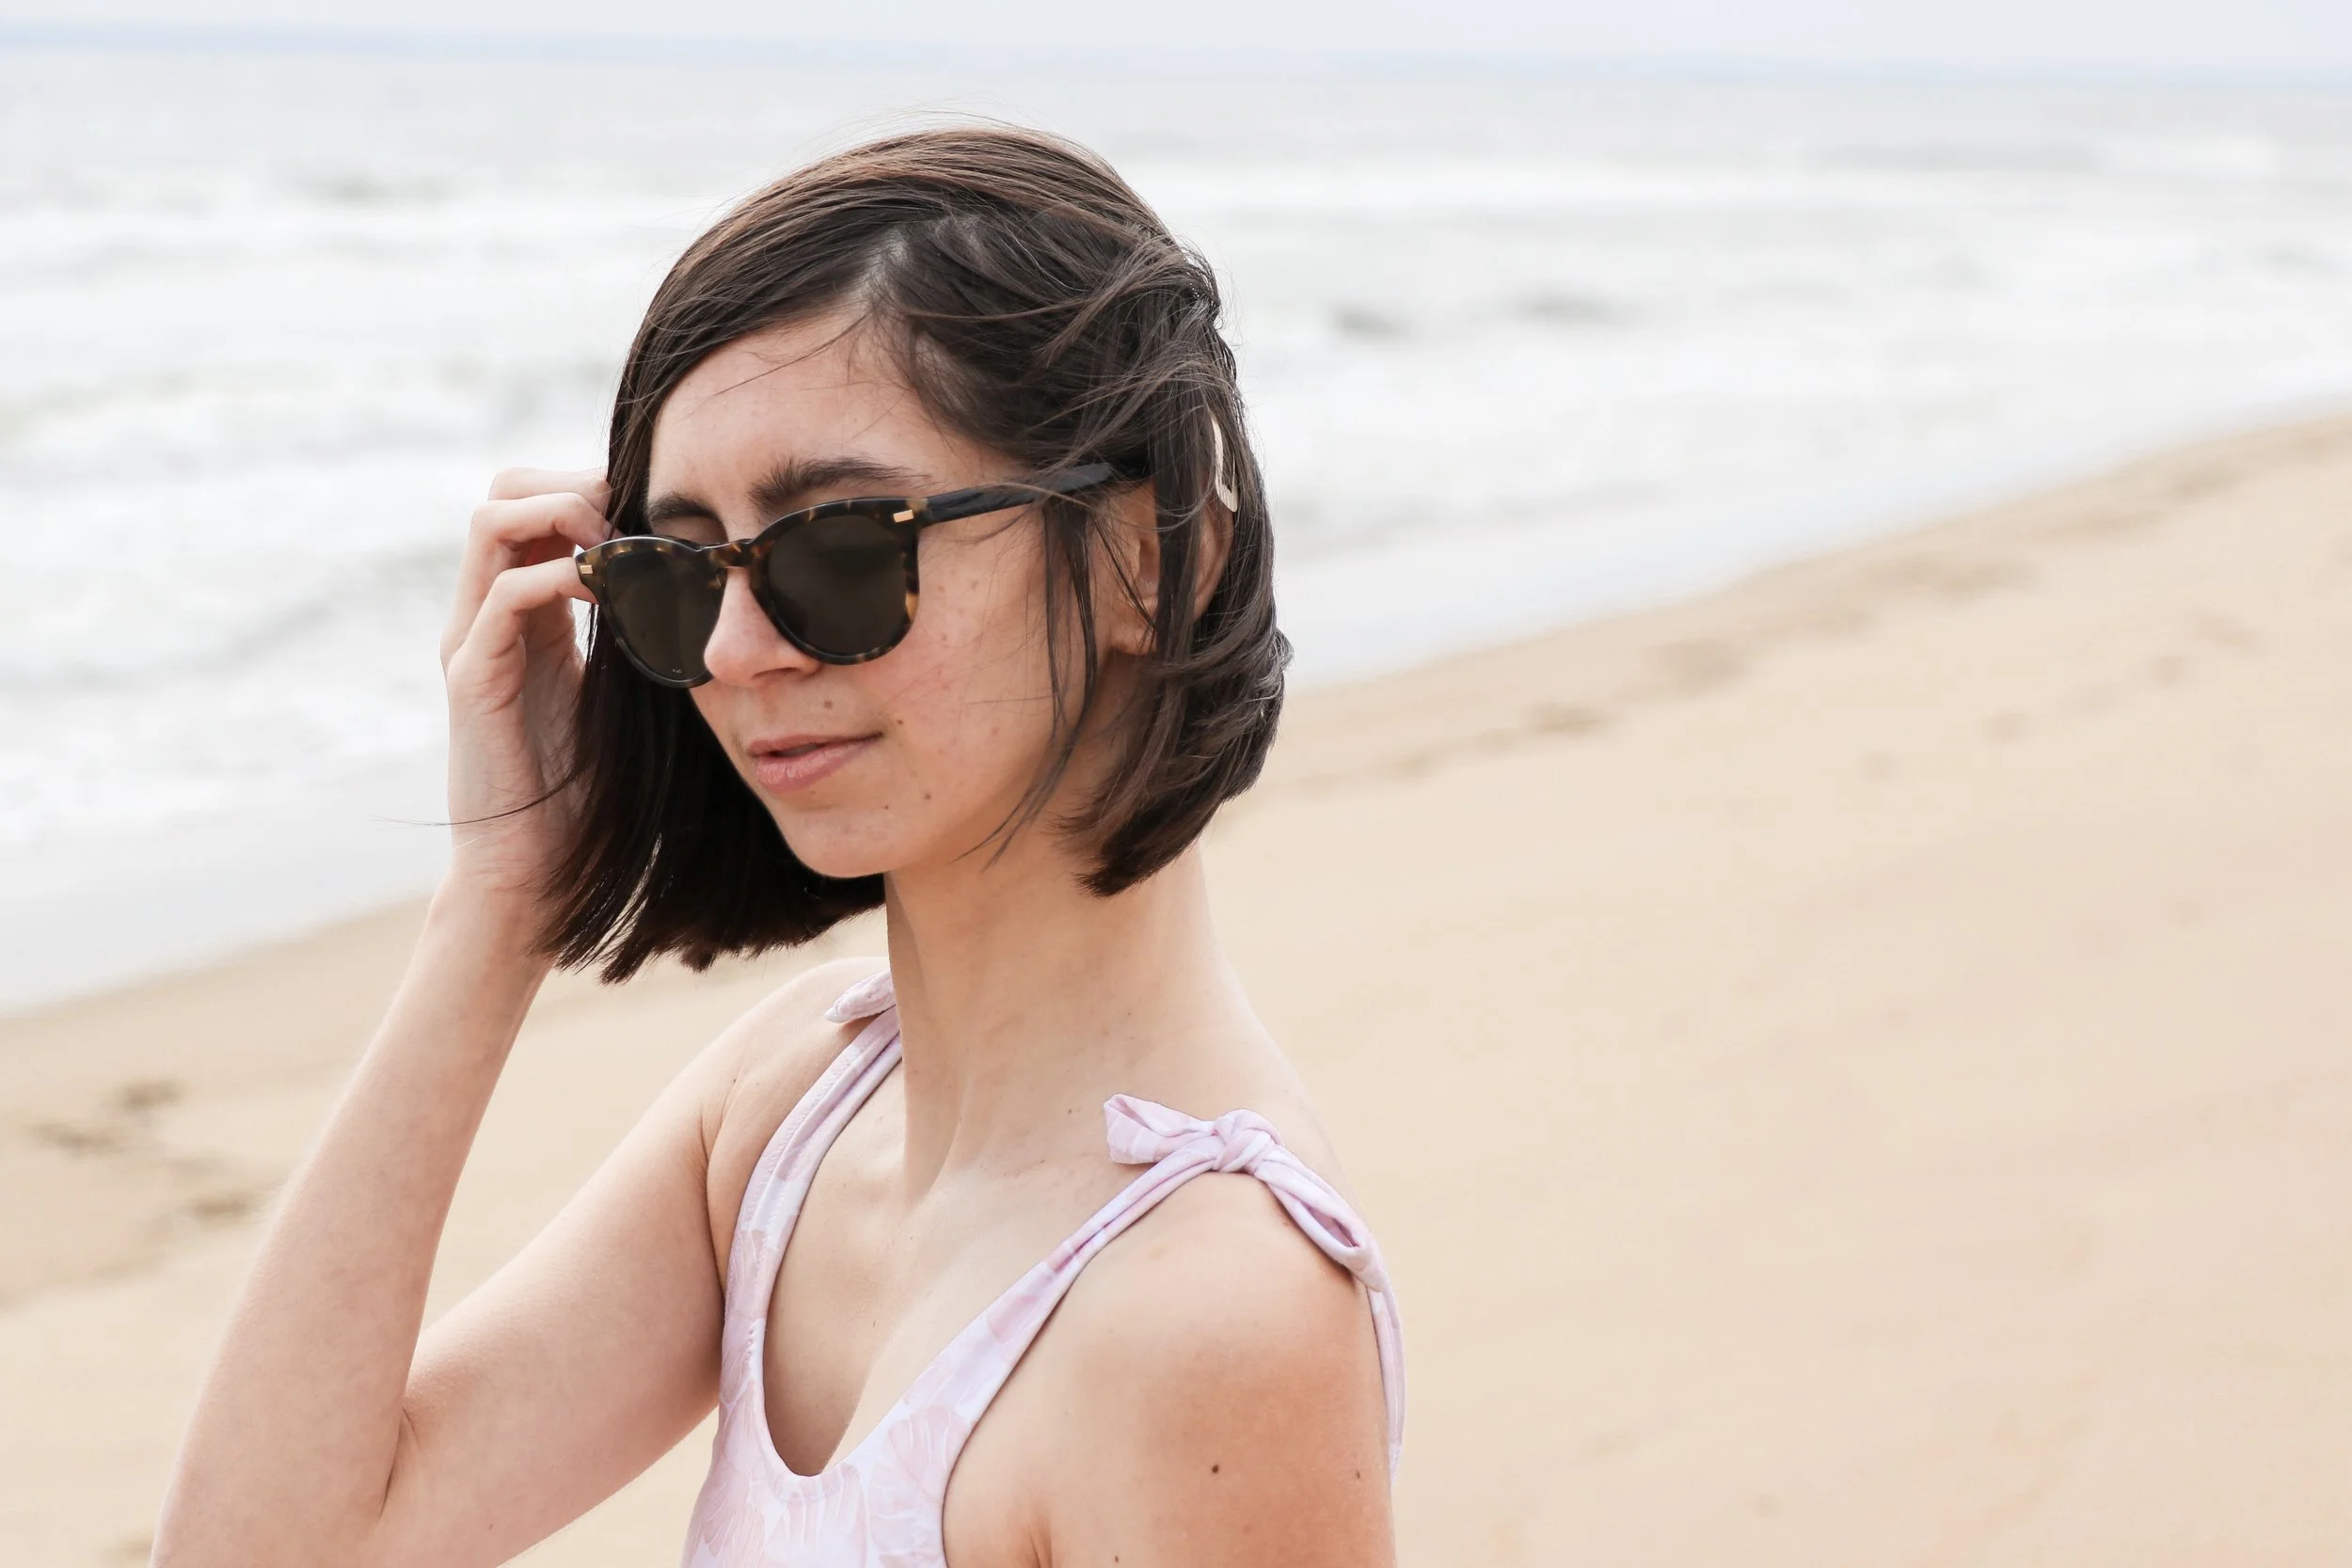
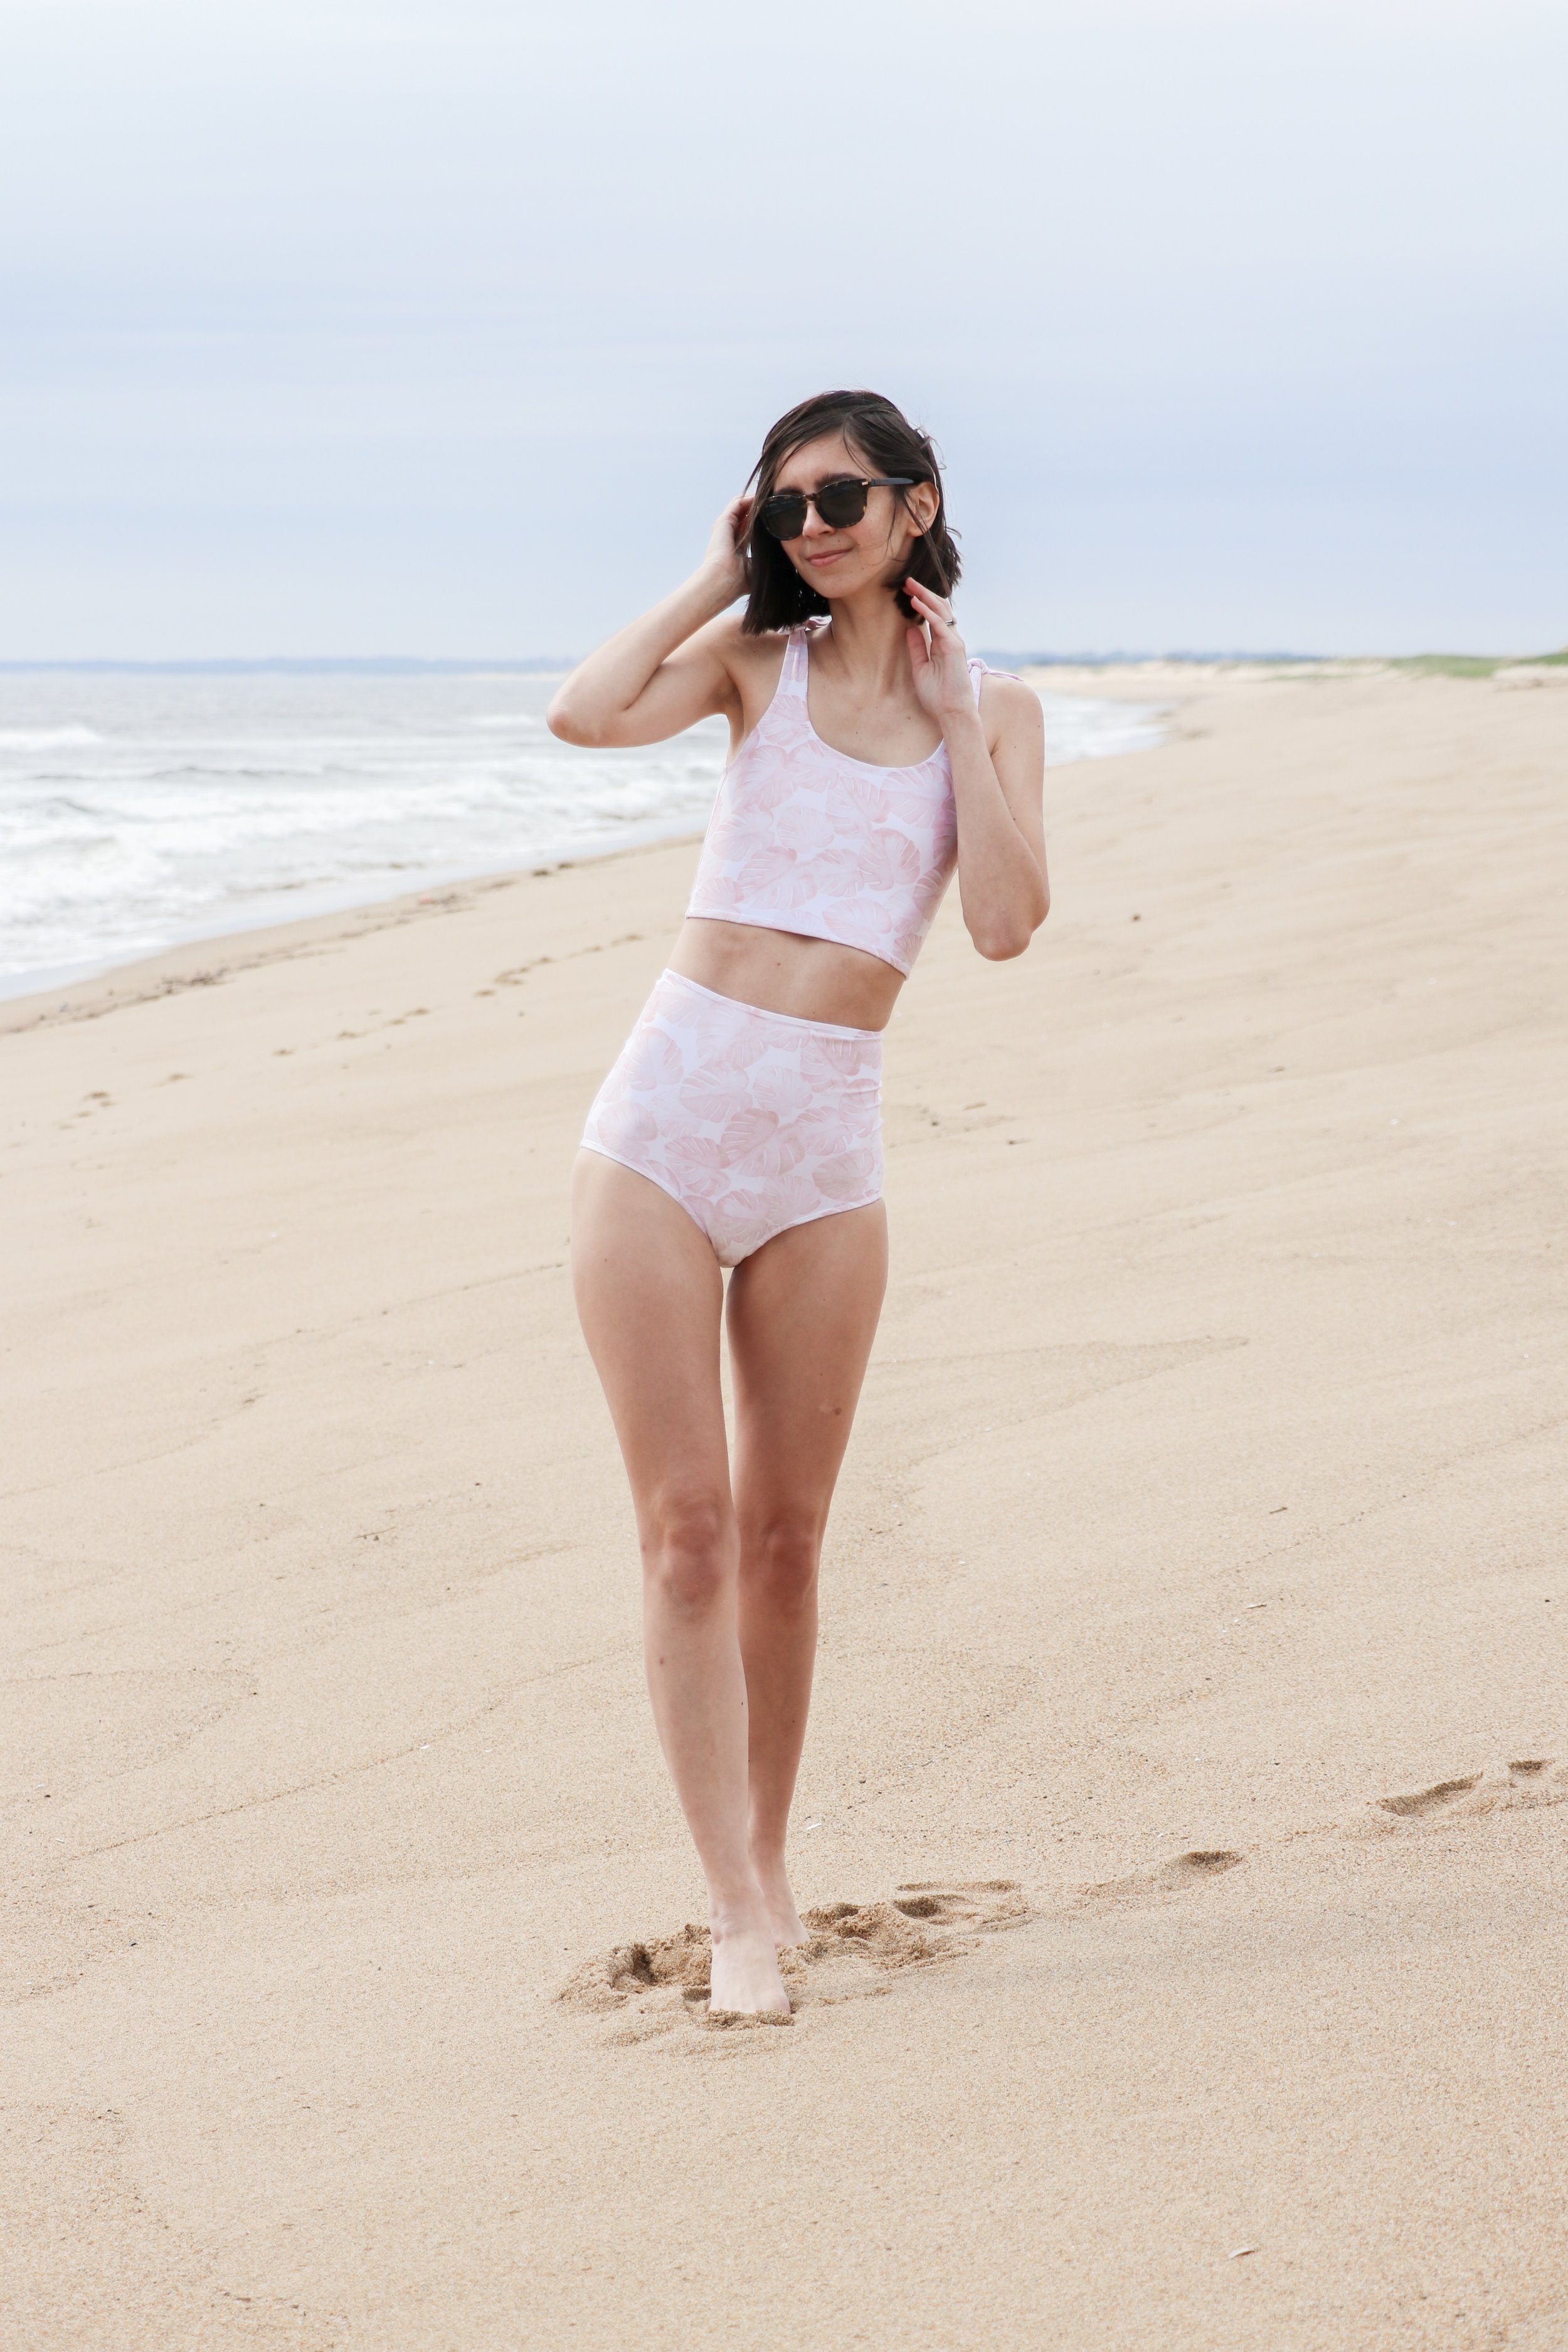
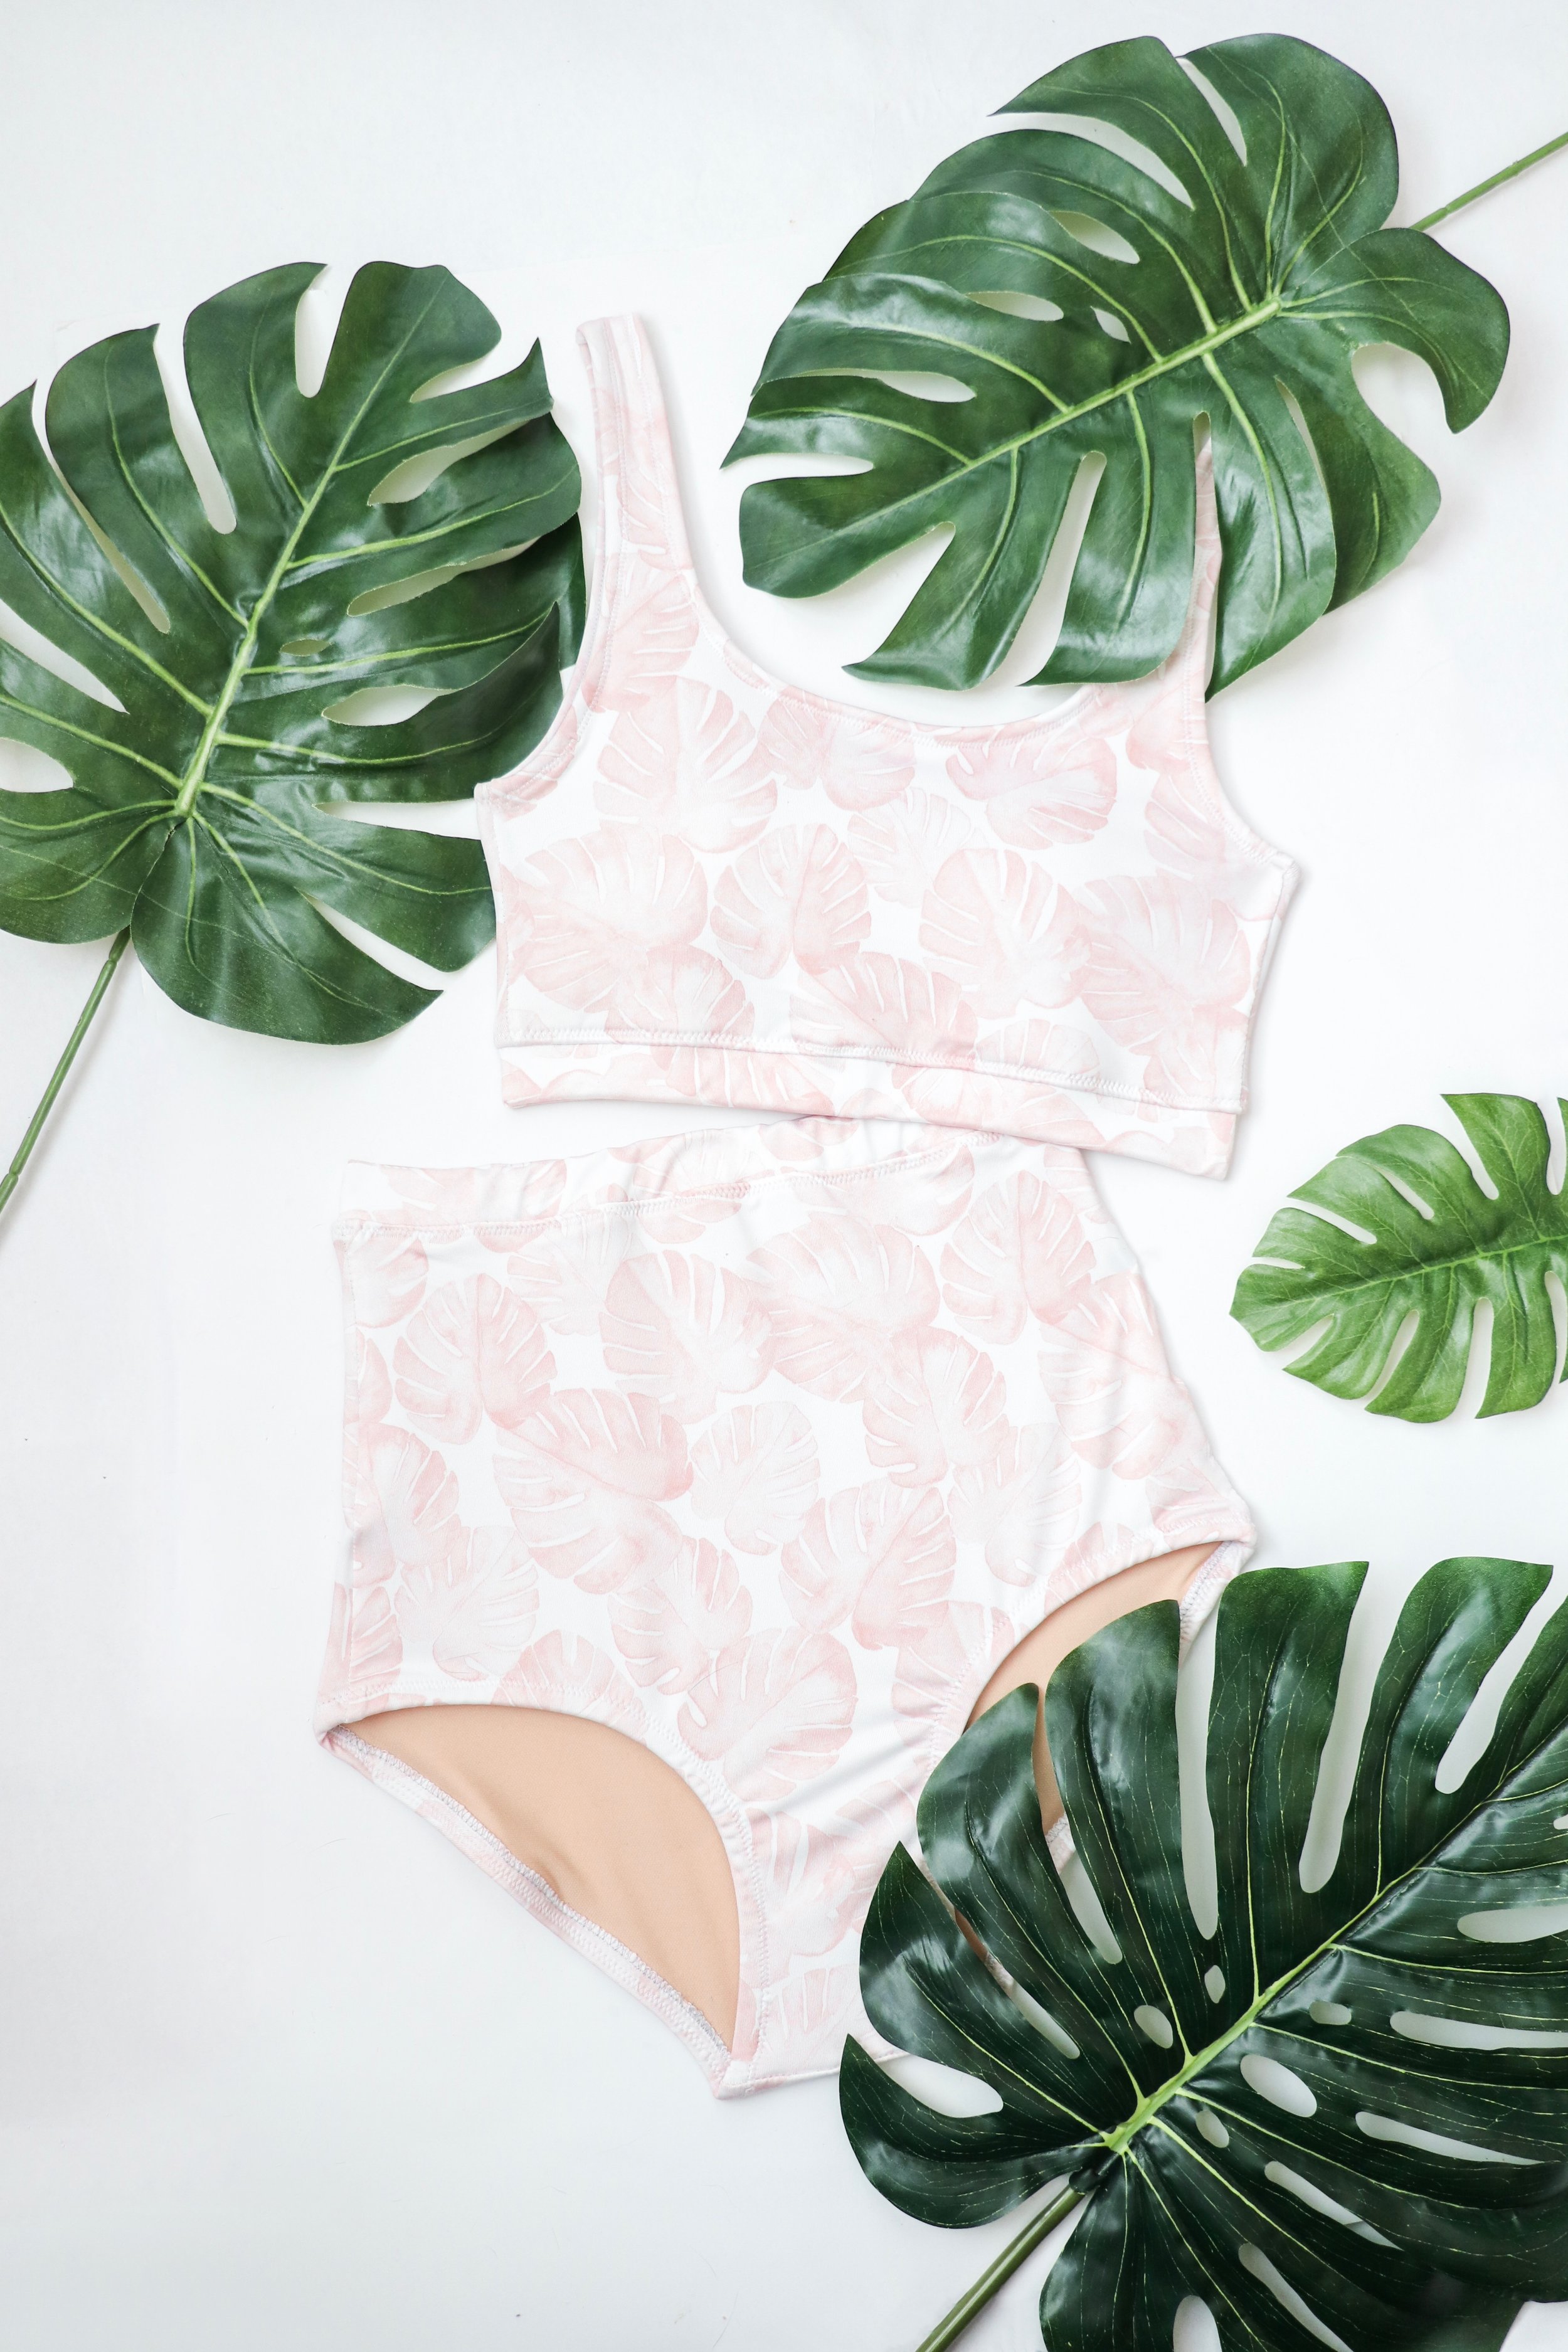
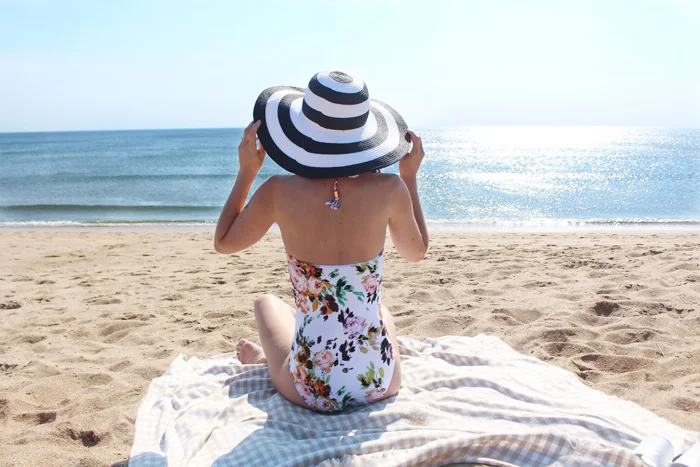
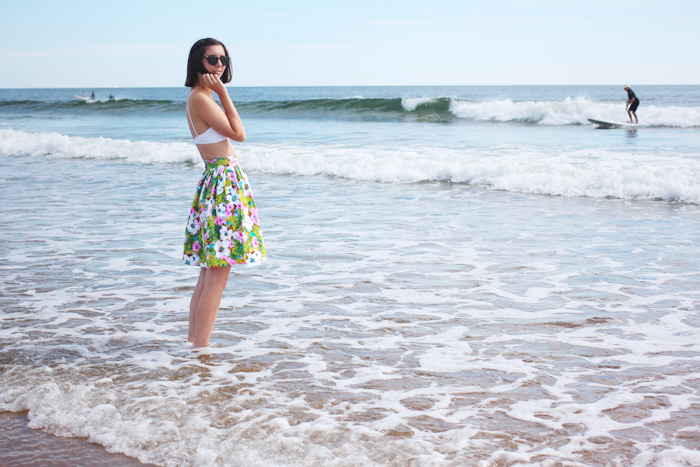
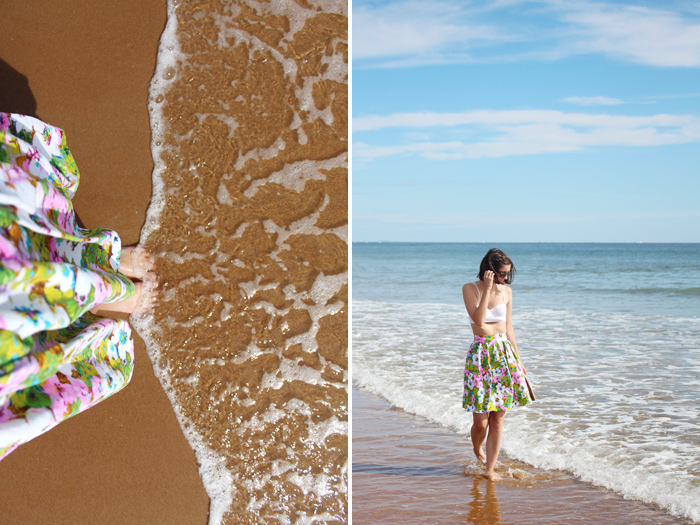
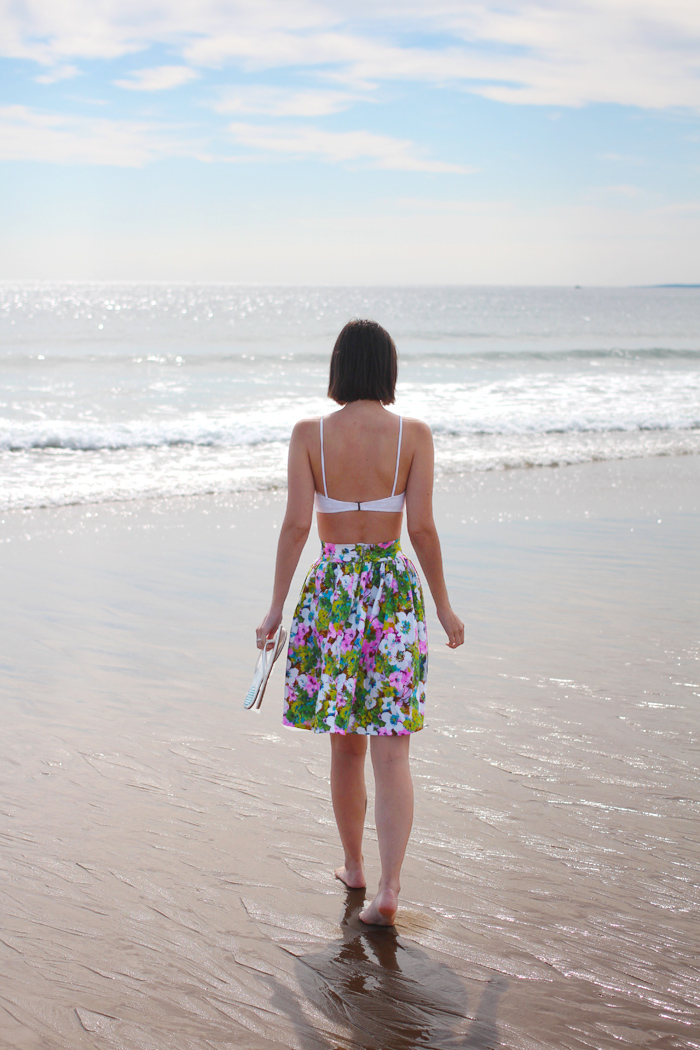
swimsuits: Megan Nielsen Patterns Cottesloe and Mini Cottesloe (tutorial for peplum and skirt) in a rust swim fabric from Blackbird Fabrics (no longer available)

————————————————————————

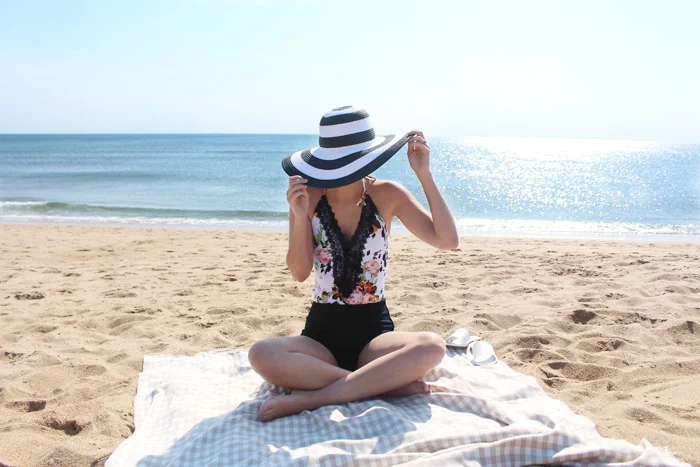
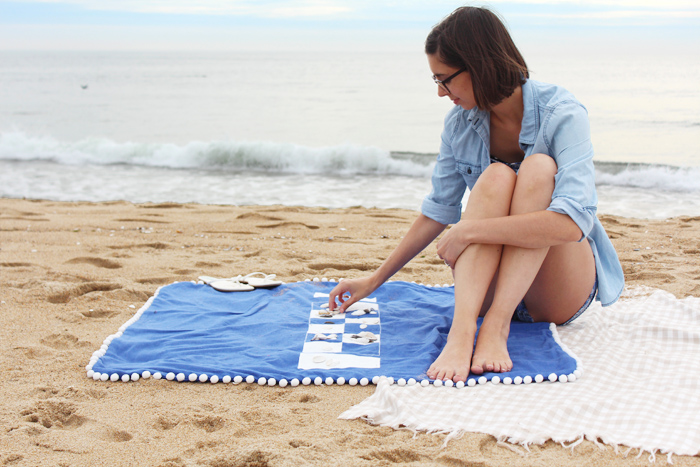
Its a two-in-one post! Or rather, three-in-one! Back in July, I made another set of matching Cottesloes for me and P to wear to a beach party. For these ones, with just one hack technique, I created two different looks - peplum bottoms for my two piece and a skirted one piece for Penny! You can find the tutorial for how to do this over at Megan Nielsen Design Diary.

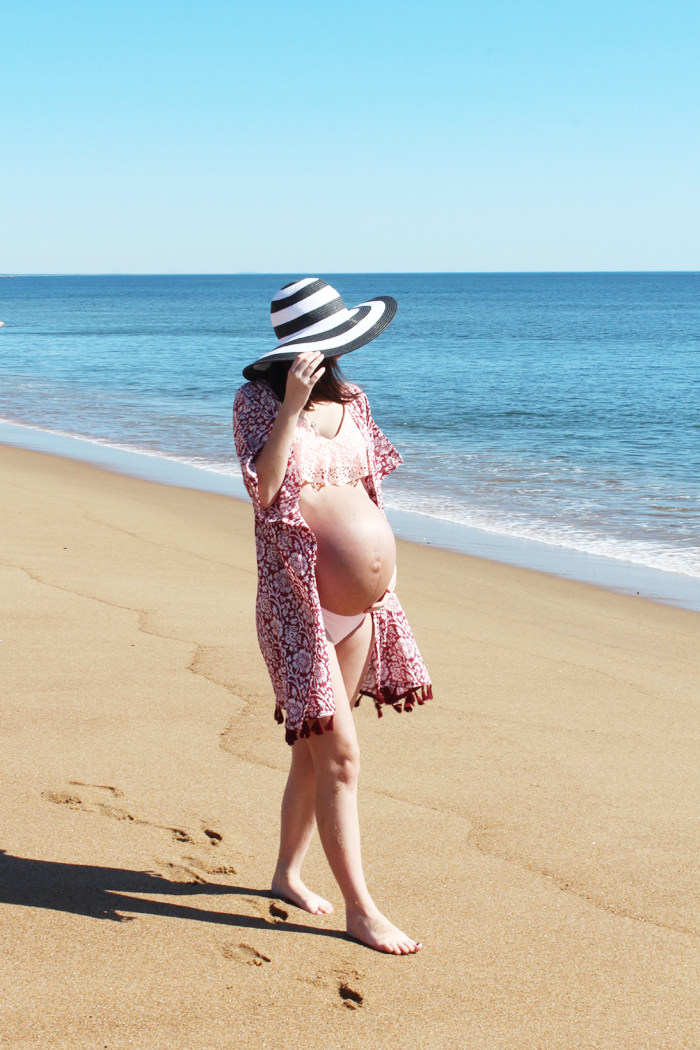
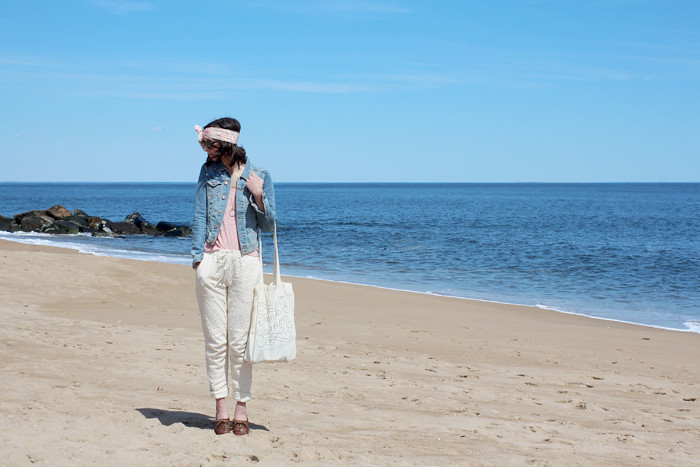
I also made a really fancy beach cover up using this sheer/burnout organza, and you guys, I’m in loooooooove. Exactly what I was imagining. And that little keyhole detail in the back of the Sudley (can be worn in the front, too!) is just too cute. Because It’s sheer, I had to take extra special care to make the inside pretty as well. Since you can see it! So I finished all seams with either french seams or bias bound edges. I have a really pretty mustard yellow silky fabric that I want to make a slip dress out of to wear underneath, so I can wear it off the beach, as well!

handmade wardrobe // tie strap cottelsoe, round 2

swimsuit: Megan Nielsen Patterns Cottesloe swimsuit with tie strap hack in a ribbed tricot from Blackbird Fabrics

pants: Simplicity 8605 with modified extra wide paperbag waist in rayon from Harts Fabric

bag: thrifted Free People

sandals: old Zara

Penny’s swimsuit: Kortni Jeane

—————————————————————————————————

The best part about a cute one piece swimsuit? The fact that it can easily be worn away from the beach or pool! Throw on some cute pants or shorts or skirt, and it doubles as a cool bodysuit. This is my second Cottesloe with tie straps (see the first one here), and I wrote up a tutorial over on Megan Nielsen Design Diary. Whats great is that it is a basic tutorial, but could be used to make all different kinds of ties, I kept these ones short and stubby, my first ones were tied in little bows, but I kinda also want to make a third one (I’m crazy, I know) with super long ties that drape down my shoulders. Wouldn’t that be fun?

Handmade // tie top Cottesloe

pattern: Megan Nielsen Patterns Cottesloe swimsuit

fabric: ‘watercolor mostera leaf’ by Little Arrow Design, purchased from Spoonflower

bag: Target

——————————————————————————

Gaaaaaaah, I love this swimsuit so much! I originally made another Cottesloe swimsuit out of this fabric - view D bikini with underbust band and waistband (you can see photos at the very end of the post). While I do love the look of that one, I purposefully bought extra yardage of this fabric because it’s gorgeous and I knew I would want to make different two piece versions to mix and match together. So this longline, tie strap top was born! Seriously, I couldn’t love it more. I’m definitely more comfortable in longline tops. Not necessarily a full tankini, but more coverage than a typical bra-style top. All I did for the longline modification was literally extend the lines of the side seams straight down. Nothing fancy. Easy-peasy. I lined the front only, and adding sewn-in bust pads (tutorial can be found on Design Diary).

And those tie details? Don’t worry - there will be a tutorial for Design Diary in the future! I didn’t make it this go-around, since I was just testing it out. But now that I know how cute it turns out, I’ll  be doing it again (maybe on a one piece?) and documenting it for a tutorial. So keep a look out in the next month or two for that!

I also made a second pair of high waisted bottoms, this time without the waistband. But I still wanted the extra height that the waistband provided, so I again simply extended the side seams upwards about 3/4”. Again, super simple.

Now, in this swim print, I have 5 pieces - a longline tie strap top, a regular style top with underbust band, high waisted bottoms, high waisted bottoms with waistband, and also regular low-rise bikini bottoms! So many mix and match options!

SUN AND SAND AND FLORALS

... and floppy hats and seashells and picnics.

BEACH SEASON. I couldn't love this time of year any more. 

(shop some other pretty floral one piece swimsuits below)

suit: Anthropologie (similar)

hat: H&M (similar)

shorts: Urban Outfitters


DIY GAME BOARD BLANKET

gameboard1

Boo and I love going to the beach. Year round, actually. And heres the thing - as much as I love it, I get antsy sometimes. Boo naps. Like, that’s his favorite thing to do. He hits the sand and he’s out. I need to be doing something, though. I’ve tried bringing a book. But for some reason, I just can’t read on the beach. I get distracted, and still, antsy. I know, I’m weird. Isn’t that like the number one beach activity?!

So I saw this DIY a while back for a portable checkers board made on a placemat, and I thought - why not make it on a bigger scale and put it on a blanket? That way, it’s double duty! Triple duty, actually. Its a game board, its something to sit on, and it’s something to cover up with. And while we’re at it, let’s make it double sided, too. 

gameboard3
gameboard2

\

I decided to go with a checkers board on one side, and a mancala board on the other. I’m not very good a checkers, by the way. But mancala? Mancala is my jam. 

gameboard4

The best part about it? You don’t have to carry around all the little game pieces. Just pick up shells or rocks or anything around you and use those as your game pieces. 

gameboard5
gameboard6
gameboard7

And it doesn’t just have to be for the beach! It would make a perfect picnic blanket. Or just for taking to the park, or your own backyard, and enjoying some fun out in the sun. 

So, read on after the jump to see how I made it!

gameboard8

Supplies: 

- a couple of yards of fabric (I used a lightweight, soft cotton flannel)

- fabric paint and brush

- scissors

- ruler

- white pencil or chalk

- pom pom trim

- sewing machine / needle and thread

gameboard9

1. Cut two big squares of fabric. As big as your fabric is wide. My flannel was 42” wide, so I ended up with 42” squares. 

2. Using tailors chalk or chalk or a white pencil, draw out your game boards. Don’t worry, any extra markings should eventually rub out. Or just wipe them off with a little water.

Your measurements will all depend on how big your fabric is, and how big you want your game boards to be. But here is how mine measured out…

Checkers:

- draw a 18” square in the middle of your fabric. Divide into  a 2 1/2” grid. there should be 8 squares on each side. 

Mancala:

- draw a 7x27” rectangle in the middle  of your blanket. Split right down the middle the long way, and then every 4 1/2” going the short way. That will leave your with two sides of 6 blocks.

- On either end, leave a 2” gap and draw 7x3 1/2” boxes. 

gameboard10

3. Get to painting! Try to keep your lines nice and straight, using a flat edge brush to help. You’ll probably need to do two coats. 

Oh! Don’t forget to put something underneath your fabric. It WILL leak through.

gameboard11

4. Once your paint is dry, place your two fabric pieces with right sides together. Line them up perfectly. I then cut and curved each of my corners just to make it easier to add the trim. 

gameboard12

5. Place your trim along the edge, pompoms towards the inside, and sandwiched in-between the two fabric pieces. Pin in place. 

gameboard13

6. Time to sew! It would be best use a presser foot that allows you to get right up close to pom poms, like a zipper foot or something similar. You want to be as close as possible so none of the thick white strip of the trim is popping out in the end. 

gameboard14

7. Sew almost all the way around, leaving a good sized gap. Make sure the backstitch at each end. If you want to baste down that last bit of trim to one side, you can do that now. 

Turn your blanket right side out through the gap that your left. Finish it up by closing the gap with an invisible hand stitch. 

gameboard15

Take your new blanket to the beach, or on a picnic, or to your backyard! Find some rocks or seashells, and have fun :)

gameboard16

TO THE SEA

aprilbeach1
aprilbeach2
aprilbeach3
aprilbeach4
aprilbeach5
aprilbeach6
aprilbeach7
aprilbeach8
aprilbeach9

// <![CDATA[ !function(d,s,id){ var e, p = /^http:/.test(d.location) ? 'http' : 'https'; if(!d.getElementById(id)) { e = d.createElement(s); e.id = id; e.src = p + '://' + 'd27mzdfpkg2pgg.cloudfront.net' + '/js/shopthepost.js'; d.body.appendChild(e); } if(typeof window.__stp === 'object' && d.readyState === 'complete') }(document, 'script', 'shopthepost-script'); // ]]>

jacket: H&M

tank: Urban Outfitters

scarf: thrifted

sunglasses: Warby Parker

pants: Loft

shoes: c/o Big Buddha

tote: Megan Nielsen

Explorer

explorer1

Without trying to sound like a broken record, I really do love the beach during fall. Almost even more so than during the summer. This trip, Boo and I explored a completely different section of our usual beach. A spot we’ve never been to.  It’s nearly impossible to get to during the summer, because there are, like, 10 parking spots total. You have to get there practically at sunrise to get a spot :/. But this time of year? no problem.

I absolutely loved this section. It had a much more secluded feel. And in addition to a nice stretch of open beach, it had this fantastic rocky area that we spent almost all of our time exploring. Boo loved all of the little snails clinging to the rocks, and I was fascinated with the amount of different patterns in the sand I found. 

Another perfect beach day. 

p.s - Thank you all for your condolences about my grandpa. It’s been a really strange week, for sure. But you all are too sweet :). 

explorer2

explorer3

explorer4

explorer5

explorer6

explorer7

explorer8

explorer9

explorer10

explorer11

explorer12

explorer13

explorer14

explorer15

tee: Urban Outfitters

cardigan: H&M

jeans: Urban Outfitters

hat: Urban Outfitters

boots: Lulu’s