My coat obsession is so severe, I’m now making them to add to my collection.
It’s officially gotten out of hand.
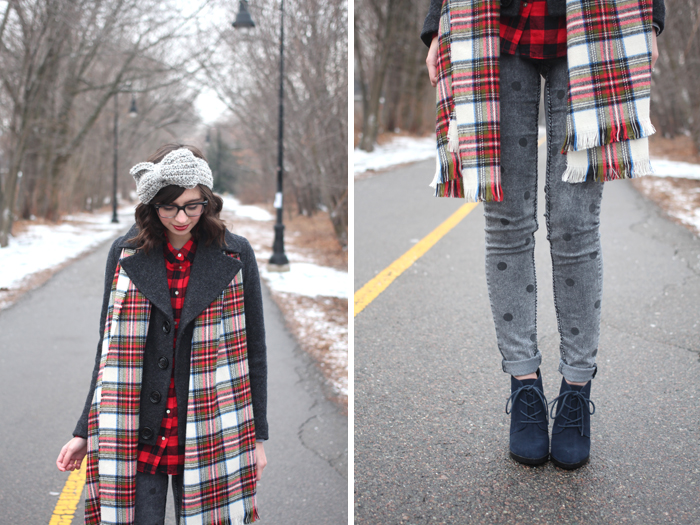
But really, I’m pretty proud of this one. It’s colorful, has some crazy closures, and is fully lined. And not just lined - the lining is quilted and super thick. BAM. I plan on staying nice and cozy in this one.
It wen’t together fairly quickly, too. Although I do have some issues with the pattern. It’s labeled ‘easy’, and because of that, the way they instruct you to construct the coat is not the best. It’s just not how a lined coat is properly put together. Or anything lined, for that matter. I made up for it, though, ignoring the instructions. And it also meant NO POCKETS. But with that - by the time I thought to add them, it was way too late. Ooooooh the horror. A coat with no pockets :/. But seeing as it’s just one of nine (9?!) coats now in my collection, I think I can do without pockets on one.


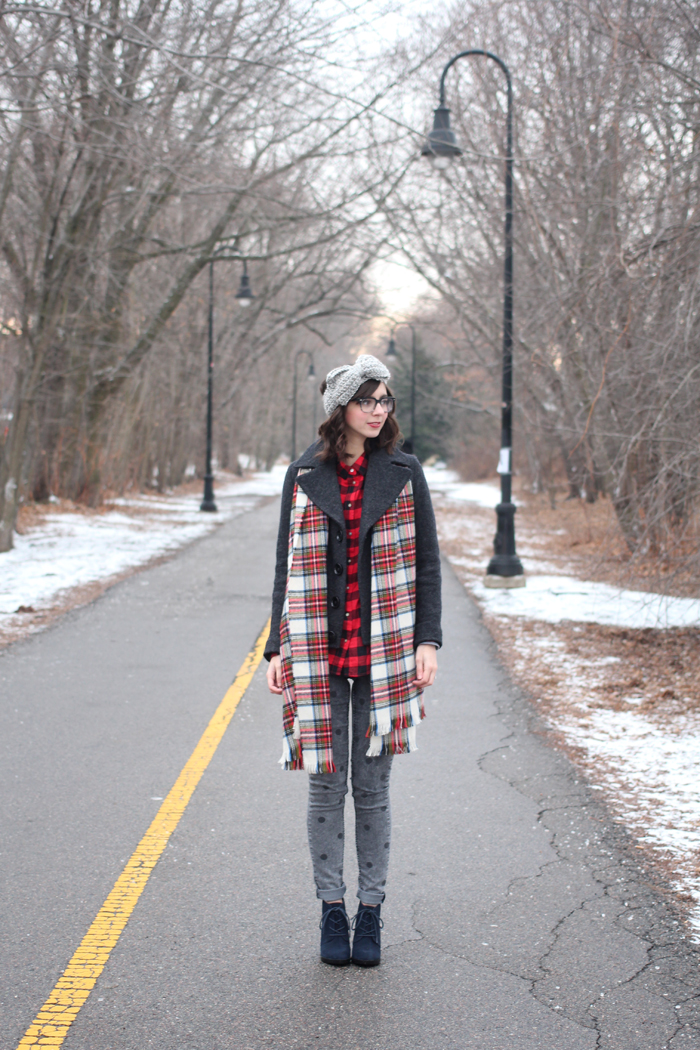
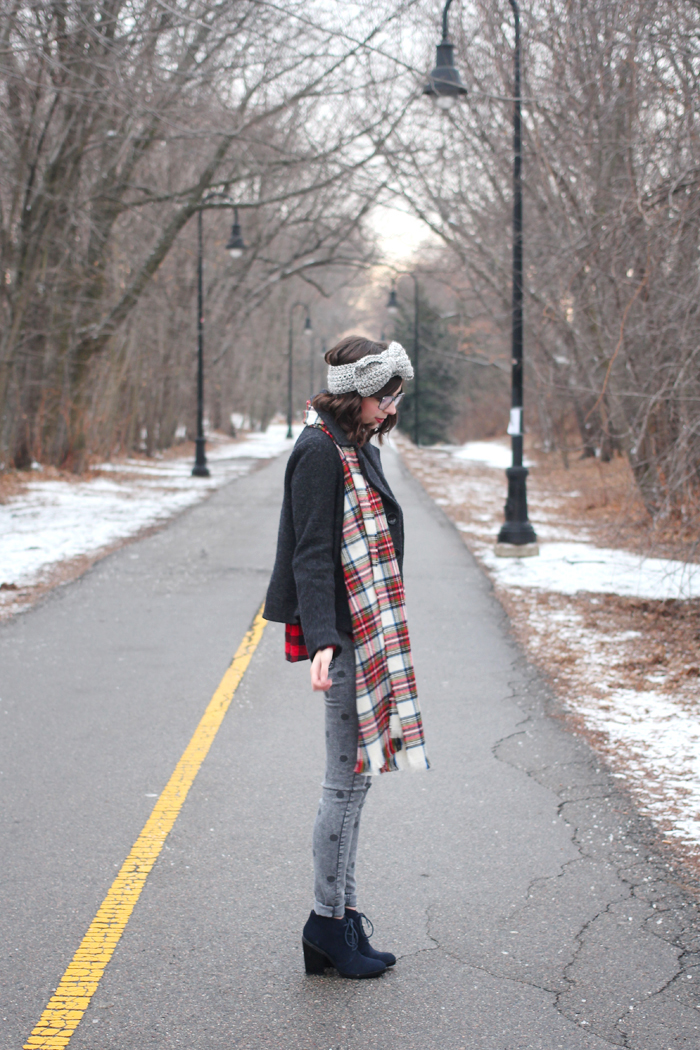
coat: handmade (pattern- V8860, fabric and lining- Mood, buckles - M&J)
skirt: handmade
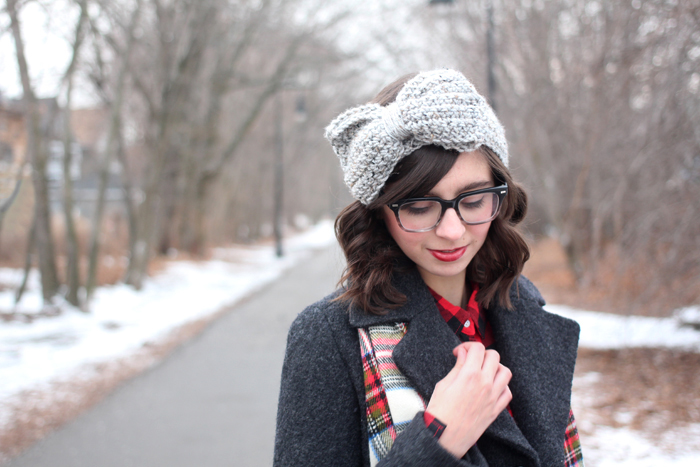
glasses: Warby Parker
hat: Urban Outfitters
fleece lined tights: H&M
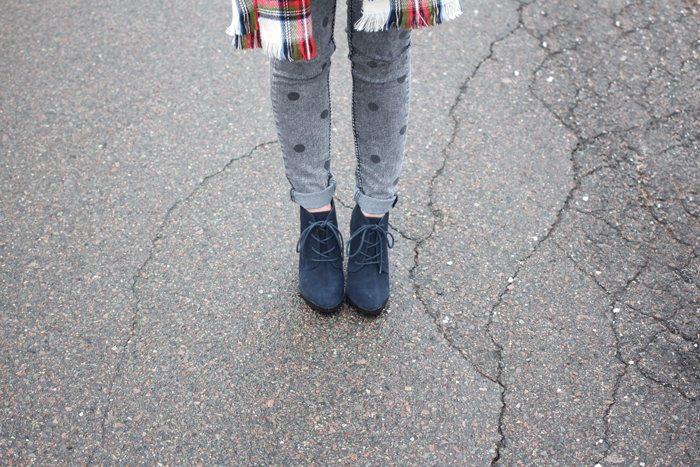
shoes: Shoemint