
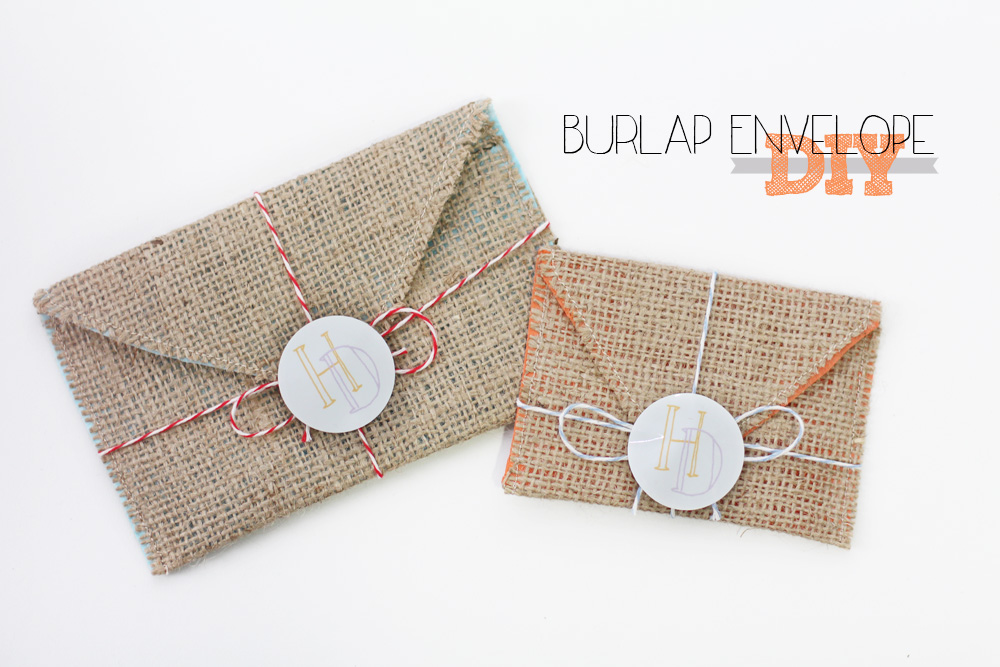
A part of re-inventing shopHollyDolly has been coming up with a new way to package and wrap up orders. It just so happens that I have a lot of extra burlap lying around post-wedding. So decided to make some super simple burlap envelopes, with some tissue paper in between so the burlap doesn’t scratch the leather rand other items.
They are soooo easy, and I’ve been making them in all different sizes for all different items. They would be cute to package up any little gifts!

1. Make a template for your envelope. It all depends on the size you want.
2. Use your template to cut out one piece of burlap, and one piece of tissue paper. You may need to iron your burlap and tissue paper before you get started. For the tissue paper, make sure you use a low setting and do it quickly.
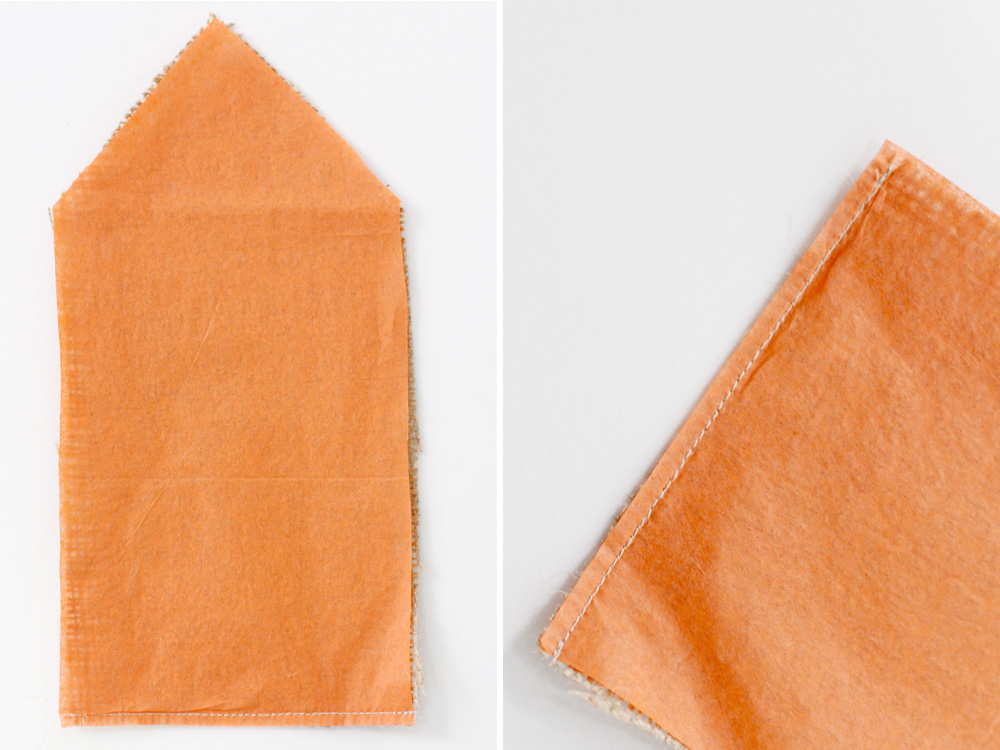
3. Place the tissue paper on top of the burlap and sew along the bottom edge.
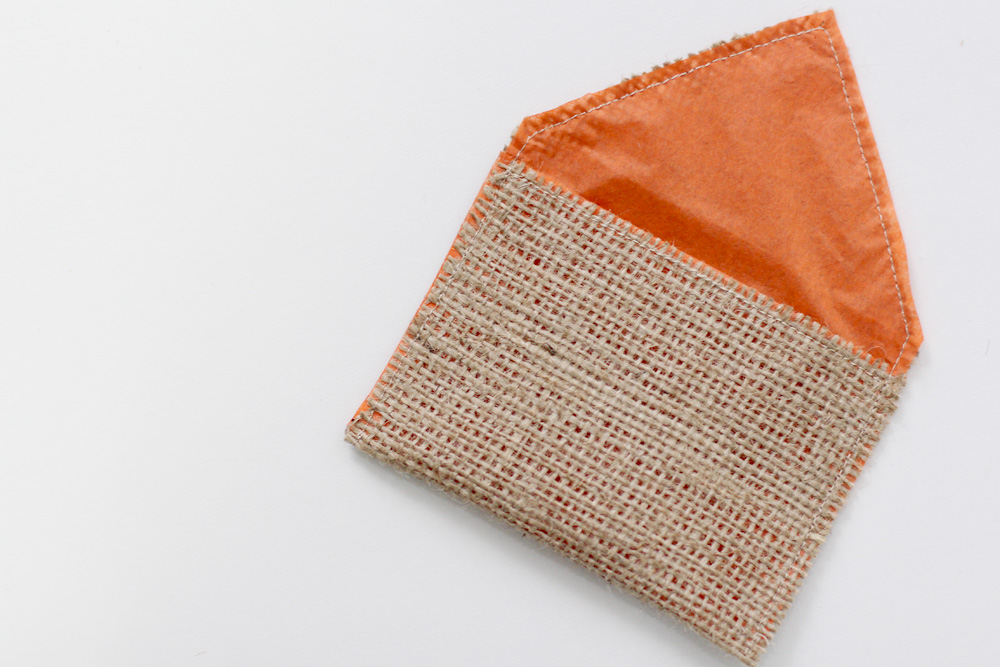
4. Fold up into an envelope shape. But not all the way to the very edge - leave about half an inch before the flap starts. Pin in place. Sew from one bottom edge, aaaall the way around (including the flap), until you reach the other bottom edge.
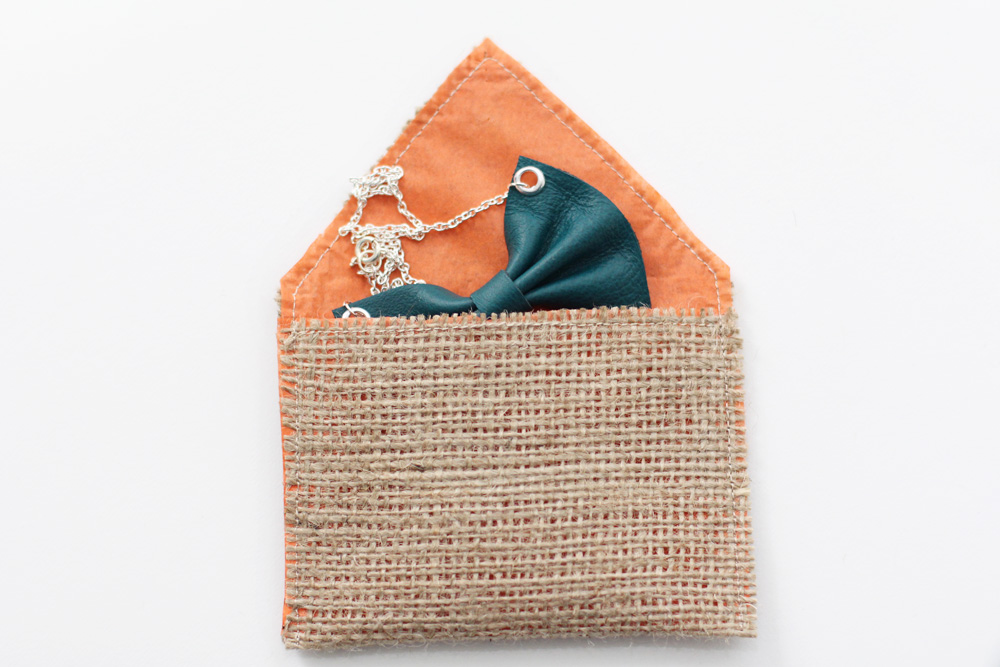
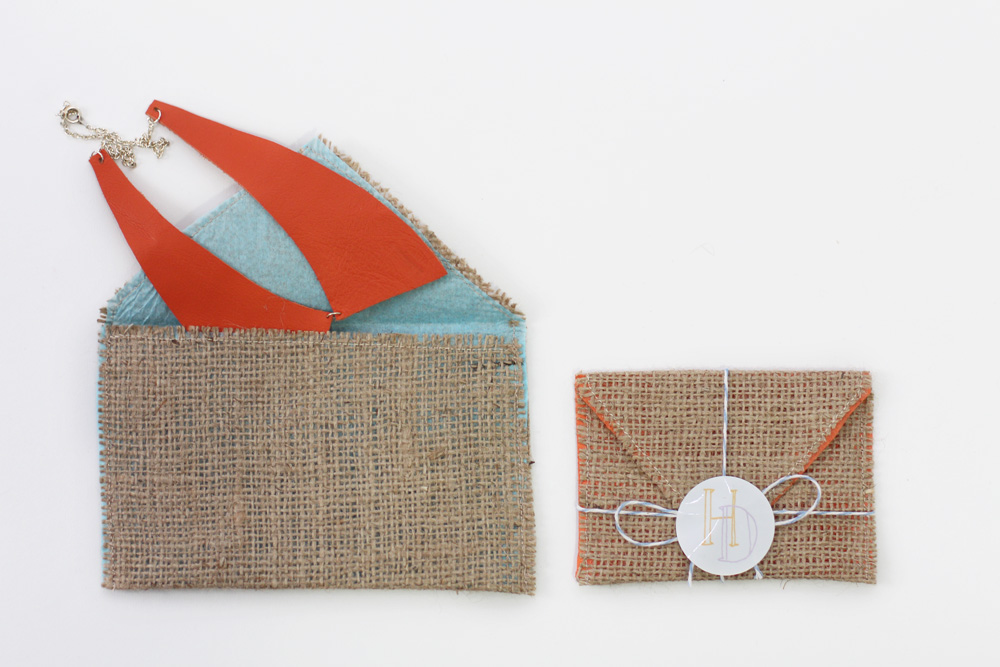
5. Put in your goodies, and close however you like! I tied some bakers twine around it and finished it off with some HollyDolly stickers I got from Moo.com. You could also sew on a snap or button, or whatever you can come up with!